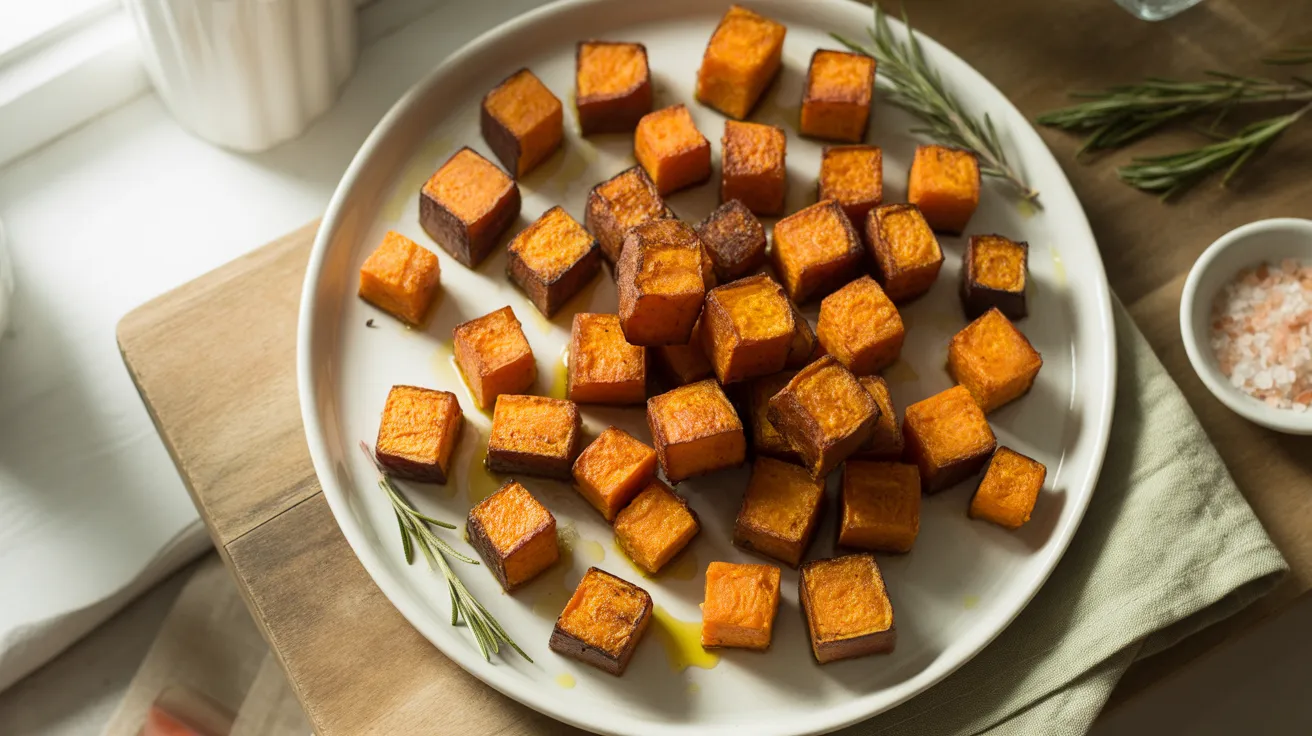
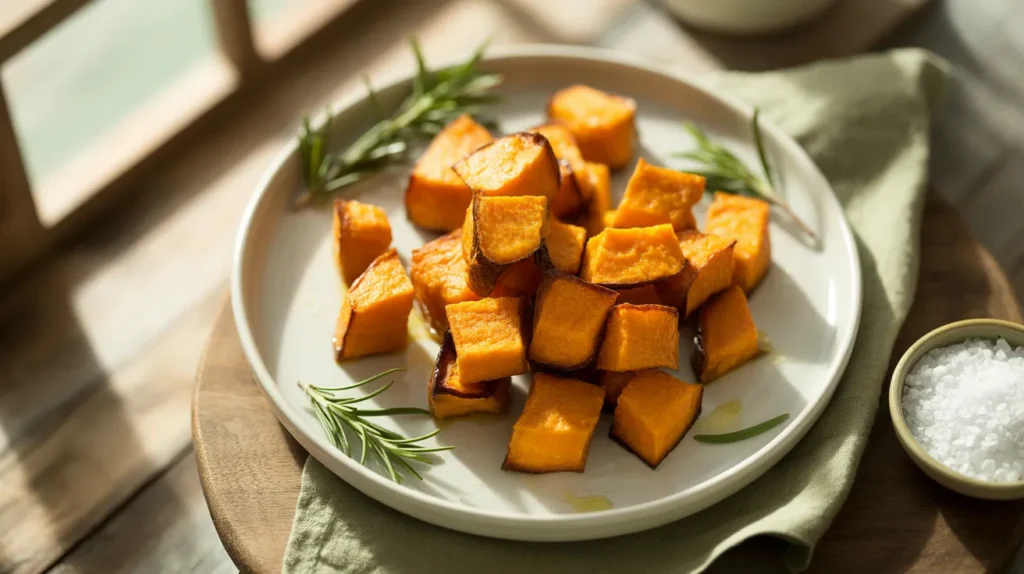
These crispy sweet potato cubes deliver golden edges and tender centers that’ll make you forget about french fries. I’ve perfected this technique after dozens of batches, and now these crispy sweet potato cubes show up on my dinner table at least twice a week. The secret? High heat, proper spacing, and a simple seasoning blend that lets the natural sweetness shine through.
Recipe Information
SERVES: 4 | PREP: 15 MIN | COOK: 30 MIN | TOTAL: 45 MIN
Ingredients
Sweet Potatoes
| Ingredient | Amount |
|---|---|
| Sweet potatoes, medium-sized | 4 whole |
| Olive oil | 3 tablespoons |
| Cornstarch | 2 tablespoons |
Seasoning Blend
| Ingredient | Amount |
|---|---|
| Kosher salt | 1½ teaspoons |
| Black pepper, freshly ground | ½ teaspoon |
| Garlic powder | 1 teaspoon |
| Smoked paprika | 1 teaspoon |
| Cayenne pepper (optional) | ¼ teaspoon |
Step-by-Step Instructions
Phase 1: Preparation (10 minutes)
Step 1: Preheat Your Oven
Set your oven to 425°F (220°C) and position the rack in the center. This high temperature is critical for achieving that crispy exterior we’re after. Don’t skip the preheating—starting with a hot oven means the cubes start crisping immediately instead of steaming.
Step 2: Prepare Your Baking Sheets
Line two large baking sheets with parchment paper or aluminum foil. I prefer parchment because the cubes release more easily, but foil works if that’s what you have. Make sure your sheets are completely flat—warped pans create uneven cooking.
Step 3: Wash and Dry the Sweet Potatoes
Scrub the sweet potatoes under cold running water with a vegetable brush. Pat them completely dry with paper towels or a clean kitchen towel. Wet skin makes peeling harder and adds unwanted moisture that prevents crisping.
Step 4: Peel the Sweet Potatoes
Use a sharp vegetable peeler to remove all the skin. I peel from top to bottom in long strokes for the most efficient removal. Make sure you get all the skin off—any remaining bits will burn in the high heat and taste bitter.
Step 5: Cut into Uniform Cubes
Cut each sweet potato in half lengthwise, then cut each half into ¾-inch thick planks. Stack a few planks and cut them into ¾-inch strips, then cut across to create ¾-inch cubes. Uniform size is absolutely essential here—different sizes cook at different rates, leaving you with some burnt pieces and some undercooked ones.
Phase 2: Coating and Seasoning (5 minutes)
Step 6: Create the Cornstarch Coating Base
Place all your sweet potato cubes in a large mixing bowl. Sprinkle the 2 tablespoons of cornstarch over the top and toss with your hands or a large spoon. The cornstarch creates an incredibly crispy exterior by absorbing surface moisture and forming a light crust. Don’t skip this step—it’s the difference between crispy and just soft.
Step 7: Add the Oil
Drizzle the 3 tablespoons of olive oil over the cornstarch-coated cubes. Toss everything together until each cube is evenly coated. The oil should be evenly distributed with no dry spots or pools. I like to use my hands for this—you can really feel when everything is properly coated.
Step 8: Apply the Seasoning Blend
Mix your kosher salt, black pepper, garlic powder, smoked paprika, and cayenne (if using) in a small bowl. Sprinkle this mixture over the oiled sweet potato cubes and toss again until the seasoning is evenly distributed. You want every cube to have that golden color from the spices.
Phase 3: Roasting (30 minutes)
Step 9: Arrange on Baking Sheets
Spread the seasoned cubes in a single layer across your two prepared baking sheets. This is crucial: the cubes should not touch each other. Crowding causes steaming instead of roasting, and you’ll end up with soggy cubes. Leave at least ½ inch of space between each cube. If they don’t all fit, use a third pan or roast in batches.
Step 10: First Roast Phase
Place both baking sheets in the oven. Set a timer for 15 minutes. During this time, the bottoms will start caramelizing and developing that golden-brown color we’re after. The high heat is working its magic—don’t open the oven door to check, as this releases heat and interrupts the crisping process.
Step 11: Flip the Cubes
After 15 minutes, remove the pans from the oven. Use a thin metal spatula to flip each cube to a new side. Some cubes might stick a bit—that’s normal and actually a good sign that they’re developing a crispy crust. Just gently work the spatula underneath. Rotate your pans (switch their positions on the rack) to ensure even cooking.
Step 12: Second Roast Phase
Return the pans to the oven for another 12-15 minutes. The cubes should now be developing deep golden-brown edges and starting to feel crispy when you gently shake the pan. Set your timer for 12 minutes, then check. If they need more color, give them the extra 3 minutes.
Step 13: Final Check and Rest
The cubes are done when they’re golden brown on multiple sides, tender when pierced with a fork, and crispy on the outside. Remove from the oven and let them rest on the pan for 3-5 minutes. This resting time allows the exterior to set and become even crispier as it cools slightly.
Step 14: Transfer and Serve
Use your spatula to transfer the crispy sweet potato cubes to a serving bowl or plate. I like to give them a final tiny pinch of flaky sea salt right before serving. Serve immediately while they’re at their crispiest—they’re still good after cooling but lose some of that perfect crunch.
Chef’s Notes
Tip 1: The Cornstarch Secret
The cornstarch coating is what separates good sweet potato cubes from truly crispy sweet potato cubes. It absorbs the surface moisture that would otherwise make them soggy and creates a light, crunchy shell.
Tip 2: Size Matters
Three-quarter-inch cubes are the sweet spot. Smaller cubes burn before the insides cook through, while larger pieces stay soft in the middle. Take your time cutting them uniformly.
Tip 3: Don’t Overcrowd
I can’t stress this enough—crowded pans mean steamed vegetables. If you only have one baking sheet, roast in two batches rather than piling them on.
Tip 4: The Two-Flip Method
Flipping just once gives you two crispy sides, but if you want extra crunch, flip twice during roasting for three crispy sides. Just add 3-4 more minutes to the total cook time.
Nutrition Information (Per Serving)
Calories: 185
Protein: 2g
Carbohydrates: 28g
Fat: 7g
Fiber: 4g
Sugar: 6g
Sodium: 440mg
Vitamin A: 320% DV
Vitamin C: 30% DV
Delicious Variations
1. Herb-Roasted Sweet Potato Cubes
Add 2 teaspoons of dried rosemary and 1 teaspoon of dried thyme to your seasoning blend. The earthy herbs complement the sweetness beautifully. This version pairs perfectly with roasted chicken.
2. Spicy Cajun Sweet Potato Cubes
Replace the garlic powder and smoked paprika with 2 tablespoons of Cajun seasoning. If you love bold, spicy flavors like those in my sweet potato wedges, this variation will become your new obsession.
3. Maple-Cinnamon Sweet Potato Cubes
Reduce the salt to 1 teaspoon and add 1 teaspoon of cinnamon and ½ teaspoon of nutmeg. Drizzle with 2 tablespoons of maple syrup mixed into the oil before roasting. These work great for breakfast or brunch.
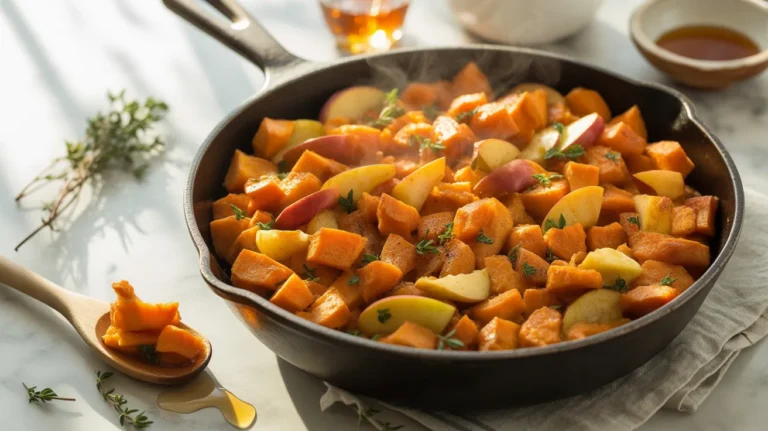
4. Breakfast-Style Sweet Potato Cubes
Season simply with salt and pepper, then toss the roasted cubes with sautéed onions and bell peppers. This creates a base similar to my sweet potato hash and makes an incredible breakfast side dish.
Storage and Reheating
Refrigerator Storage
Let the cubes cool completely before transferring to an airtight container. They’ll keep for 4-5 days in the fridge. Store them in a single layer if possible to prevent them from becoming soggy.
Freezing Instructions
Spread cooled cubes on a baking sheet and freeze until solid (about 2 hours). Transfer to a freezer bag or container and freeze for up to 3 months. This flash-freezing method prevents them from sticking together.
Reheating for Crispiness
Never microwave these if you want to maintain the crunch. Instead, spread them on a baking sheet and reheat at 400°F for 8-10 minutes, flipping halfway through. They’ll crisp up again almost like they’re freshly made. An air fryer also works brilliantly—reheat at 375°F for 5-6 minutes.
Troubleshooting Common Problems
Problem 1: Cubes Are Soft, Not Crispy
You either crowded the pan or your oven temperature was too low. Make sure cubes aren’t touching and verify your oven temperature with an oven thermometer. Many ovens run 25 degrees cooler than the dial indicates.
Problem 2: Burnt on the Outside, Raw Inside
Your cubes were cut too large. Stick to the ¾-inch size religiously. If your sweet potatoes are particularly dense, you can also lower the temperature to 400°F and add 10 minutes to the cooking time.
Problem 3: Cubes Stuck to the Pan
This happens when you use too little oil or skip the parchment paper. Make sure each cube is coated in oil and always use parchment or a well-greased pan. Also, let them roast long enough—they release naturally once they’ve developed a proper crust.
Problem 4: Uneven Browning
Some cubes are golden while others are pale. This means uneven oven heat or you forgot to rotate the pans halfway through. Always switch the position of your pans when you flip the cubes at the 15-minute mark.
Problem 5: Too Salty or Under-Seasoned
Sweet potatoes vary in size, which affects the seasoning ratio. Start with slightly less salt than the recipe calls for, taste one cube when they’re done, and adjust. You can always add more salt, but you can’t take it away.
Equipment Essentials
- Two large rimmed baking sheets (18×13 inches recommended)
- Parchment paper or aluminum foil
- Sharp vegetable peeler
- Large chef’s knife for uniform cutting
- Large mixing bowl
- Small bowl for seasoning blend
- Thin metal spatula for flipping
- Measuring spoons
- Kitchen timer
Optional but helpful: A cutting board with measurements helps ensure uniform cube sizes.
Shopping List (Organized by Store Section)
Produce Section:
- 4 medium sweet potatoes (about 2 pounds total)
Baking Aisle:
- Cornstarch
- Parchment paper (if not in stock)
Oils & Vinegars:
- Olive oil
Spices & Seasonings:
- Kosher salt
- Black peppercorns (if you grind your own)
- Garlic powder
- Smoked paprika
- Cayenne pepper (optional)
Success Secrets
1. Choose the Right Sweet Potatoes
Look for medium-sized sweet potatoes that are firm with smooth skin. Avoid any with soft spots or sprouting eyes. Similar-sized potatoes cook more evenly together.
2. The Temperature Is Non-Negotiable
High heat (425°F) is what creates that crispy exterior. Lower temperatures will give you roasted sweet potato cubes, but not the crispy version we’re after.
3. Master the Single-Layer Rule
Every cooking expert will tell you the same thing—vegetables need space to roast properly. If your cubes are touching, they’re steaming each other. Use multiple pans or roast in batches.
4. The Cornstarch-Oil Order Matters
Always coat with cornstarch first, then add oil. This creates the perfect crispy coating. If you add oil first, the cornstarch clumps and doesn’t distribute evenly.
5. Timing the Serve
These crispy sweet potato cubes are at their absolute best within 10 minutes of coming out of the oven. Plan your cooking so they’re the last thing to finish. If you’re serving them as a side dish, get your main course plated and ready before pulling the cubes from the oven.
These perfectly crispy cubes work as a side dish for nearly any protein, make a great snack with a dipping sauce, or can be tossed into salads and grain bowls. The combination of crispy edges and creamy centers is absolutely addictive, and the simple seasoning lets the natural sweetness of the potatoes shine through without overwhelming them.