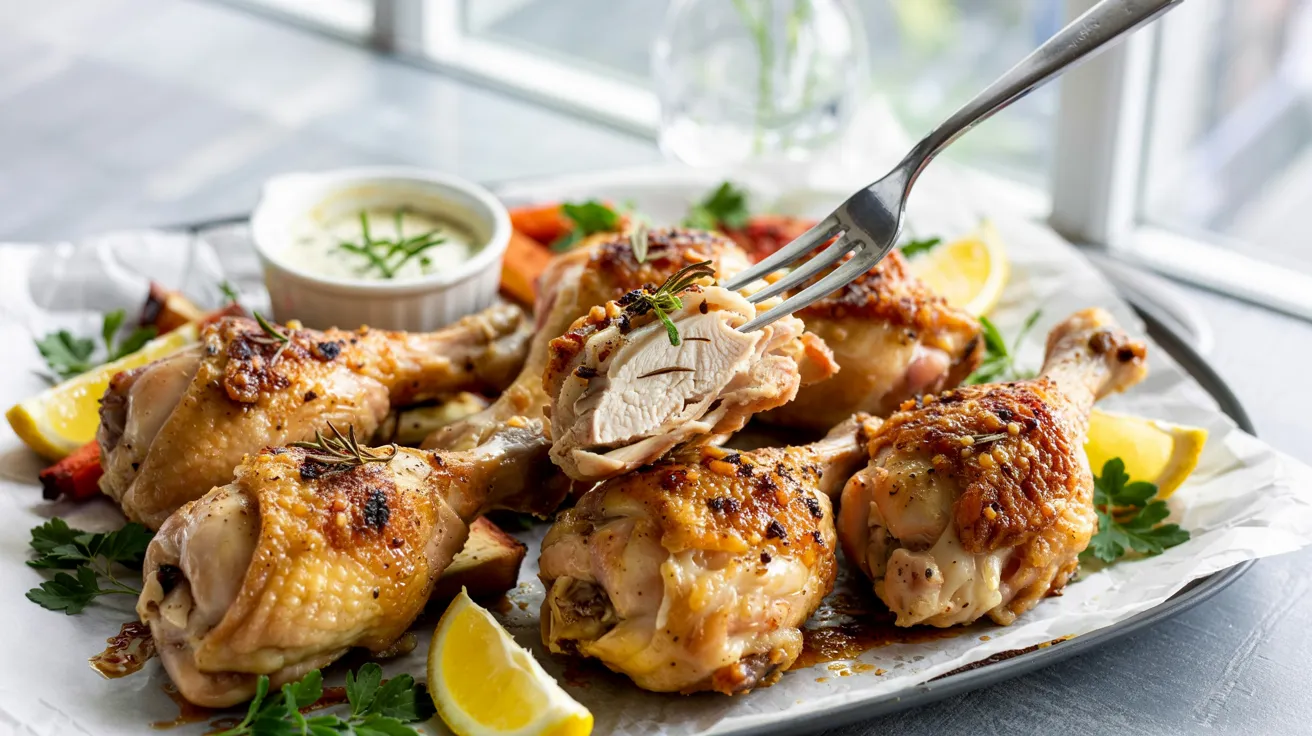
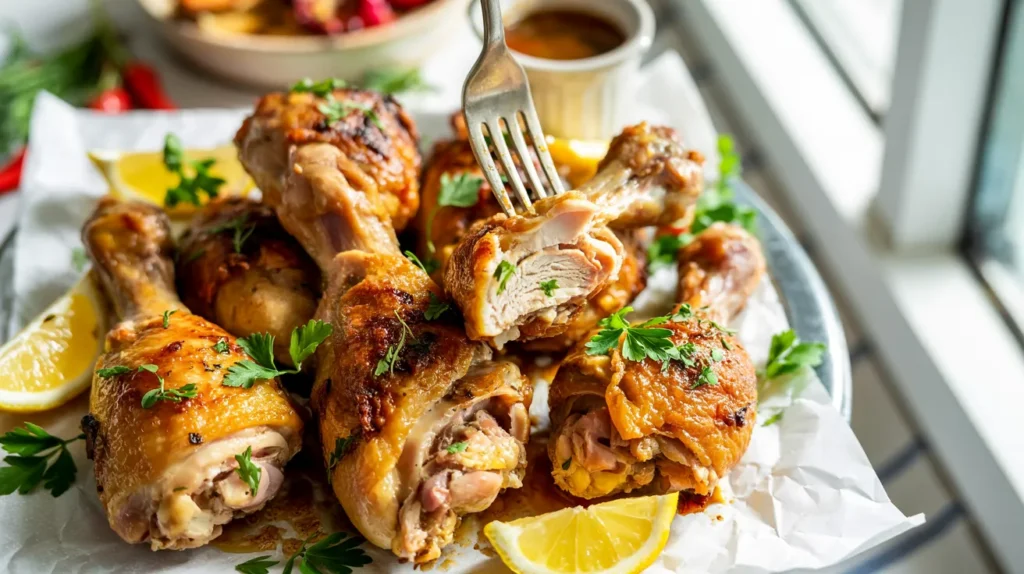
These delicious baked chicken legs come out perfectly crispy on the outside and juicy inside every single time. I’m sharing my foolproof technique that transforms simple chicken legs into a restaurant-quality meal with just 10 minutes of prep work. The secret marinade keeps the meat tender while the high-heat baking method creates that irresistible golden skin everyone loves in delicious baked chicken legs.
SERVES: 4 | PREP: 15 MIN | COOK: 45 MIN | TOTAL: 1 HOUR
Ingredients for Delicious Baked Chicken Legs
Main Ingredients
| Ingredient | Quantity | Notes |
|---|---|---|
| Chicken legs | 8 pieces (about 2 lbs) | Room temperature for even cooking |
| Olive oil | 3 tablespoons | Extra virgin preferred |
| Garlic powder | 2 teaspoons | Not garlic salt |
| Paprika | 2 teaspoons | Sweet or smoked |
| Dried oregano | 1 teaspoon | Italian seasoning works too |
| Kosher salt | 1½ teaspoons | Adjust to taste |
| Black pepper | 1 teaspoon | Freshly ground |
| Lemon | 1 whole | For juice and garnish |
| Fresh parsley | 2 tablespoons | Optional, chopped |
How to Make Delicious Baked Chicken Legs
Preparation Phase (15 Minutes)
Step 1: Set Up Your Workspace Preheat your oven to 425°F (220°C) right away. Line a large baking sheet with aluminum foil for easy cleanup. If you have a wire rack, place it on top of the foil and spray lightly with cooking oil—this creates air circulation for crispier skin.
Step 2: Dry the Chicken Thoroughly Take 8 chicken legs from the package and pat them completely dry with paper towels. This step makes the biggest difference for crispy skin. Wet chicken steams instead of crisps, so use 3-4 paper towels per piece if needed.
Step 3: Bring Chicken to Room Temperature Let the dried chicken sit on your counter for 15 minutes. Cold chicken from the fridge cooks unevenly, leading to overcooked outsides and undercooked insides.
Step 4: Make the Marinade In a medium bowl, combine 3 tablespoons olive oil, 2 teaspoons garlic powder, 2 teaspoons paprika, 1 teaspoon oregano, 1½ teaspoons salt, and 1 teaspoon black pepper. Squeeze the juice from half the lemon into the bowl (about 1-2 tablespoons). Whisk everything together until it looks like a reddish-brown paste. The marinade should taste pretty salty—that’s exactly right.
Coating Phase (5 Minutes)
Step 5: Coat Each Chicken Leg Place all 8 chicken legs into the marinade bowl. Using your hands (I wear disposable gloves), massage the marinade into every part of each leg. Get under the skin slightly without tearing it—this flavors the meat directly.
Step 6: Arrange on Baking Sheet Place each coated leg on your prepared baking sheet skin side up. Leave at least 1 inch of space between pieces so hot air can circulate. Position the thickest parts toward the outside edges where it’s hottest.
Cooking Phase (45 Minutes)
Step 7: Bake Until Golden Slide the baking sheet onto your oven’s middle rack. Bake for 35 minutes without opening the door. Opening it releases heat and extends cooking time.
Step 8: Check for Doneness Insert a meat thermometer into the thickest part of the largest leg, avoiding the bone. The temperature should read 165°F (74°C). No thermometer? Cut into the thickest piece—the meat should be opaque with clear juices running out.
Step 9: Crisp the Skin Switch your oven to broil on high. Watch the chicken closely and broil for 2-3 minutes until the skin turns deep golden brown. The skin can go from perfect to burnt quickly, so stay nearby.
Step 10: Rest Before Serving Remove the baking sheet from the oven and let the chicken rest for 5 minutes. This redistributes the juices throughout the meat. Squeeze the remaining lemon half over the hot chicken and sprinkle with fresh parsley if using.
Step 11: Plate and Enjoy Use tongs to transfer 2 chicken legs per person onto dinner plates. Serve your delicious baked chicken legs immediately while the skin is at its crispiest.
Chef’s Notes
Temperature Matters: The high 425°F temperature is crucial for rendering the fat under the skin, which creates that crispy texture. Lower temperatures make rubbery skin.
Don’t Skip the Drying: I can’t stress this enough—thoroughly dried chicken is the single biggest factor in achieving crispy skin on your delicious baked chicken legs.
Marinade Timing: While 5 minutes works great, marinating overnight in the fridge makes the flavors penetrate deeper. Just let the chicken come to room temperature before baking.
Size Variations: If your chicken legs are unusually large, add 5-10 minutes to the cooking time and check the temperature frequently.
Nutrition Information (Per Serving – 2 Chicken Legs)
| Nutrient | Amount | % Daily Value |
|---|---|---|
| Calories | 310 | – |
| Protein | 28g | 56% |
| Carbohydrates | 2g | <1% |
| Fat | 22g | 28% |
| Saturated Fat | 6g | 30% |
| Sodium | 720mg | 31% |
| Sugar | <1g | <1% |
Variations to Try
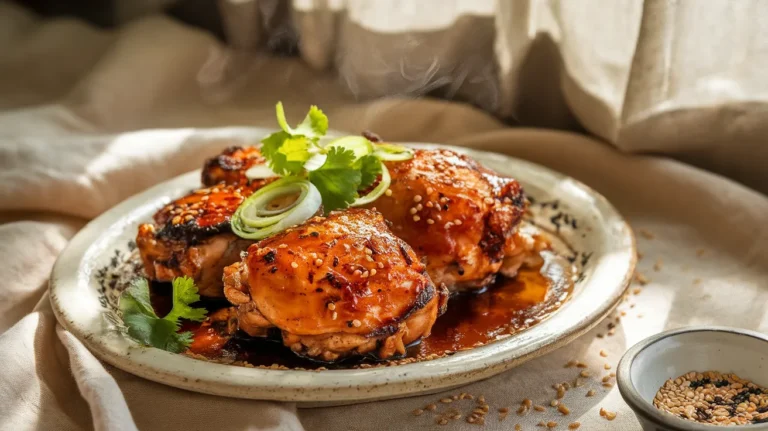
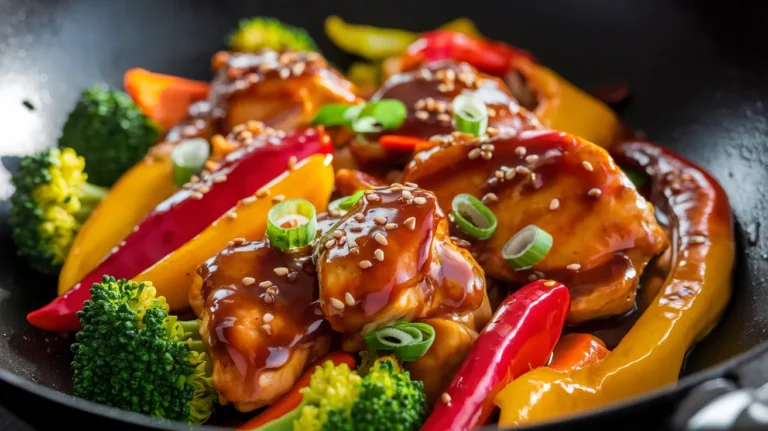
BBQ-Style Version Replace half the olive oil with your favorite BBQ sauce and add 1 teaspoon brown sugar for caramelization. Brush more sauce on during the last 5 minutes of cooking. If you’re craving Asian-inspired flavors instead, try my chicken with garlic sauce for a completely different taste experience.
Lemon-Herb Twist Add the zest from the whole lemon to your marinade along with 1 tablespoon each of fresh chopped rosemary and thyme. Double the lemon juice for bright, citrusy delicious baked chicken legs.
Spicy Kicked-Up Version Mix in 1 teaspoon cayenne pepper and ½ teaspoon red pepper flakes to the marinade. Add 1 tablespoon honey to balance the heat with sweetness.
Asian-Fusion Style Swap the lemon for lime juice and add 1 tablespoon soy sauce with 1 teaspoon ginger powder. Garnish with sliced green onions and sesame seeds. For a complete Asian-inspired meal, serve these with my garlic chicken lo mein on the side.
Storage & Reheating Guide
How to Store
Refrigerator: Let the chicken cool completely (within 2 hours of cooking). Store in an airtight container for up to 3 days.
Freezer: Wrap each cooled chicken leg individually in plastic wrap, then place in a freezer bag. Remove as much air as possible. Label with the date and freeze for up to 3 months.
Best Reheating Methods
Oven Method (Crispiest Results): Preheat to 350°F. Place chicken on a wire rack over a baking sheet. Cover loosely with foil and heat for 15-20 minutes. Remove foil for the last 5 minutes to re-crisp the skin.
Air Fryer Method (Fastest): Heat your air fryer to 370°F. Cook the chicken for 5-7 minutes, flipping halfway through. Spritz with a tiny bit of oil for extra crispiness.
Microwave (Quick but Soft): Place chicken on a microwave-safe plate and cover with a damp paper towel. Heat on 70% power for 2 minutes, then check. Continue in 30-second intervals until hot throughout.
Troubleshooting Common Problems
Problem: Skin Won’t Crisp Up Your chicken wasn’t dried thoroughly enough before adding the marinade. Next time, use more paper towels and really press the moisture out. Quick fix: broil for an extra 1-2 minutes while watching carefully.
Problem: Chicken Cooks Too Slowly If your pieces are unusually large, they need more time. Add 5-10 minutes and check the temperature again. Cold chicken from the fridge also cooks slower—always let it sit at room temperature first.
Problem: Outside Burns, Inside Raw Your oven might run hot or have uneven heating. Lower the temperature to 375°F and cook longer. Cover the chicken partially with foil (shiny side out) if it’s browning too fast.
Problem: Flavors Taste Bland You might need more salt—don’t be shy with seasoning. Letting the chicken marinate overnight in the fridge makes a huge difference. Quick fix: sprinkle more salt and an extra squeeze of lemon when serving.
Problem: Chicken Sticks to Pan Your pan wasn’t greased properly. Line with foil and spray with cooking oil, or use parchment paper next time. A wire rack eliminates this problem completely.
Equipment You’ll Need
- Large baking sheet (big enough for 8 chicken legs with space between)
- Aluminum foil (or parchment paper)
- Wire rack (optional, for crispier skin)
- Medium mixing bowl (for marinade)
- Measuring spoons (for precise seasoning)
- Meat thermometer (highly recommended)
- Kitchen tongs (for handling hot chicken)
- Paper towels (for drying chicken)
- Small whisk or fork (for mixing marinade)
Shopping List by Store Section
Meat Department:
- 8 chicken legs (about 2 lbs)
Produce Section:
- 1 lemon
- Fresh parsley (optional)
Pantry/Spice Aisle:
- Olive oil
- Garlic powder
- Paprika
- Dried oregano
- Kosher salt
- Black pepper
Success Secrets for Perfect Results
1. Temperature Accuracy Matters Use an oven thermometer to verify your oven’s actual temperature. Many ovens run 25°F hotter or cooler than the dial shows, which affects cooking time and results.
2. Don’t Crowd the Pan Leave at least 1 inch between each chicken leg. Crowded chicken steams instead of roasts, resulting in soggy skin on your delicious baked chicken legs.
3. Room Temperature is Key Cold chicken straight from the fridge needs longer cooking and browns unevenly. Just 15-20 minutes at room temperature makes all the difference.
4. Try the Brine For next-level juiciness, brine your chicken legs in 2 tablespoons salt per quart of water for 1 hour before starting the recipe. Rinse and dry thoroughly after brining.
5. Master the Broiler The broiler step creates that restaurant-quality crispy skin, but it goes from perfect to burnt in seconds. Never walk away during broiling—stay right there and watch it happen.
These delicious baked chicken legs prove that simple ingredients and straightforward techniques create amazing results. The crispy skin and juicy meat make this recipe a winner for busy weeknights or Sunday dinners alike!