Prep Time: 5 minutes | Cook Time: 15 minutes | Total Time: 20 minutes | Servings: 4 persons (2 cups sauce)
Key Takeaways:
- This homemade enchilada sauce tastes richer than any store-bought version
- Ready in just 20 minutes with pantry ingredients
- Perfect base for chicken, beef, or veggie enchiladas
- Can be made ahead and frozen for up to 3 months
Why Homemade Enchilada Sauce Beats Store-Bought Every Time
Ever grabbed a can of enchilada sauce at the grocery store and thought, “this doesn’t taste right”? You’re not alone. Most store-bought sauces miss that authentic flavor that makes enchiladas so special.
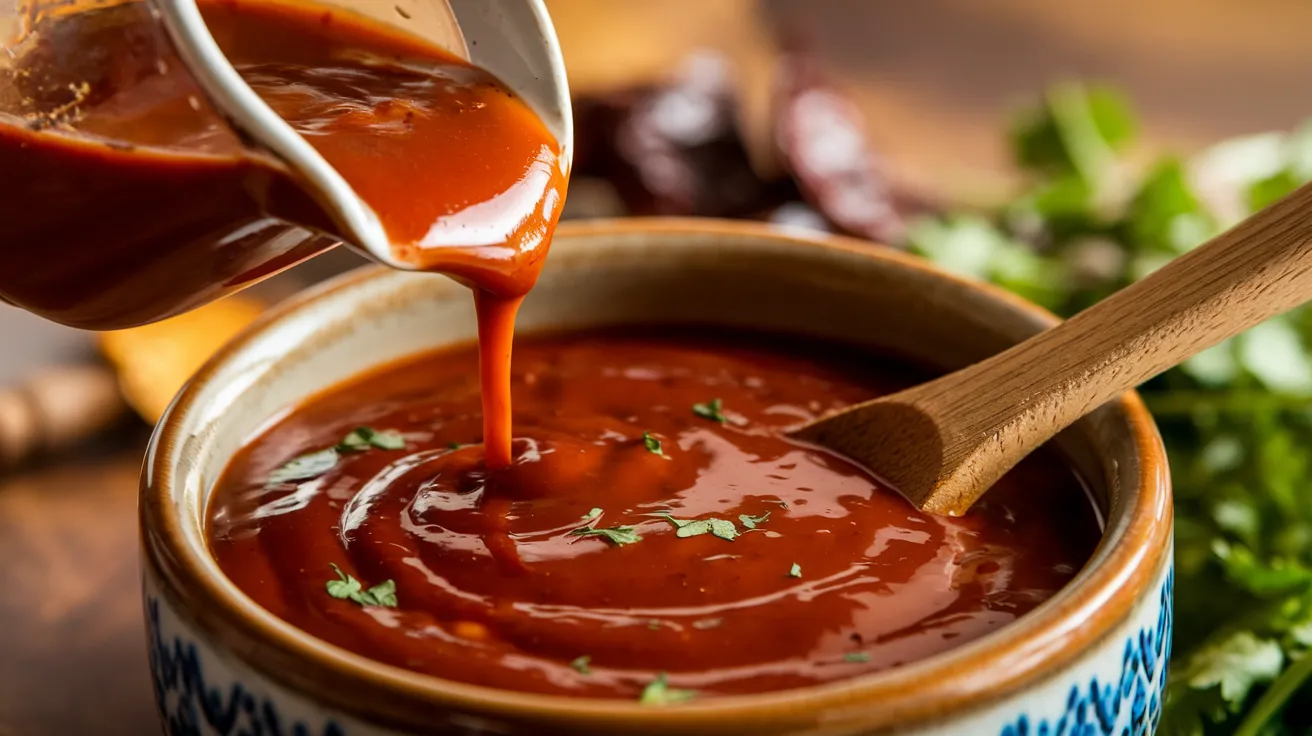
The good news? You can make a much better enchilada sauce at home in just 20 minutes with simple ingredients. This easy homemade enchilada sauce recipe will change the way you make Mexican food forever.
Let’s make enchilada sauce that’s worthy of your dinner table!
Nutrition Comparison: Homemade vs. Store-Bought
| Nutrient | Homemade (per ½ cup) | Store-Bought (per ½ cup) |
|---|---|---|
| Calories | 65 | 40-80 |
| Sodium | 310mg | 430-680mg |
| Sugar | 2g | 3-6g |
| Preservatives | None | 3-6 types |
| Cost | $0.85 | $2.50-3.99 |
What You’ll Need
Ingredients
| Ingredient | Amount | Notes |
|---|---|---|
| Vegetable oil | 3 tablespoons | Or neutral oil of choice |
| All-purpose flour | 3 tablespoons | Creates the roux base |
| Chili powder | 2-3 tablespoons | Adjust for heat preference |
| Ground cumin | 1 teaspoon | For earthy flavor |
| Garlic powder | ½ teaspoon | Fresh minced garlic works too |
| Dried oregano | ½ teaspoon | Mexican oregano if available |
| Salt | ½ teaspoon | Adjust to taste |
| Chicken or vegetable broth | 2 cups | Low-sodium recommended |
| Tomato paste | 2 tablespoons | Adds richness and color |
Kitchen Tools
| Tool | Purpose |
|---|---|
| Medium saucepan | For cooking the sauce |
| Whisk | Essential for a smooth roux |
| Measuring cups and spoons | For accurate measurements |
| Wooden spoon | For stirring |
| Glass jar with lid | For storage |
Ingredient Substitutions
- Flour: Use gluten-free all-purpose flour blend for a gluten-free version
- Chili powder: Replace with ancho chile powder or a mix of paprika and cayenne
- Broth: Use water with ½ teaspoon bouillon if you don’t have broth
- Oil: Any neutral cooking oil works well
Super-Detailed Step-by-Step Instructions
STEP 1: Set Up Your Workspace
- Clear your countertop and gather all ingredients in one place.
- This prevents mid-cooking panic when you need an ingredient quickly.
- Having everything ready means you won’t burn your roux while searching for spices.
- Measure all ingredients before you start cooking:
- Place 3 tablespoons oil in a small bowl
- Place 3 tablespoons flour in another small bowl
- Combine all spices (chili powder, cumin, garlic powder, oregano, salt) in a third bowl
- Open the tomato paste can and have a spoon ready
- Measure 2 cups of broth in a large measuring cup
- Position your tools within easy reach:
- Place your whisk and wooden spoon near the stove
- Have a heat-resistant spatula available as backup
- Keep a timer nearby (your phone works great)
STEP 2: Create The Perfect Roux Base
- Heat your saucepan properly:
- Place the pan on the burner and set to medium heat
- Allow the pan to heat for 60-90 seconds (test by hovering your hand 6 inches above – you should feel definite warmth)
- TIP: A properly preheated pan prevents the oil from sitting too long and becoming too hot
- Add the oil correctly:
- Pour all 3 tablespoons of oil into the center of the pan
- Swirl gently to coat the bottom evenly
- Watch for the oil to start shimmering (tiny ripples appear on the surface) – this takes about 30 seconds
- WARNING FOR BEGINNERS: If you see smoke, your pan is too hot – remove from heat, let cool, and start over
- Create the flour-oil mixture (roux):
- Hold your whisk in your dominant hand, ready to stir constantly
- With your other hand, sprinkle the flour gradually into the oil while whisking
- Don’t dump all the flour at once – add it in 3 batches over 15 seconds
- Whisk continuously in a figure-8 pattern, reaching all corners of the pan
- WHAT TO LOOK FOR: Mixture will first look like wet sand, then become smoother
- Cook the roux to perfection:
- Continue whisking for exactly 60-90 seconds (set a timer!)
- Watch the color change from white to pale yellow to light golden brown
- The texture should be smooth, not lumpy
- BEGINNER’S CHECK: It should look like creamy peanut butter and smell slightly nutty
- WARNING: If you see dark brown or black specks, you’ve burned it – start over
STEP 3: Develop Rich Flavor With Spices
- Lower the heat before adding spices:
- Reduce heat to medium-low
- Wait 10 seconds for the pan temperature to adjust
- This prevents burning the spices, which can make your sauce bitter
- Add spices with precision:
- Pour your pre-measured spice mixture directly into the roux
- Immediately begin whisking to incorporate – don’t let spices sit on top
- Stir continuously for 30-45 seconds (count it out loud if needed)
- WHAT YOU’LL NOTICE: The mixture will become fragrant and slightly darker
- SENSORY CHECK: You should smell a rich, aromatic scent – this means you’re doing it right!
STEP 4: Create A Smooth, Lump-Free Sauce
- Add liquid carefully to prevent lumps:
- Keep the heat on medium-low
- Pick up your whisk in one hand and measuring cup of broth in the other
- Pour exactly ¼ cup of broth (4 tablespoons) very slowly while whisking vigorously
- Focus on incorporating completely before adding more
- BEGINNER’S TIP: The mixture will sizzle and might seize up momentarily – keep whisking!
- VISUAL CHECK: This first addition should create a very thick paste
- Build your sauce gradually:
- Once the first addition is smooth, add another ½ cup of broth
- Whisk continuously until smooth again
- Now add the remaining broth in a steady stream while whisking
- TECHNIQUE TIP: Keep the whisk moving constantly in a figure-8 pattern to reach all parts of the pan
- Incorporate tomato paste properly:
- Add the 2 tablespoons tomato paste by dropping it in small dollops around the pan
- Whisk each dollop until it disappears before moving to the next area
- Continue whisking until you see no red streaks – about 30-45 seconds
- COLOR CHECK: Your sauce should now be a uniform reddish-brown color
STEP 5: Simmer To Perfect Consistency
- Bring to the right type of simmer:
- Increase heat to medium
- Stir occasionally with your wooden spoon
- Wait 2-3 minutes until you see small bubbles forming around the edges
- When bubbles appear across the entire surface, reduce heat to low
- WHAT TO LOOK FOR: Gentle bubbles, not a rolling boil
- Manage the simmer correctly:
- Let the sauce simmer gently for 10-15 minutes
- Stir every 2-3 minutes, scraping the bottom and sides of the pan
- BEGINNER’S WARNING: Don’t cover the pan – you want some evaporation to thicken the sauce
- SAFETY TIP: Be careful of occasional splatters – use your wooden spoon for stirring now
- Test for proper thickness:
- After 10 minutes, dip your wooden spoon into the sauce
- Run your finger across the back of the spoon
- If it leaves a clear path that doesn’t immediately fill in, it’s ready
- If the sauce runs together quickly, continue simmering 3-5 more minutes
- TEXTURE GOAL: It should be like a creamy soup, thick enough to coat the back of a spoon but still pourable
STEP 6: Perfect The Flavor
- Cool slightly before tasting:
- Remove pan from heat
- Let stand for 2-3 minutes (set a timer)
- SAFETY FIRST: Never taste piping hot sauce – you’ll burn your tongue and won’t taste properly
- Taste and adjust like a pro:
- Take a small taste using a clean spoon
- Evaluate systematically:
- Not flavorful enough? Add ¼ teaspoon salt
- Too mild? Add ¼ teaspoon more chili powder
- Too spicy? Add 1 teaspoon sugar to balance
- Tastes flat? Add ¼ teaspoon more cumin
- After each adjustment, stir well and wait 30 seconds before tasting again
- Final consistency check:
- If sauce has thickened too much while cooling, add 1-2 tablespoons warm broth
- Stir until smooth
- PERFECT CONSISTENCY: It should pour easily but coat the back of a spoon
Troubleshooting Common Issues
My Sauce Is Lumpy
- Solution:
- Remove from heat immediately
- Whisk vigorously for 30-60 seconds
- If lumps persist, press through a fine-mesh strainer or blend with an immersion blender
- Prevention:
- Add liquid very gradually
- Whisk constantly during liquid addition
- Make sure your roux is smooth before adding liquid
My Sauce Is Too Spicy
- Solution:
- Add 1 teaspoon sugar and stir well
- Add 1 tablespoon tomato paste for more acidity to balance heat
- Add up to ¼ cup more broth to dilute
- Prevention:
- Start with 1 tablespoon chili powder
- Taste before adding full amount
- Remember that spices become more potent as they cook
My Sauce Is Too Thin
- Solution:
- Continue simmering uncovered for 5-10 more minutes
- If still too thin, mix 1 teaspoon cornstarch with 1 tablespoon cold water and stir in
- Bring to simmer again for 1 minute until thickened
- Prevention:
- Simmer sauce uncovered
- Make sure your roux is cooked properly before adding liquid
- Don’t add extra liquid unless necessary
My Sauce Tastes Bitter
- Solution:
- Add ¼ teaspoon honey or sugar
- Add a tiny pinch (⅛ teaspoon) of baking soda
- A splash of cream can also help balance bitterness
- Prevention:
- Don’t burn the roux (watch carefully and keep heat moderate)
- Don’t over-toast the spices (30 seconds maximum)
- Use fresh spices – old spices can become bitter
Variations & Substitutions
Green Enchilada Sauce
- Replace tomato paste with 3 roasted, peeled, and chopped tomatillos
- Add ¼ cup chopped fresh cilantro at the end of cooking
- Include 1 small roasted poblano pepper, finely diced
- TIP: Roast tomatillos under broiler until charred, about 5-7 minutes
Extra Spicy Version
- Add ¼ teaspoon cayenne pepper with other spices
- Include 1 minced chipotle pepper in adobo sauce (from canned chipotles)
- For even more heat, add ½ teaspoon red pepper flakes
- HEAT TIP: Add a small amount first, then gradually increase to your preference
Smoky Enchilada Sauce
- Use 1 tablespoon smoked paprika as part of your chili powder
- Add ½ teaspoon liquid smoke (find near barbecue sauce in grocery store)
- For extra smokiness, add ¼ teaspoon ground chipotle powder
- FLAVOR TIP: Toast 1 dried guajillo or ancho chile, then grind and add
Storage & Reheating
Refrigerator Storage
- Cool sauce completely at room temperature (no more than 1 hour)
- Transfer to an airtight glass container with tight-fitting lid
- Label with date using masking tape or marker
- Refrigerate for up to 5 days
- FLAVOR NOTE: The sauce often tastes even better after 24 hours as flavors meld
Freezer Storage
- Pour cooled sauce into:
- Freezer-safe containers leaving ½ inch headspace
- Ice cube trays (perfect for small portions)
- Zip-top freezer bags laid flat to freeze
- Label with name and date
- Freeze for up to 3 months
- PORTION TIP: Freeze in ½ cup portions for easy future use
Reheating Instructions
- Stovetop Method:
- Place in saucepan over medium-low heat
- Stir frequently with wooden spoon
- Heat 4-5 minutes until steaming (165°F)
- Microwave Method:
- Place in microwave-safe container
- Cover loosely with paper towel to prevent splatters
- Heat in 30-second intervals, stirring between each
- Usually takes 1-2 minutes total depending on amount
- Thickened Sauce Fix:
- If sauce has thickened in storage, add 1-2 tablespoons of water or broth while reheating
- Stir well to incorporate
- CONSISTENCY TIP: Add liquid 1 tablespoon at a time until desired consistency
Safety Notes & Tips
Food Safety
- Always refrigerate sauce within 2 hours of cooking
- Do not refreeze sauce that has been previously frozen and thawed
- Discard if left at room temperature for more than 2 hours
- SAFETY CHECK: If sauce develops off odor, appearance, or mold, discard immediately
Cooking Tips
- Make a double batch and freeze half for future meals – same effort, twice the reward!
- For a deeper flavor, toast whole dried chiles (ancho, guajillo, or New Mexico), then grind them instead of using pre-ground chili powder.
- Taste as you go – every chili powder brand varies in spice level and flavor.
- Experiment with different cultural sauces to inspire variations of this basic recipe.
- Let the sauce cool slightly before tasting to avoid burning your tongue.
- CHEF’S SECRET: Add a tiny pinch of cinnamon (⅛ teaspoon) for complex restaurant-quality flavor.
How to Use Your Homemade Enchilada Sauce
This sauce is perfect for classic enchiladas, but try these other creative uses:
- Mix with shredded chicken for quick tacos
- Use as a simmer sauce for Mexican-style rice
- Pour over burritos for “wet” burritos style
- Add to soups for extra flavor
- Stir into scrambled eggs for a spicy breakfast
- Pair with authentic Mexican white sauce for the perfect combo of flavors
- SERVING TIP: For enchiladas, you’ll need about 1½ cups of sauce for a standard 9×13 pan
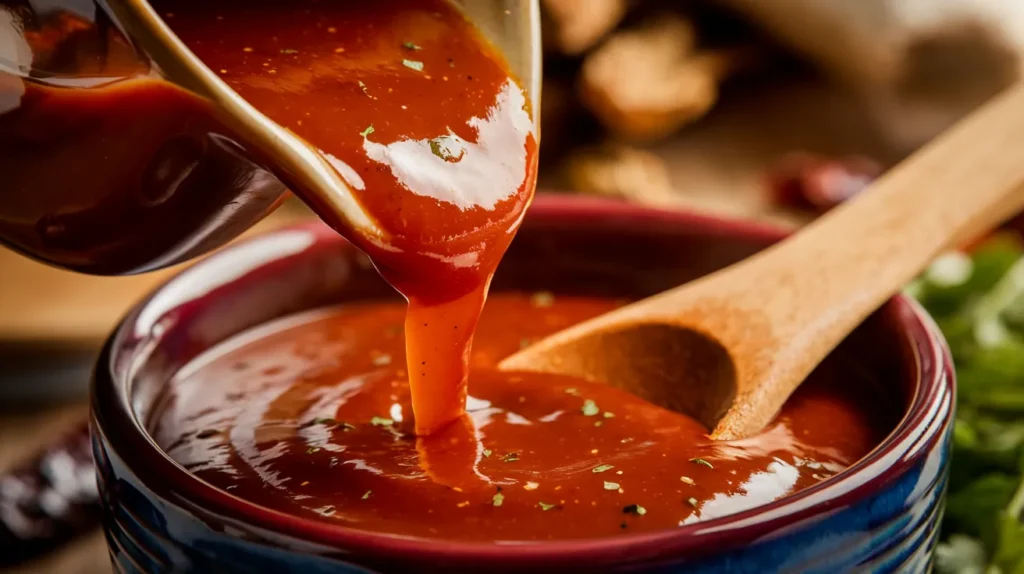
This easy homemade enchilada sauce recipe takes just 20 minutes but will make your Mexican dishes taste like they came from an authentic restaurant. The complex flavors develop from simple ingredients and basic cooking techniques anyone can master. Give it a try next time you’re craving enchiladas!


