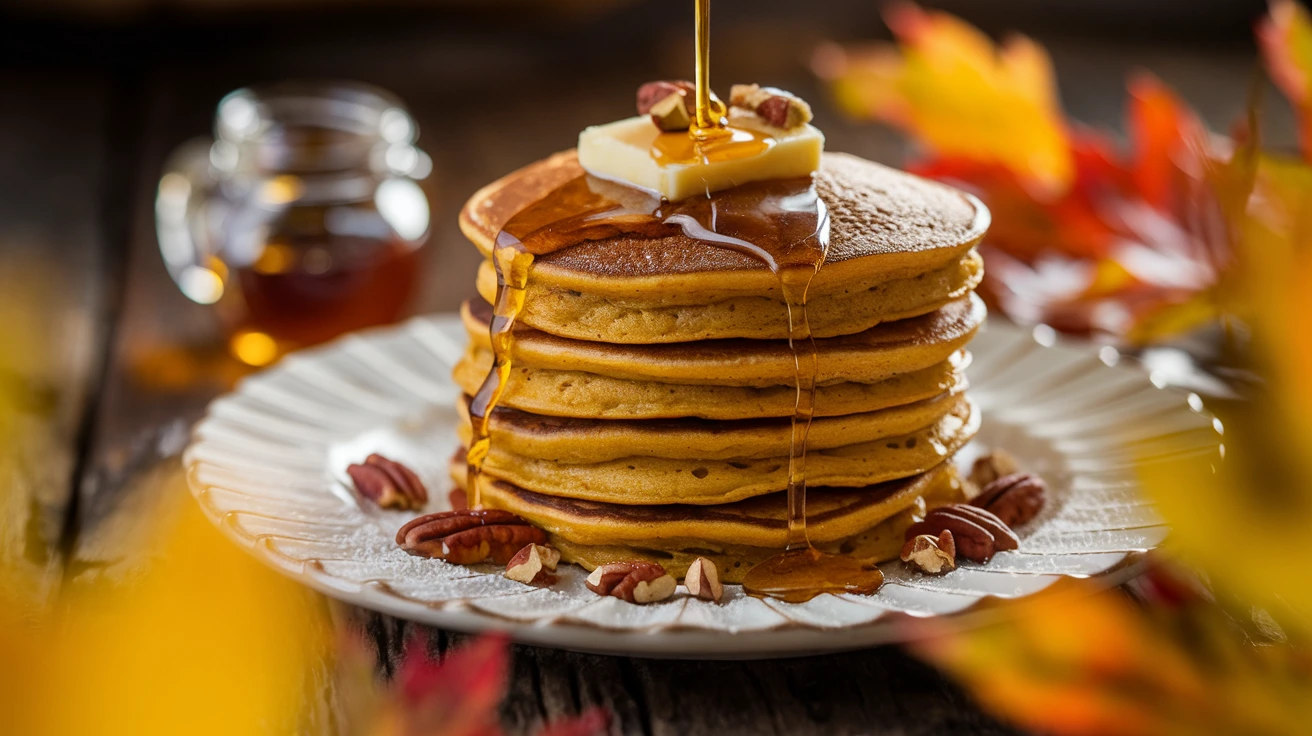
These fluffy pumpkin pancakes transform your breakfast into a cozy autumn celebration with perfectly spiced, cloud-like texture that rivals your favorite café. Master this foolproof fluffy pumpkin pancakes recipe in under 30 minutes for a weekend brunch that’ll have everyone asking for seconds.
SERVES: 4 | PREP: 10 MIN | COOK: 15 MIN | TOTAL: 25 MIN
Why These Pumpkin Pancakes Work
I’ve tested this recipe dozens of times to get that perfect balance of pumpkin flavor without making dense, cake-y pancakes. The secret? We’re using just enough pumpkin purée to deliver flavor while buttermilk and a special folding technique keep everything impossibly light.
These aren’t your average fall pancakes. They’re legitimately fluffy with crispy edges and a tender center that melts in your mouth.
Ingredients
Dry Ingredients
| Ingredient | Amount |
|---|---|
| All-purpose flour | 2 cups |
| Light brown sugar | 3 tablespoons |
| Baking powder | 2 teaspoons |
| Baking soda | 1 teaspoon |
| Ground cinnamon | 1½ teaspoons |
| Ground ginger | ½ teaspoon |
| Ground nutmeg | ¼ teaspoon |
| Salt | ½ teaspoon |
Wet Ingredients
| Ingredient | Amount |
|---|---|
| Buttermilk | 1½ cups |
| Pumpkin purée (not pie filling) | ¾ cup |
| Large eggs | 2 |
| Melted butter | 4 tablespoons |
| Vanilla extract | 2 teaspoons |
For Cooking
| Ingredient | Amount |
|---|---|
| Butter or neutral oil | For griddle |
Step-by-Step Instructions
Phase 1: Prep Your Ingredients (5 minutes)
Step 1: Pull out two large mixing bowls and place them on your counter. This two-bowl method is critical for fluffy pancakes because we’ll keep the dry and wet ingredients separate until the last possible moment. Mixing too early creates gluten development, which leads to tough, rubbery pancakes.
Step 2: Measure your 2 cups of flour using the spoon-and-level method—spoon flour into your measuring cup and level off with a knife. Don’t scoop directly from the bag or you’ll pack in too much flour, making dense pancakes.
Step 3: Add 3 tablespoons brown sugar, 2 teaspoons baking powder, 1 teaspoon baking soda, 1½ teaspoons cinnamon, ½ teaspoon ginger, ¼ teaspoon nutmeg, and ½ teaspoon salt to the flour. Whisk these dry ingredients together for 30 seconds until you see an even color throughout—no white streaks of flour or brown clumps of sugar.
Step 4: Crack your 2 eggs into the second bowl and whisk them lightly for 10 seconds. This pre-whisking helps them incorporate smoothly into the batter.
Phase 2: Combine Wet Ingredients (3 minutes)
Step 5: Pour 1½ cups buttermilk into the bowl with your eggs. The buttermilk’s acidity reacts with the baking soda to create extra lift, which is why these fluffy pumpkin pancakes rise so beautifully on the griddle.
Step 6: Add ¾ cup pumpkin purée to the buttermilk mixture. Make sure you’re using pure pumpkin purée, not pumpkin pie filling—pie filling contains added sugar and spices that’ll throw off the recipe balance.
Step 7: Melt 4 tablespoons butter in the microwave for 20-30 seconds until completely liquid. Let it cool for 1 minute so it doesn’t cook the eggs, then pour it into your wet ingredients along with 2 teaspoons vanilla extract.
Step 8: Whisk the wet ingredients together for 45 seconds until completely smooth with no pumpkin lumps visible. The mixture should look like a thick, orange-tinted milkshake.
Phase 3: Mix the Batter (2 minutes)
Step 9: Pour the wet ingredients into the bowl with your dry ingredients all at once. Here’s where most people mess up—you’re going to gently fold the mixture together using a rubber spatula, not whisk it aggressively.
Step 10: Use a folding motion, scraping from the bottom of the bowl and turning the batter over itself. Stop mixing when you still see a few small flour streaks—about 15-20 gentle folds total. The batter will look lumpy and slightly uneven. This is perfect. Overmixing develops gluten and destroys the fluffy texture we’re after.
Step 11: Let the batter rest for 5 minutes while your griddle heats. This resting time allows the baking powder to activate and the flour to fully hydrate, resulting in taller pancakes. You’ll actually see the batter puff up slightly during this rest period.
Phase 4: Cook the Pancakes (15 minutes)
Step 12: Heat a large griddle or non-stick skillet over medium heat for 3-4 minutes. Test the temperature by flicking a few drops of water onto the surface—they should sizzle and evaporate within 2-3 seconds. Too hot and your pancakes burn before cooking through; too cool and they’ll be pale and dense.
Step 13: Add a small pat of butter (about ½ tablespoon) to the griddle and spread it with a spatula or paper towel. You want a thin, even coating that prevents sticking without creating greasy pancakes.
Step 14: Pour ⅓ cup batter per pancake onto the griddle, spacing them 2 inches apart. Don’t spread the batter—let it settle naturally into circles. The edges should be slightly thicker than the center, which helps them cook evenly.
Step 15: Watch for bubbles to form across the entire surface of each pancake—this takes 2-3 minutes. When you see bubbles forming in the center and the edges look dry and slightly matte instead of shiny, they’re ready to flip.
Step 16: Slide your spatula completely under each pancake in one smooth motion and flip quickly. The cooked side should be golden brown with darker spots. If it’s pale, your heat is too low; if it’s dark brown or burnt, reduce the heat immediately.
Step 17: Cook the second side for 1½-2 minutes until golden brown. This side always cooks faster than the first, so watch carefully. Press gently on the center—if it springs back, it’s done. If it feels mushy, give it another 30 seconds.
Step 18: Transfer finished pancakes to a plate and tent loosely with foil to keep warm. Add another small pat of butter to the griddle and repeat with remaining batter. You should get approximately 12 fluffy pumpkin pancakes total from this recipe.
Chef’s Notes
Temperature Control Is Everything: Your griddle temperature makes or breaks these fluffy pumpkin pancakes. If pancakes are burning before cooking through, reduce heat to medium-low. If they’re taking longer than 3 minutes per side, increase to medium-high.
The Buttermilk Substitute: No buttermilk? Add 1½ tablespoons white vinegar or lemon juice to regular milk and let it sit for 5 minutes. This creates the same acidic reaction needed for fluffy texture.
Pumpkin Purée Consistency: If your pumpkin purée seems watery (some brands are wetter), drain it in a fine-mesh strainer for 10 minutes before using. Too much moisture creates flat, soggy pancakes.
Make-Ahead Magic: Mix dry ingredients the night before and store in an airtight container. In the morning, you’re just 5 minutes away from fresh fluffy pumpkin pancakes.
Nutrition Information (Per Serving of 3 Pancakes)
Calories: 385
Protein: 11g
Carbohydrates: 54g
Fat: 14g
Fiber: 3g
Sugar: 12g
Delicious Variations
Chocolate Chip Pumpkin Pancakes: Sprinkle 2 tablespoons mini chocolate chips onto each pancake immediately after pouring batter on the griddle. The chips melt slightly while cooking, creating pockets of melted chocolate throughout.
Pecan Praline Version: Toast ½ cup chopped pecans in butter with 2 tablespoons brown sugar until caramelized. Sprinkle over finished pancakes. This variation reminds me of the indulgent texture you get in flourless protein pancakes, but with autumn spices.
Spiced Apple Pumpkin: Fold ¾ cup finely diced apples (tossed with cinnamon) into the finished batter. The apple pieces add bursts of sweetness and texture that complement the pumpkin beautifully.
Simplified Three-Ingredient Style: For an even easier weekend breakfast, check out these 3-ingredient pumpkin pancakes that deliver pumpkin flavor with minimal prep work.
Storage & Reheating
Refrigerator: Stack cooled pancakes with parchment paper between each layer and store in an airtight container for up to 4 days. The parchment prevents them from sticking together when you reheat.
Freezer: Place pancakes in a single layer on a baking sheet and freeze until solid (about 2 hours), then transfer to a freezer bag. They’ll keep for 3 months. This flash-freezing method prevents them from freezing together in one solid block.
Reheating: The microwave works for quick breakfasts (30-40 seconds per pancake), but the toaster or toaster oven gives you back those crispy edges. Toast on medium heat for 2-3 minutes until warmed through and slightly crispy.
Make-Ahead Tip: These fluffy pumpkin pancakes actually taste better the next day as the spices meld together. Make a double batch on Sunday for quick weekday breakfasts.
Troubleshooting Common Problems
Problem 1: Dense, Heavy Pancakes
You overmixed the batter. Remember to stop mixing when you still see small flour streaks—usually after just 15-20 gentle folds. The batter should look lumpy, not smooth. Also check that your baking powder isn’t expired (it loses potency after 6 months).
Problem 2: Pancakes Spreading Too Thin
Your batter is too loose, usually from measuring flour incorrectly or using watery pumpkin purée. Add 2-3 tablespoons more flour, one tablespoon at a time, until the batter holds its shape when poured. It should be thick enough to mound slightly, not run like crepe batter.
Problem 3: Burnt Outsides, Raw Centers
Your griddle is too hot. Reduce heat to medium or medium-low and give the pan 2 minutes to adjust. Fluffy pumpkin pancakes need gentle, even heat to cook through properly. Use slightly less batter per pancake (¼ cup instead of ⅓ cup) for thinner cakes that cook faster.
Problem 4: Pale, Unappetizing Color
Increase your heat slightly—they should sizzle gently when batter hits the pan. Also, make sure you’re using enough butter or oil on the griddle. The fat helps with browning and creates those beautiful golden edges.
Problem 5: Sticking to the Pan
Even non-stick pans need fat. Add a thin layer of butter or oil between every batch. If using a cast iron or stainless steel pan, heat it longer (4-5 minutes) and use more butter. The pan isn’t fully heated if pancakes stick within the first 30 seconds of cooking.
Equipment Essentials
Large Griddle or Non-Stick Skillet: A griddle lets you cook 4-5 pancakes simultaneously. If using a skillet, choose one at least 10 inches in diameter.
Two Large Mixing Bowls: Keep dry and wet ingredients separate until mixing. Glass or metal bowls work better than plastic for whisking.
Whisk: Essential for combining dry ingredients evenly and creating smooth wet ingredients.
Rubber Spatula: The best tool for gently folding batter without overmixing.
Wide Metal Spatula: You need something sturdy enough to flip fluffy pancakes without breaking them. A thin, flexible spatula works best.
Measuring Cups and Spoons: Accurate measurements are critical for fluffy texture.
⅓ Cup Measuring Cup or Ladle: Ensures consistently sized pancakes that cook evenly.
Shopping List
Baking Aisle
- All-purpose flour
- Light brown sugar
- Baking powder
- Baking soda
- Ground cinnamon
- Ground ginger
- Ground nutmeg
- Vanilla extract
Dairy Section
- Buttermilk
- Butter
- Large eggs
Canned Goods
- Pure pumpkin purée (not pie filling)
Pantry
- Salt
Success Secrets
1. Temperature Test Before Cooking: Always test your griddle with water droplets before pouring batter. Perfect temperature creates the fluffiest pancakes with golden-brown exteriors and tender centers.
2. Don’t Press Down While Cooking: Resist the urge to press pancakes with your spatula. This squeezes out air bubbles and makes them dense instead of fluffy.
3. Fresh Leavening Agents: Check your baking powder and baking soda expiration dates. Old leavening agents won’t create enough lift, leaving you with flat fluffy pumpkin pancakes (which is an oxymoron nobody wants).
4. Room Temperature Ingredients: Let eggs and buttermilk sit out for 15 minutes before mixing. Cold ingredients create lumpy batter and don’t incorporate smoothly, affecting the final texture.
5. The Single-Flip Rule: Flip each pancake exactly once. Multiple flips deflate the interior structure you’ve worked so hard to create, resulting in tough, dense pancakes instead of cloud-like fluffy ones.
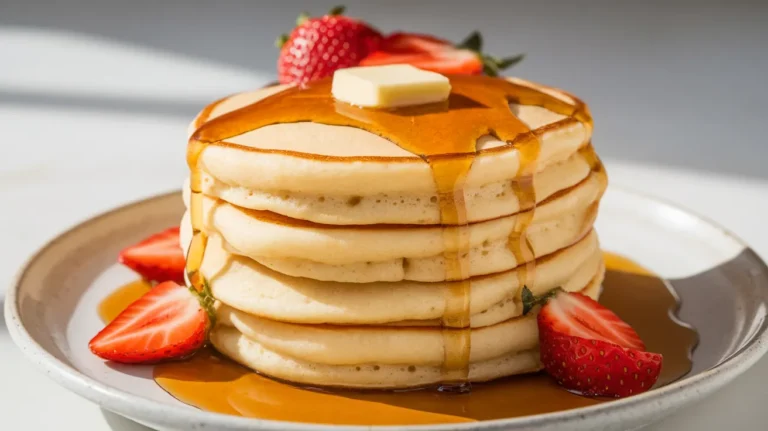
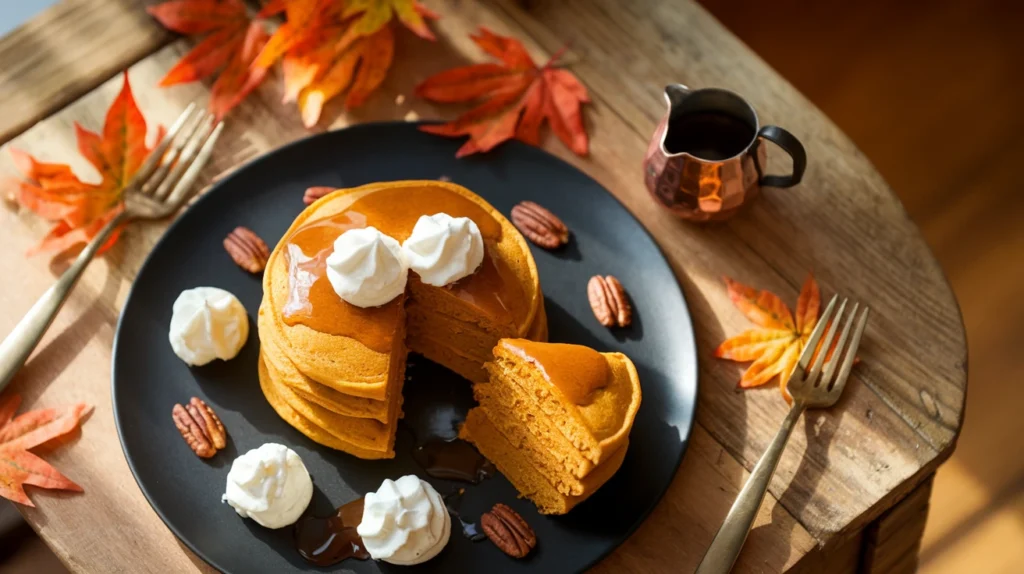
Serve your fluffy pumpkin pancakes hot off the griddle with real maple syrup, a pat of butter, and maybe some whipped cream for special occasions. The combination of warm spices, tender texture, and crispy edges makes these pancakes perfect for lazy weekend mornings or holiday breakfasts that’ll become family traditions.