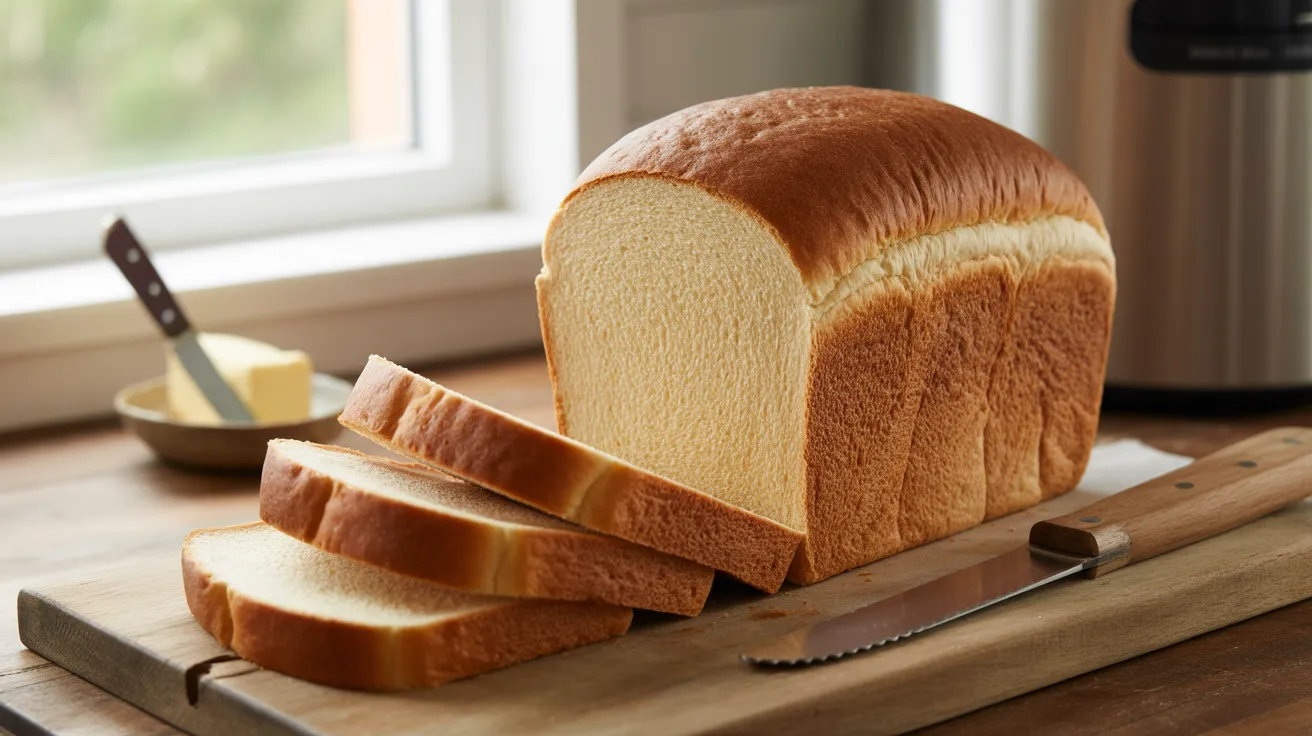
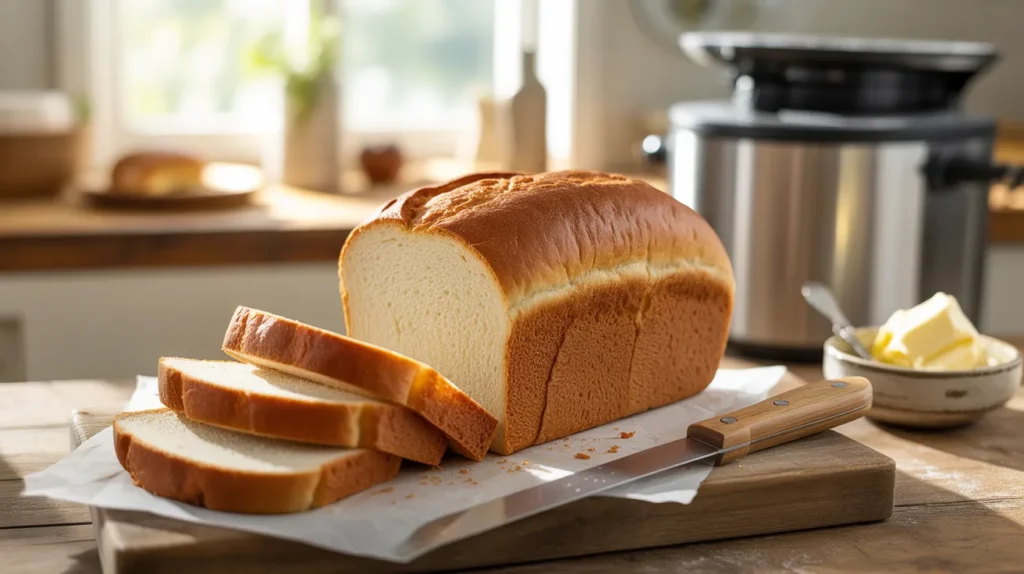
Making gluten-free bread machine sandwich bread at home gives you soft, fluffy slices without the gumminess or crumbling that store-bought versions often have. This gluten-free bread machine sandwich bread recipe creates perfectly textured loaves with a golden crust and tender crumb that actually holds together for sandwiches. I’ve tested this recipe dozens of times to get the ratios just right, and now you can enjoy fresh bread without spending hours kneading or worrying about cross-contamination.
SERVES: 4 (1 loaf, approximately 12 slices) | PREP: 10 MIN | COOK: 3 HR | TOTAL: 3 HR 10 MIN
Ingredients
| Wet Ingredients | Amount |
|---|---|
| Warm water (100-110°F) | 1¼ cups |
| Large eggs | 3 |
| Apple cider vinegar | 1 tablespoon |
| Honey | 2 tablespoons |
| Olive oil | 3 tablespoons |
| Dry Ingredients | Amount |
|---|---|
| White rice flour | 2 cups |
| Tapioca starch | ¾ cup |
| Potato starch (not potato flour) | ½ cup |
| Xanthan gum | 2 teaspoons |
| Salt | 1½ teaspoons |
| Active dry yeast | 2¼ teaspoons (1 packet) |
| Sugar | 1 tablespoon |
Step-by-Step Instructions
Preparation Phase (5 minutes)
Step 1: Check your water temperature with a thermometer or test it on your wrist—it should feel like warm bathwater, not hot. Water that’s too hot (above 120°F) will kill the yeast, and water that’s too cold won’t activate it properly.
Step 2: Crack your eggs into a small bowl first to check for shells before adding them to your bread pan. This prevents fishing out shell pieces later, which can be tricky once everything’s mixed.
Step 3: Measure your rice flour by spooning it into your measuring cup and leveling it off with a knife. Don’t scoop directly from the bag—this packs the flour and adds too much, making your bread dense and heavy.
Step 4: Double-check that you’re using potato starch, not potato flour. They’re completely different products, and potato flour will make your bread gummy and inedible. Potato starch is light and powdery like cornstarch.
Assembly Phase (5 minutes)
Step 5: Pour the warm water into your bread machine pan first. Liquid ingredients always go in first for bread machines because the mixing paddle is at the bottom, and this ensures even mixing from the start.
Step 6: Add the eggs, apple cider vinegar, honey, and olive oil to the water. The vinegar helps activate the xanthan gum and creates a better structure, similar to how gluten works in regular bread.
Step 7: In a separate large bowl, whisk together all your dry ingredients except the yeast: white rice flour, tapioca starch, potato starch, xanthan gum, and salt. Whisking for 30 seconds breaks up any clumps and distributes the xanthan gum evenly throughout the flour blend.
Step 8: Gently pour your whisked dry ingredients over the wet ingredients in the bread pan. Spread them evenly to cover the liquid completely—this creates a “barrier” that keeps the yeast dry until mixing starts.
Step 9: Make a small well (about the size of a quarter) in the center of the flour mixture, being careful not to reach the liquid below. Add your yeast and sugar to this well. The sugar feeds the yeast, and keeping it dry until mixing prevents premature activation.
Baking Phase (3 hours)
Step 10: Select your bread machine’s “Gluten-Free” cycle if it has one. If your machine doesn’t have this setting, use the “Basic” or “White Bread” cycle with a medium crust setting. Gluten-free cycles typically have shorter kneading times and longer rise times, which works better for these batters.
Step 11: Close the lid and press start, but don’t walk away yet. After 5 minutes of mixing, open the lid and check the batter consistency. It should look like thick pancake batter that slowly drops from a spoon—not dough-like at all. If it’s too thick and pulling away from the sides completely, add water 1 tablespoon at a time until you reach the right consistency.
Step 12: If your batter is too thin and looks like soup, add 1 tablespoon of rice flour at a time until it thickens. Getting this consistency right is the secret to perfect texture, so it’s worth pausing to check.
Step 13: Use a rubber spatula to scrape down the sides of the pan during the first 5 minutes of mixing. Gluten-free batters don’t climb up the sides like wheat dough, but dry flour can get stuck in the corners and create unmixed pockets.
Step 14: After the mixing cycle finishes (usually 10-15 minutes), your bread machine will start its rising cycle. You’ll see the batter slowly expand and develop a slightly domed top. This is normal—gluten-free bread rises less dramatically than wheat bread.
Step 15: About 2 hours into the cycle, you’ll smell the bread baking. Resist opening the lid during baking, as this releases heat and can cause the bread to collapse in the center.
Step 16: When the cycle completes and your machine beeps, check that the bread is done by inserting an instant-read thermometer into the center. It should read 200-205°F. If it’s below 195°F, select the “Bake Only” cycle for an additional 10 minutes.
Cooling Phase (10 minutes minimum)
Step 17: Immediately remove the bread pan from the machine using oven mitts—it’s extremely hot. Let it sit for 2-3 minutes to allow the bread to contract slightly from the pan sides, making removal easier.
Step 18: Turn the pan upside down and gently shake to release the bread. If it’s stuck, run a thin plastic spatula around the edges. Never use metal utensils, as they’ll scratch your non-stick pan.
Step 19: Place the loaf on a wire cooling rack and let it cool for at least 1 hour before slicing. I know this is hard, but cutting warm gluten-free bread causes it to compress and become gummy. The interior needs time to set properly.
Step 20: Once completely cool, use a serrated bread knife with a gentle sawing motion to slice. Don’t press down—let the knife do the work. Your slices should hold together perfectly without crumbling.
Chef’s Notes
Flour Blend Flexibility: I’ve had great success substituting sorghum flour for half the rice flour if you prefer a slightly nuttier flavor. This works beautifully in gluten-free sandwich bread recipes and adds more nutritional value.
Egg Substitute Option: For egg-free versions, replace each egg with ¼ cup unsweetened applesauce plus 1 teaspoon additional xanthan gum. The texture will be slightly denser but still sliceable.
Dairy-Free Butter Alternative: Brush the top crust with melted coconut oil or dairy-free butter immediately after removing from the pan for a softer, more golden crust with beautiful shine.
Altitude Adjustments: If you’re baking above 3,000 feet elevation, reduce the yeast to 1¾ teaspoons and increase the liquid by 2 tablespoons to prevent over-rising and collapse.
Nutrition Information (Per Serving – 3 slices)
- Calories: 385
- Protein: 8g
- Carbohydrates: 68g
- Fat: 11g
- Fiber: 2g
- Sodium: 445mg
Delicious Variations
Cinnamon Raisin Swirl: Add 1 teaspoon cinnamon to your dry ingredients and ½ cup raisins after the first 5 minutes of mixing. This creates a sweet breakfast bread perfect for morning toast with butter.
Seeded Multigrain: Mix in 2 tablespoons each of sunflower seeds, pumpkin seeds, and sesame seeds during the last minute of kneading. The seeds add crunch and protein, much like the texture variations you get in traditional braided bread machine recipes.
Herbs & Garlic: Stir in 1 tablespoon dried Italian herbs and 2 minced garlic cloves for a savory loaf that’s perfect for sandwiches or alongside pasta dishes.
Sweet Banana Bread Style: Replace ¼ cup of the water with ¼ cup mashed banana and add ½ teaspoon vanilla extract for a subtle sweetness. If you love banana-based breads, you might also enjoy this classic banana bread recipe that uses similar moisture techniques.
Storage & Reheating
Room Temperature Storage: Keep your bread in an airtight container or resealable plastic bag at room temperature for up to 3 days. Gluten-free bread dries out faster than wheat bread, so airtight storage is critical.
Refrigerator Storage: For longer freshness, refrigerate the bread for up to 1 week. Slice before storing so you can remove individual pieces without exposing the whole loaf to air repeatedly.
Freezer Storage: This bread freezes beautifully for up to 3 months. Slice the entire loaf first, then place parchment paper between slices before wrapping tightly in plastic wrap and aluminum foil. This lets you remove single slices as needed.
Reheating Instructions: Toast frozen slices directly from the freezer—no thawing needed. For fresh slices, a quick 10-second microwave or 1-minute toaster warming brings back that just-baked softness.
Troubleshooting Guide
Problem #1: Dense, Heavy Bread Your flour ratios were likely off, or you packed the flour when measuring. Always spoon flour into measuring cups and level off. Also check that your batter consistency during mixing looked like thick pancake batter—too thick means too much flour. Use the spoon-and-level method every time for accurate measurements.
Problem #2: Collapsed or Sunken Center This happens when the bread rises too much and then falls. Your yeast may have been too fresh or your kitchen too warm, causing over-proofing. Next time, reduce yeast by ¼ teaspoon or use cool water (90-95°F instead of 100-110°F). Also ensure you’re not opening the lid during baking, which releases crucial heat.
Problem #3: Gummy, Wet Texture You cut the bread too soon before it fully cooled, or your batter was too wet. Gluten-free breads need that full hour of cooling for the starches to set properly. If the batter consistency was the issue, remember it should slowly drop from a spoon, not pour like soup. Check your batter after 5 minutes of mixing and adjust as needed.
Problem #4: Bread Stuck in Pan Your bread pan may need replacement or better greasing, even if it’s non-stick. Spray the pan, paddle, and paddle shaft with cooking spray before adding ingredients. If bread still sticks, it might be over-baked—check that internal temperature at 200-205°F and don’t let it bake beyond that.
Problem #5: Large Air Pockets or Holes Too much yeast or too long of a rise cycle created oversized bubbles that didn’t fill in during baking. Reduce yeast by ½ teaspoon next time, and make sure you’re scraping down the sides during mixing to eliminate air pockets from the start. Also ensure your xanthan gum is fresh and properly whisked into the flour blend.
Equipment Essentials
- Bread machine with 1.5-2 lb capacity (gluten-free or basic cycle)
- Digital thermometer for checking water and bread temperatures
- Kitchen scale (optional but helpful for precision)
- Rubber spatula for scraping sides during mixing
- Wire cooling rack to prevent soggy bottom crust
- Serrated bread knife for clean, crumb-free slicing
- Measuring cups and spoons (dry and liquid)
- Large mixing bowl for whisking dry ingredients
- Instant-read thermometer for checking doneness
Shopping List
Baking Aisle:
- White rice flour
- Tapioca starch
- Potato starch
- Xanthan gum
- Active dry yeast
- Sugar
Refrigerated Section:
- Large eggs (need 3)
Condiments/Oils:
- Apple cider vinegar
- Honey
- Olive oil
Pantry Staples:
- Salt
Success Secrets
- Temperature is everything. Use a thermometer to confirm your water is 100-110°F—this narrow range activates yeast perfectly without killing it, and it’s the difference between success and failure.
- Check batter consistency at 5 minutes. This is your only chance to adjust before baking starts. The thick pancake batter texture is your target—too thick adds flour, too thin adds water, one tablespoon at a time.
- Don’t skip the cooling time. I know that hour feels endless, but gluten-free bread continues “baking” internally as it cools, and cutting early gives you gummy slices that compress and tear.
- Weigh your flours if possible. Cup measurements can vary by 20-30% depending on how you scoop, but rice flour should be 140g per cup, tapioca starch 120g per cup, and potato starch 160g per cup for perfect results.
- Refresh your xanthan gum yearly. Old xanthan gum loses binding power and leads to crumbly bread. Buy small containers, write the purchase date on them, and replace annually for consistently reliable results.