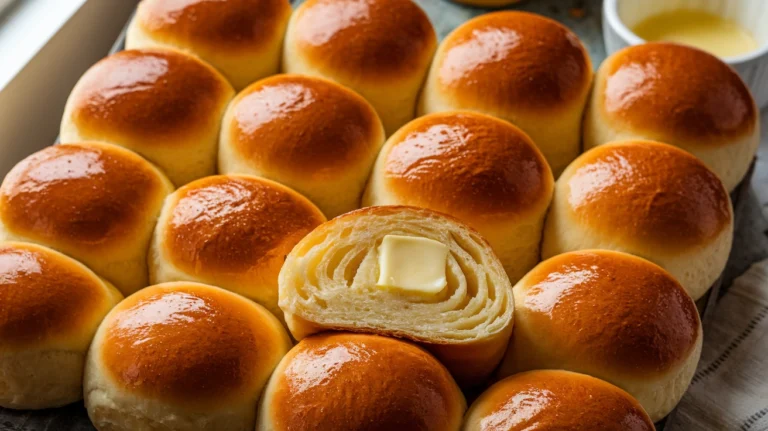
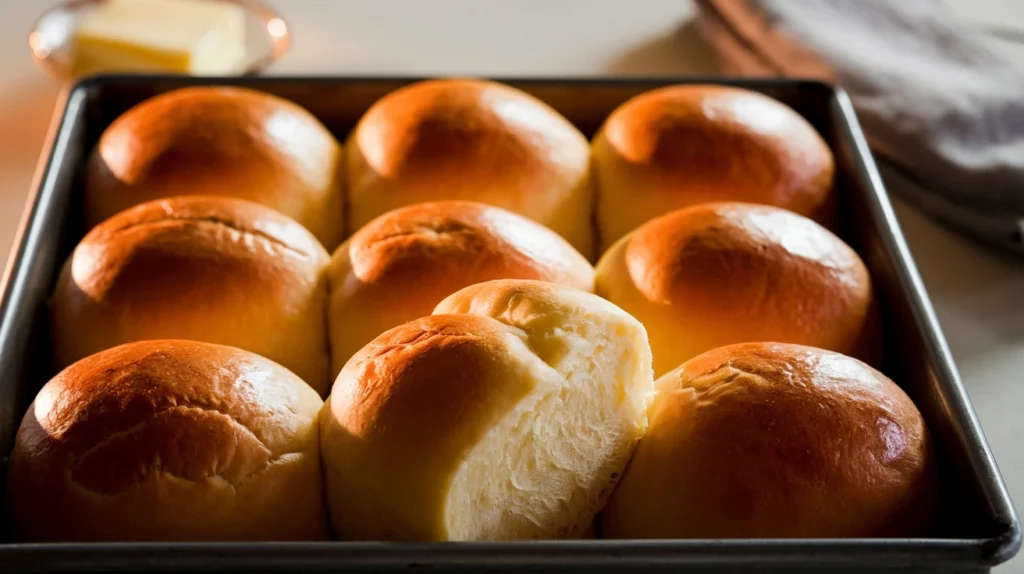
Craving those impossibly soft, buttery golden corral dinner rolls from your favorite buffet? This homemade golden corral dinner roll recipe delivers the same pillowy texture and rich flavor that makes these rolls so addictive. Perfect for family dinners, holidays, or anytime you want restaurant-quality bread at home.
SERVES: 4 | PREP: 20 MIN | COOK: 18 MIN | TOTAL: 3 HR 38 MIN
Ingredients
Dough Base
| Ingredient | Amount |
|---|---|
| Warm water (110°F) | 1 cup |
| Active dry yeast | 2¼ teaspoons (1 packet) |
| Granulated sugar | 3 tablespoons |
| All-purpose flour | 3½ cups |
| Salt | 1 teaspoon |
| Unsalted butter, melted | 3 tablespoons |
| Large egg | 1 whole |
Finishing Touch
| Ingredient | Amount |
|---|---|
| Unsalted butter, melted | 2 tablespoons |
| Coarse sea salt | ¼ teaspoon |
Step-by-Step Golden Corral Dinner Roll Instructions
Phase 1: Activating the Yeast (10 minutes)
- Test your water temperature by dropping it on your wrist – it should feel comfortably warm, not hot. Water that’s too hot will kill the yeast completely.
- Combine warm water, yeast, and 1 tablespoon sugar in a large mixing bowl. Stir gently with a fork just until dissolved. The mixture will look cloudy at first.
- Let the yeast bloom for 5-10 minutes until it becomes foamy and doubles in size. This proves your yeast is alive and active. If nothing happens, start over with fresh yeast.
Phase 2: Building the Dough (15 minutes)
- Add the remaining 2 tablespoons sugar to your foamy yeast mixture. This extra sweetness mimics the signature golden corral dinner roll flavor.
- Whisk in the melted butter and egg until completely incorporated. The mixture should look smooth and slightly golden.
- Add 2 cups flour and salt to the wet ingredients. Using a wooden spoon, stir until a shaggy dough forms. Don’t worry if it looks messy at this stage.
- Gradually add remaining flour ½ cup at a time, stirring constantly. Stop when the dough pulls away from the bowl sides but still feels slightly sticky.
Phase 3: Kneading for Perfect Texture (10 minutes)
- Turn dough onto a lightly floured surface and knead for 8-10 minutes. Push the dough away from you with the heel of your hand, fold it over, and turn 90 degrees. Repeat this motion.
- Check for proper gluten development by performing the windowpane test. Stretch a small piece of dough – it should be thin enough to see light through without tearing.
- Shape into a smooth ball by tucking the edges underneath. The surface should feel smooth and slightly tacky, not sticky.
Phase 4: First Rise (1.5 hours)
- Place dough in a greased bowl and cover with a damp kitchen towel. The bowl should be large enough for the dough to double in size.
- Let rise in a warm spot for 1-1.5 hours until doubled. A slightly warm oven (turned off) or sunny windowsill works perfectly.
Phase 5: Shaping Your Golden Corral Dinner Rolls (15 minutes)
- Punch down the risen dough gently to release air bubbles. Turn onto a lightly floured surface.
- Divide into 8 equal portions using a bench scraper or sharp knife. Each piece should weigh about 3 ounces for consistent sizing.
- Shape each piece into a smooth ball by tucking the edges underneath and rolling between your cupped palms. The tension on the surface creates the perfect dome shape.
- Arrange on a parchment-lined baking sheet spacing them 2 inches apart. They’ll expand during the final rise.
Phase 6: Final Rise and Baking (1.5 hours)
- Cover shaped rolls with a damp towel and let rise for 45-60 minutes until nearly doubled and springs back slowly when gently poked.
- Preheat oven to 375°F during the last 15 minutes of rising time.
- Brush tops with melted butter just before baking for that signature golden color and rich flavor.
- Bake for 15-18 minutes until golden brown on top and they sound hollow when tapped. Internal temperature should reach 190°F.
Chef’s Notes
Yeast Temperature Tip: The secret to perfect golden corral dinner roll texture starts with proper yeast activation. Water temperature matters more than most home bakers realize.
Butter Integration: Melting the butter instead of using cold pieces ensures even distribution and prevents dense spots in your finished rolls.
Rise Time Flexibility: These rolls are forgiving with timing. If your kitchen is cool, the rise might take longer – just be patient for the best results.
Make-Ahead Magic: You can shape these golden corral dinner rolls and refrigerate overnight. Just bring to room temperature and complete the final rise before baking.
Nutrition Box (Per Roll)
- Calories: 245
- Protein: 6g
- Carbohydrates: 42g
- Fat: 6g
- Fiber: 2g
- Sugar: 6g
Golden Corral Dinner Roll Variations
Herb Butter Rolls: Mix 2 teaspoons dried herbs (rosemary, thyme, or oregano) into the melted butter before brushing.
Sweet Cinnamon Version: Add 1 teaspoon cinnamon to the dough and brush with honey butter after baking – similar to the sweetness you’ll find in this banana bread recipe.
Garlic Parmesan Twist: Brush with garlic butter and sprinkle with grated Parmesan before baking for an Italian-inspired variation.
Holiday Spiced Rolls: Incorporate warming spices like those used in traditional gingerbread house recipes – try adding ¼ teaspoon each of cinnamon and nutmeg.
Storage & Reheating
Fresh Storage: Keep baked golden corral dinner rolls in an airtight container at room temperature for up to 3 days.
Freezing Instructions: Wrap cooled rolls individually in plastic wrap, then store in freezer bags for up to 3 months.
Reheating Method: Wrap in damp paper towels and microwave for 15-20 seconds, or warm in a 300°F oven for 5-7 minutes.
Refresh Technique: Brush day-old rolls with butter and warm in the oven to restore that fresh-baked softness.
Troubleshooting Common Issues
Dense, Heavy Rolls: Usually caused by too much flour or inactive yeast. Check expiration dates and measure flour by spooning into the cup, not scooping.
Rolls Don’t Rise: Your yeast might be dead, or the environment is too cold. Create a warm rising environment by placing the bowl on top of your refrigerator.
Tough Texture: Over-kneading develops too much gluten. Knead just until the dough is smooth and passes the windowpane test.
Burnt Tops: Oven temperature too high or rack positioned too close to the heating element. Use an oven thermometer to verify actual temperature.
Flat, Spread-Out Shape: Dough was too wet or under-kneaded. Next time, add flour gradually and knead until properly developed.
Equipment Essentials
- Large mixing bowl for dough preparation
- Kitchen scale for precise measurements
- Bench scraper for easy dough division
- Clean kitchen towels for covering during rises
- Parchment paper prevents sticking
- Pastry brush for butter application
Shopping List
Dairy Section
- Unsalted butter
- Large eggs
Baking Aisle
- All-purpose flour
- Active dry yeast
- Granulated sugar
- Salt
Pantry Staples
- Warm water (from tap)
Success Secrets for Perfect Golden Corral Dinner Rolls
- Temperature Control: Use a thermometer to ensure your water is exactly 110°F – this activates yeast perfectly without killing it.
- Flour Measurement: Spoon flour into measuring cups rather than scooping to avoid dense, heavy rolls.
- Visual Cues: Look for the dough to double in size during rises rather than relying solely on time.
- Steam Creation: Place a pan of hot water on the oven’s bottom rack during baking for extra soft crusts.
- Timing Flexibility: These golden corral dinner rolls are forgiving – focus on visual and tactile cues rather than strict timing.
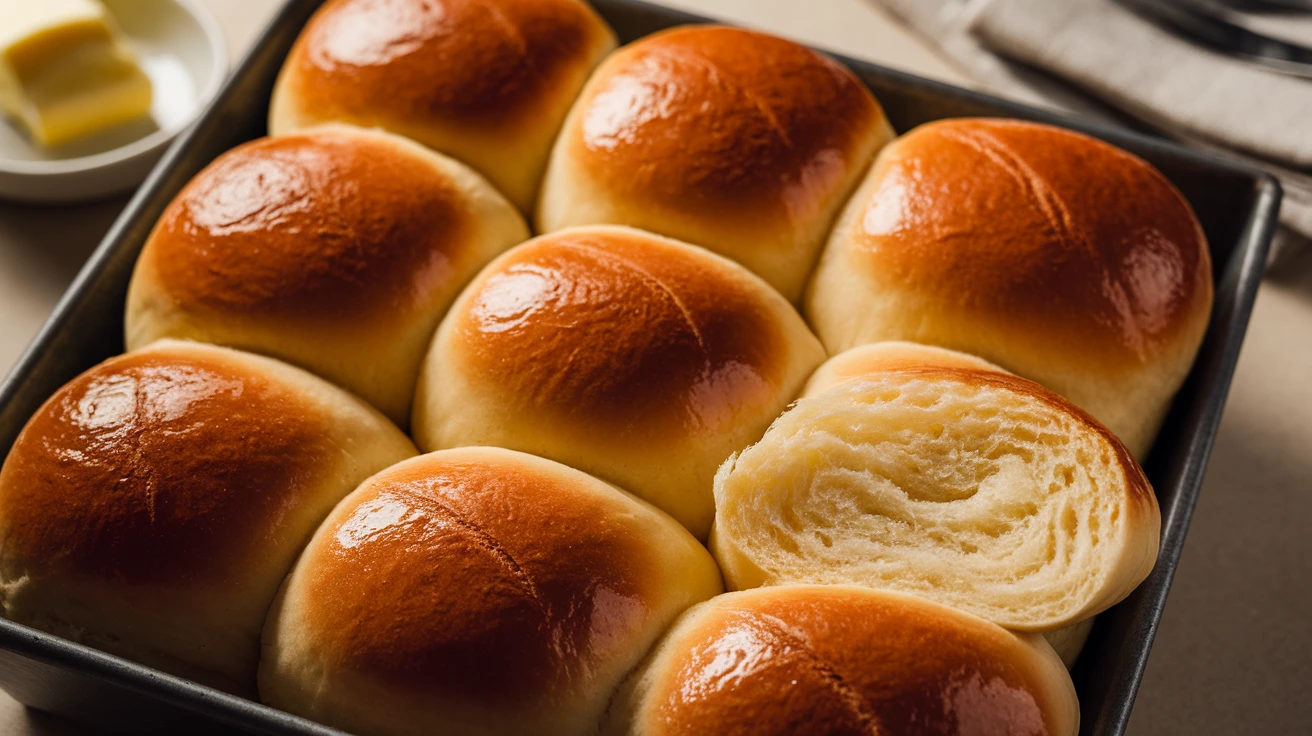
These homemade golden corral dinner rolls bring restaurant-quality bread to your family table. The combination of proper technique and quality ingredients creates rolls that are every bit as delicious as the originals. Serve them warm with butter, and watch them disappear faster than you can make them!