Key Takeaways:
- This homemade marinara sauce takes just 30 minutes to make with simple pantry ingredients
- Makes enough sauce for 4 people – perfect for family dinner
- Freezes beautifully for up to 3 months
- Tastes better than store-bought with rich tomato flavor and fresh herbs
Why Make Your Own Marinara Sauce?
Ever opened a jar of marinara sauce only to taste something flat and overly acidic?
I’ve been there too. Store-bought sauces often contain preservatives and lack that authentic Italian flavor we crave.
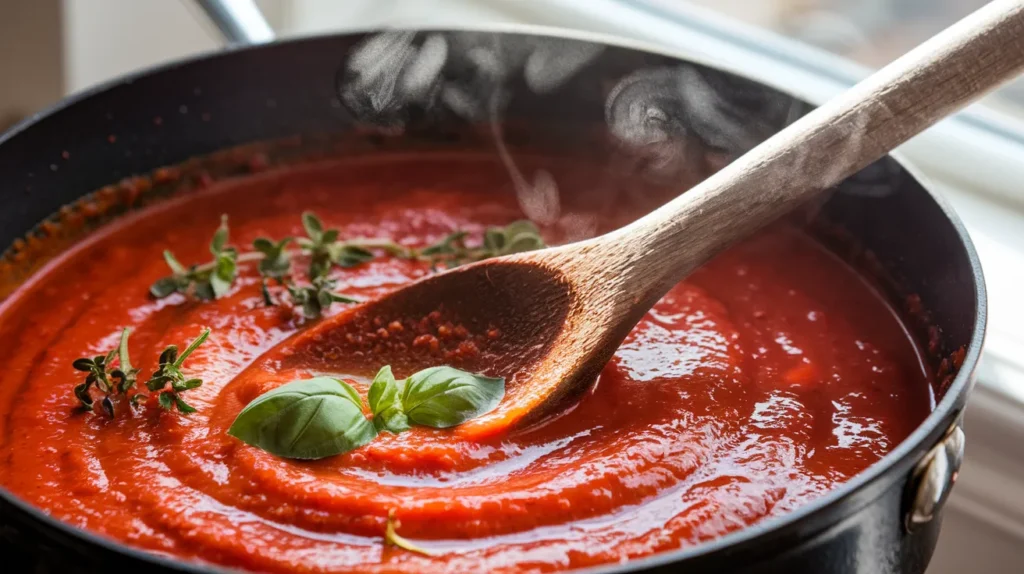
This homemade marinara sauce recipe solves that problem. With just a few ingredients and 30 minutes, you’ll create a sauce that’s fresh, flavorful, and perfect for pasta night.
Nutrition Information
| Nutrient | Amount per Serving | % Daily Value |
|---|---|---|
| Calories | 105 | 5% |
| Total Fat | 7g | 9% |
| Saturated Fat | 1g | 5% |
| Sodium | 580mg | 25% |
| Total Carbohydrates | 10g | 4% |
| Dietary Fiber | 2g | 7% |
| Sugars | 6g | – |
| Protein | 2g | 4% |
Serving size: 1/2 cup (4 servings per recipe)
Equipment & Ingredients
Kitchen Tools
| Tool | Purpose |
|---|---|
| Medium saucepan | For cooking sauce |
| Wooden spoon | For stirring without metallic reaction |
| Sharp knife | For chopping garlic and herbs |
| Cutting board | For prep work |
| Measuring cups & spoons | For accurate measurements |
Ingredients
| Ingredient | Amount | Notes |
|---|---|---|
| Crushed tomatoes | 28 oz can | San Marzano preferred |
| Extra virgin olive oil | 1/4 cup | Good quality |
| Garlic | 4-5 cloves | Minced |
| Dried oregano | 1 tsp | Or 1 Tbsp fresh |
| Fresh basil | 5-6 leaves | Torn or chopped |
| Salt | 1 tsp | Kosher or sea salt |
| Black pepper | 1/4 tsp | Freshly ground |
| Pinch of sugar | Optional | Balances acidity |
| Red pepper flakes | 1/4 tsp | Optional, for heat |
Optional Substitutions
- Tomatoes: Use 2 (15 oz) cans diced tomatoes instead of crushed
- Herbs: 1 Tbsp Italian seasoning blend can replace individual herbs
- Garlic: 1 tsp garlic powder if fresh isn’t available
- Sweetener: Honey or maple syrup instead of sugar
Marinara is one of the most versatile base sauces in Italian cooking, and mastering it opens up a world of culinary possibilities.
Step-by-Step Instructions
Prep Time: 5 minutes
Cook Time: 25 minutes
Total Time: 30 minutes
Servings: 4 people
1. Prepare Your Workspace
- Clear your countertop: Make sure you have a clean, uncluttered space to work in.
- Gather all ingredients: Place all ingredients on your counter so everything is within reach.
- 28 oz can of crushed tomatoes
- Extra virgin olive oil
- Garlic cloves
- Dried oregano
- Fresh basil
- Salt and pepper
- Optional: sugar and red pepper flakes
- Prepare your garlic:
- Separate 4-5 cloves from the garlic head
- Remove the papery skin from each clove (press with flat side of knife to make this easier)
- Mince the garlic into very small pieces (about 1/8 inch or smaller)
- Place minced garlic in a small bowl and set aside
- Prepare fresh herbs:
- Rinse basil leaves under cool water
- Pat dry with paper towel
- Either tear leaves into small pieces by hand or stack leaves, roll them up, and slice into thin strips
- Set aside for later use
- Measure dry ingredients:
- Measure 1 teaspoon dried oregano into a small bowl
- Measure 1 teaspoon salt and 1/4 teaspoon black pepper
- If using, measure 1/4 teaspoon red pepper flakes
- Keep all these measured ingredients near your cooking area
- Open tomato can: Use a can opener to open the crushed tomatoes and have ready beside stove.
2. Heat the Oil
- Choose the right pan: Select a medium saucepan with sides at least 3 inches high to prevent splatter.
- Add oil to pan: Measure 1/4 cup extra virgin olive oil and pour into the cold saucepan.
- Place pan on stove: Set your pan on a burner sized appropriately for the pan base.
- Turn on heat: Set heat to medium (usually around 4-5 on most stove dials).
- Watch oil carefully: Wait for oil to warm up – it will become more fluid and start to shimmer slightly (takes 1-2 minutes).
- What to look for: The oil surface will ripple and look thinner when it’s ready
- Warning: Don’t walk away – oil can go from perfect to smoking very quickly
- Test oil temperature: If unsure if oil is hot enough, drop in a tiny piece of garlic – it should sizzle gently, not aggressively.
- Turn down heat if oil starts to smoke – this means it’s too hot and will give a burnt flavor.
3. Cook the Garlic
- Add minced garlic to oil: Carefully add all the minced garlic to the heated oil.
- Start stirring immediately: Use your wooden spoon to constantly move the garlic around in the oil.
- Pay close attention: This step only takes 30-60 seconds – set a timer if needed!
- Watch for color change: The garlic should turn just slightly golden, not brown.
- What it should look like: Garlic will become translucent and just barely start to change color
- What it should smell like: Fragrant and aromatic, not sharp or burnt
- Know when to move on: Once garlic is fragrant and just starting to color, immediately proceed to the next step.
- Beginner warning: If garlic turns brown, it will taste bitter and it’s best to start over
4. Add Tomatoes and Seasonings
- Lower heat slightly: Turn heat down to medium-low (about 3-4 on most stove dials).
- Add tomatoes carefully: Pour crushed tomatoes into the pan slowly to avoid splashing.
- Safety tip: Stand back slightly as hot oil and tomatoes can splatter
- Technique: Pour tomatoes down the side of the pan rather than directly into the center
- Add dried seasonings: Sprinkle in the measured dried oregano, salt, black pepper, and red pepper flakes (if using).
- Stir thoroughly: Use your wooden spoon to mix everything together, making sure to scrape the bottom of the pan to incorporate all the garlic and oil.
- Technique: Start from the center and move outward in circular motions
- Goal: Make sure no oil is sitting on top and all ingredients are well blended
- Check consistency: The sauce should be slightly thick but still pourable. If it seems too thick, add 2-3 tablespoons of water.
5. Simmer the Sauce
- Bring to initial bubble: Keep heat at medium-low until you see small bubbles forming around the edges of the sauce.
- Adjust heat: Once bubbling starts, reduce heat to low (about 2-3 on most stove dials).
- What to look for: Gentle bubbling, not a rolling boil
- Signs it’s too hot: Sauce splatters aggressively or bubbles violently
- Set timer: Set a timer for 20 minutes.
- Stir occasionally: Stir the sauce every 3-5 minutes to prevent sticking.
- Technique: Use wooden spoon to scrape the bottom and sides of pan completely each time
- Safety tip: Be careful of steam and potential splatter when stirring
- Watch consistency: The sauce will gradually thicken as moisture evaporates.
- What to look for: Sauce should coat the back of a wooden spoon
- Goal: It should reduce by about 1/5 of its original volume
- Test thickness: Drag your wooden spoon through the center of the pan – the sauce should briefly hold a path before flowing back together.
6. Finish the Sauce
- Remove from heat: After 20 minutes of simmering, turn off the heat completely.
- Add fresh basil: Sprinkle your prepared fresh basil leaves into the hot sauce.
- Taste test: Use a clean spoon to taste a small amount of sauce after it has cooled slightly.
- Too acidic? Add a pinch of sugar and stir well
- Too bland? Add a little more salt (1/4 teaspoon at a time)
- Not enough depth? Add a splash of balsamic vinegar (about 1/2 teaspoon)
- Final stir: Gently stir to incorporate any final additions.
- Rest the sauce: Let the sauce stand in the pan for 5 minutes.
- Why this matters: This allows flavors to meld and sauce to cool slightly before serving
- What happens: The oils will integrate better with the tomatoes during this rest
- Ready to serve: Your homemade marinara sauce is now ready to toss with pasta or use in any recipe!
Troubleshooting
Problem: Sauce is too thin
- Continue simmering uncovered for 5-10 more minutes
- Next time, use less olive oil or tomatoes with less juice
Problem: Sauce is too thick
- Add 2-4 tablespoons of water and stir well
- Use reserved pasta water for extra flavor
Problem: Sauce tastes too acidic
- Add a pinch of sugar, honey, or grated carrot
- Next time, use sweeter tomato variety
Problem: Sauce tastes bland
- Add more salt (1/4 tsp at a time)
- Add a splash of balsamic vinegar
- Increase amount of garlic in recipe
Problem: Sauce scorched on bottom
- Do NOT stir burnt bits into sauce
- Carefully pour unburnt sauce into new pan
- Reduce heat for remainder of cooking time
Variations & Substitutions
Spicy Marinara
- Double the red pepper flakes
- Add 1 teaspoon of hot paprika
Chunky Garden Marinara
- Use diced tomatoes instead of crushed
- Add 1/2 cup diced bell peppers
- Add 1/2 cup diced zucchini (add in last 10 minutes)
Roasted Garlic Marinara
- Replace fresh garlic with 1 head of roasted garlic
- Add 1 tablespoon of butter at the end for richness
Quick White Wine Marinara
- Add 1/4 cup dry white wine after cooking garlic
- Simmer until wine reduces by half before adding tomatoes
Storage & Reheating
Refrigerator Storage:
- Cool sauce completely before storing
- Transfer to airtight container
- Refrigerate up to 5 days
- Label container with date
Freezer Storage:
- Cool sauce completely
- Portion into freezer-safe containers or bags
- Leave 1/2 inch space for expansion
- Freeze up to 3 months
- Label with date and contents
Reheating Instructions:
- Refrigerated sauce: Heat in saucepan over medium-low heat for 5-10 minutes, stirring occasionally
- Frozen sauce: Thaw overnight in refrigerator or use defrost setting on microwave
- Heat thawed sauce in saucepan until bubbling gently
Safety Notes & Tips
Important Safety Notes:
- Keep face away when adding tomatoes to hot oil to avoid splatter burns
- Use wooden spoon with hot tomato sauce as metal can react with acid
- Don’t leave cooking sauce unattended
- Allow sauce to cool 5-10 minutes before serving to avoid burns
Pro Tips:
- For smoother sauce, blend with immersion blender after cooking
- Reserve 1/4 cup pasta cooking water to mix with sauce for better pasta coating
- Sauce tastes even better the next day as flavors meld
- Make double batch to freeze half for quick future meals
- Taste before serving – salt levels vary between tomato brands
This homemade marinara sauce recipe makes enough for 4 servings of pasta. Perfect for family dinners or meal prep for the week. Vegetarian and vegan friendly. Can be made gluten-free with appropriate pasta choices.
Meta description: Create delicious homemade marinara sauce in just 30 minutes with this simple recipe. Rich tomato flavor perfect for pasta, pizza and more – serves 4!