Key Takeaways:
- Bronze die cutting creates restaurant-quality texture that holds sauce perfectly
- This beginner-friendly recipe serves 4 people using just 6 simple ingredients
- Traditional Italian technique transforms ordinary pasta night into something special
- Works with any premium Italian Bronze Die Cut Pasta shape you can find
Why Italian Bronze Die Cut Pasta Changes Everything
Most home cooks grab any pasta without understanding this game-changing secret. The cutting method completely transforms your dish.
Italian Bronze Die Cut Pasta gets its magic from traditional bronze dies that create rough, porous surfaces. These tiny ridges grab sauce like velcro, delivering authentic Italian flavors in every single bite.
Regular pasta slides around your plate with sauce pooling at the bottom. Bronze die pasta cradles each drop of seasoning, giving you restaurant results at home. This recipe shows you exactly how to maximize that incredible texture using simple pantry ingredients.
Perfect for busy weeknights when you want to impress without stress.
Nutritional Comparison Table
| Nutrient | Italian Bronze Die Cut Pasta (1 cup) | Regular Pasta (1 cup) |
|---|---|---|
| Calories | 210 | 220 |
| Protein | 8g | 7g |
| Fiber | 3g | 2g |
| Iron | 15% DV | 10% DV |
| Sauce Retention | Excellent | Poor |
| Texture Quality | Restaurant-Grade | Standard |
Equipment & Ingredients Lists
Complete Ingredients Table (Serves 4 People)
| Ingredient | Exact Measurement | Shopping Notes |
|---|---|---|
| Italian Bronze Die Cut Pasta | 1 pound (16 oz) | Any shape – penne, rigatoni, or spaghetti |
| Extra virgin olive oil | 1/4 cup (4 tablespoons) | First cold press for best flavor |
| Fresh garlic cloves | 4 large cloves | Avoid pre-minced garlic |
| Red pepper flakes | 1/2 teaspoon | Adjust based on heat preference |
| Fresh Italian parsley | 1/2 cup chopped | Flat-leaf variety preferred |
| Parmigiano-Reggiano cheese | 1 cup grated | Never use pre-grated for this recipe |
| Kosher salt | 2 tablespoons | For pasta water seasoning |
| Fresh black pepper | 1/2 teaspoon | Freshly ground makes a difference |
Essential Kitchen Tools Table
| Tool | Size/Type | Why You Need It |
|---|---|---|
| Large pasta pot | 6-8 quart capacity | Gives pasta room to move freely |
| Large skillet | 12-inch diameter | Accommodates all pasta for tossing |
| Wooden spoon | Long handle | Won’t scratch your cookware |
| Fine box grater | 4-sided | Creates fluffy cheese texture |
| Large colander | Sturdy base | Drains pasta efficiently |
| Liquid measuring cup | 2-cup capacity | For reserving pasta water |
| Chef’s knife | 8-inch blade | Minces garlic uniformly |
Smart Substitution Options
Can’t find Italian Bronze Die Cut Pasta? Look for these brands: De Cecco, Barilla Collezione, Rustichella d’Abruzzo, or any package specifically labeled “bronze die cut” or “trafilata al bronzo.”
Missing Parmigiano-Reggiano? Pecorino Romano creates a sharper, saltier flavor profile that works beautifully with this preparation.
No fresh parsley available? Fresh basil leaves or oregano provide different but equally delicious herb notes.
Out of kosher salt? Sea salt works perfectly – just use the same amount.
Detailed Step-by-Step Instructions for Complete Beginners
Preparation Phase (5-7 minutes)
Step 1: Set Up Your Pasta Water Station Fill your largest pot with 6 quarts of cold tap water. Place it on your stove’s largest burner and turn heat to high. Cover with a lid to speed up boiling – this usually takes 8-10 minutes. Don’t add salt yet; we’ll do that when the water starts bubbling vigorously.
Step 2: Prepare Your Garlic Like a Pro Take 4 large garlic cloves and remove the papery skin completely. Place each clove on your cutting board and gently crush it with the flat side of your chef’s knife – this makes peeling easier. Mince the garlic into pieces about 1/8-inch in size. They should be uniform so they cook evenly without burning.
Step 3: Get Your Parsley Ready Wash 1/2 cup of fresh Italian parsley under cold water and pat completely dry with paper towels. Remove thick stems and chop the leaves finely. Set aside in a small bowl. Wet herbs won’t distribute properly in the finished dish.
Step 4: Grate Your Cheese Fresh Using the finest holes on your box grater, grate 1 cup of Parmigiano-Reggiano cheese. Grate it onto a plate, not into a bowl, so it doesn’t clump together. Fresh cheese melts smoothly, while pre-grated cheese contains anti-caking agents that create a grainy texture.
Assembly Phase (3-4 minutes)
Step 5: Start Your Flavor Base Pour 1/4 cup extra virgin olive oil into your large skillet. Place it over medium-low heat – never higher, or your garlic will burn and turn bitter. The oil should gently shimmer after about 1 minute, but never smoke or spit.
Step 6: Add Garlic at the Perfect Moment When the oil shimmers slightly, add your minced garlic all at once. Stir immediately with a wooden spoon. You’ll hear gentle sizzling – that’s perfect. Cook for exactly 30-45 seconds until the garlic becomes fragrant but stays pale golden. Dark brown garlic ruins the entire dish.
Step 7: Bloom Your Spices Sprinkle 1/2 teaspoon red pepper flakes directly into the garlic oil. Stir once and let them sizzle for 10 seconds. This releases their oils and heat throughout the base. Remove the skillet from heat temporarily to prevent overcooking.
Italian Bronze Die Cut Pasta Cooking Phase (8-10 minutes)
Step 8: Salt Your Boiling Water Properly When your water reaches a rolling boil with large bubbles breaking the surface, add 2 tablespoons kosher salt. Stir once to dissolve. The water should taste like mild seawater – this seasons your Italian Bronze Die Cut Pasta from the inside out.
Step 9: Add Pasta Using the Right Technique Carefully pour your 1 pound of Italian Bronze Die Cut Pasta into the boiling salted water. Stir immediately with a long spoon to prevent pieces from sticking together. The bronze die texture makes pasta slightly more prone to clumping, so keep stirring for the first 2 minutes.
Step 10: Cook to Perfect Al Dente Check your pasta package for cooking time, then subtract 1 full minute. For example, if it says 10 minutes, cook for 9 minutes. Set a timer and don’t guess. Taste-test a piece – it should feel firm when you bite down, with just a thin white line in the center when you break it open.
Step 11: Reserve Your Liquid Gold Before draining, use a heatproof measuring cup to scoop out 1 full cup of the starchy pasta cooking water. This cloudy, salty water contains starches from your Italian Bronze Die Cut Pasta that help create silky, restaurant-quality sauce.
Step 12: Drain Without Rinsing Drain pasta in your colander but never rinse it. The residual starch on the surface helps sauce cling to those beautiful bronze die textures. Give the colander 2-3 good shakes to remove excess water.
Final Assembly and Finishing (2-3 minutes)
Step 13: Combine Pasta and Aromatics Return your skillet with garlic oil to medium heat. Immediately add the drained Italian Bronze Die Cut Pasta to the warm oil. Using tongs or a wooden spoon, toss vigorously for 30-45 seconds. The pasta should glisten as it absorbs the flavored oil.
Step 14: Create Creamy Sauce Consistency Add 1/4 cup of your reserved pasta water to the skillet. Toss constantly for 30 seconds. The starchy water combines with olive oil to create a light, creamy coating. If the mixture looks dry or the pasta seems to absorb all the liquid, add more pasta water 2 tablespoons at a time.
Step 15: Add Cheese Using the Cold Pan Method Remove the skillet completely from heat – this prevents the cheese from clumping. Add half of your grated Parmigiano-Reggiano and toss vigorously with tongs for 30 seconds until it melts into the sauce. The residual heat will melt it perfectly.
Step 16: Final Seasoning and Presentation Add the remaining cheese, all of your chopped parsley, and 1/2 teaspoon freshly ground black pepper. Toss everything together for 15-20 seconds until evenly distributed. Taste and adjust seasoning – you might need a pinch more salt or an extra grind of pepper.
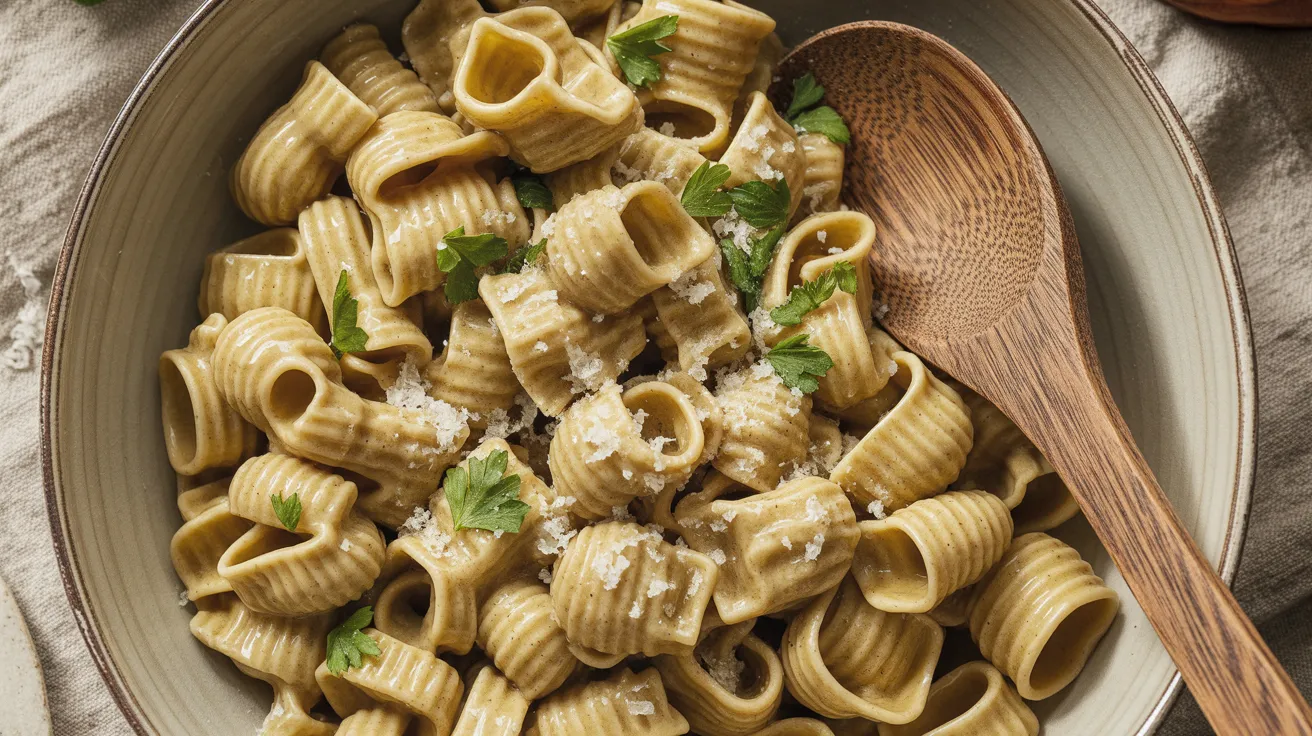
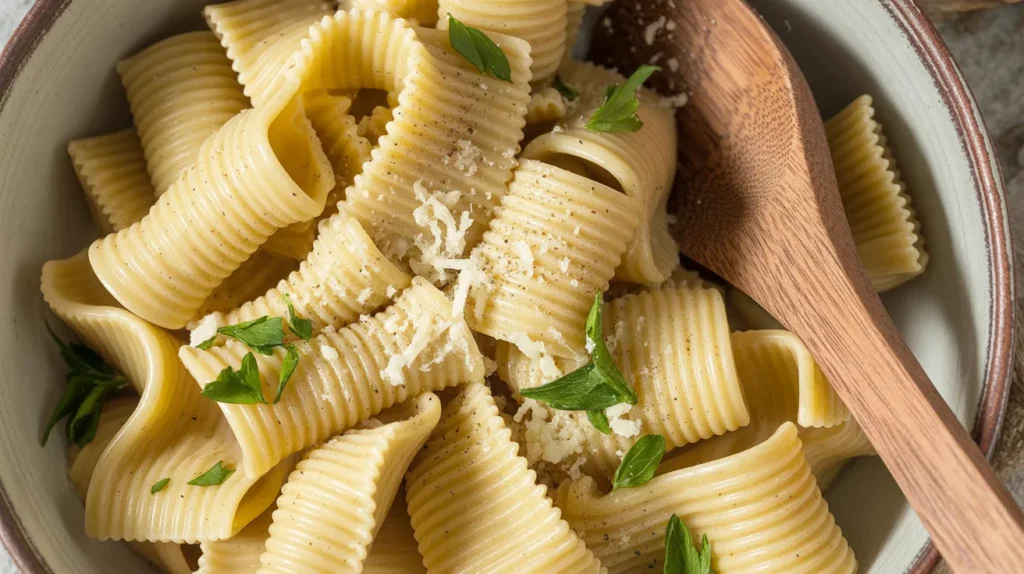
Step 17: Serve Like an Italian Restaurant Divide the Italian Bronze Die Cut Pasta among 4 warmed bowls immediately. The bronze die texture should be clearly visible, with every piece coated in the silky, aromatic sauce. Serve with extra grated cheese on the side and enjoy while hot.
Troubleshooting Common Beginner Problems
Problem: Pasta clumps together during cooking Solution: You didn’t use enough water or forgot to stir immediately after adding pasta. Always use 6 quarts of water for 1 pound of pasta and stir constantly for the first 2 minutes.
Problem: Sauce looks oily and won’t come together Solution: Add hot pasta water gradually while tossing. The starch in pasta water acts as an emulsifier, creating creamy consistency instead of separated oil.
Problem: Garlic tastes bitter and burnt Solution: Your heat was too high or you cooked it too long. Start over with fresh garlic, keeping heat at medium-low and cooking for only 30-45 seconds until fragrant.
Problem: Cheese clumps instead of melting smoothly Solution: Remove the pan from heat completely before adding cheese. Hot metal causes cheese to seize up. Toss vigorously off the heat.
Problem: Final dish tastes bland Solution: Your pasta water wasn’t salty enough, or you didn’t add enough cheese and pepper. Properly salted pasta water should taste like mild seawater.
Creative Variations for Italian Bronze Die Cut Pasta
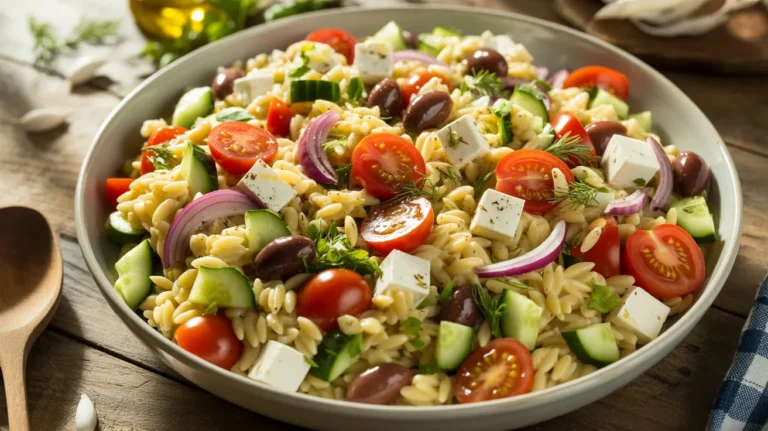
Mediterranean Garden Style: Add sun-dried tomatoes, Kalamata olives, and fresh oregano during the garlic cooking phase. The bronze die texture holds these chunky additions perfectly. For more veggie inspiration, try our healthy tomato zucchini pasta using this same base technique.
Spicy Calabrian Version: Double the red pepper flakes and add 1 tablespoon of Calabrian chili paste with the garlic. Finish with a splash of dry white wine.
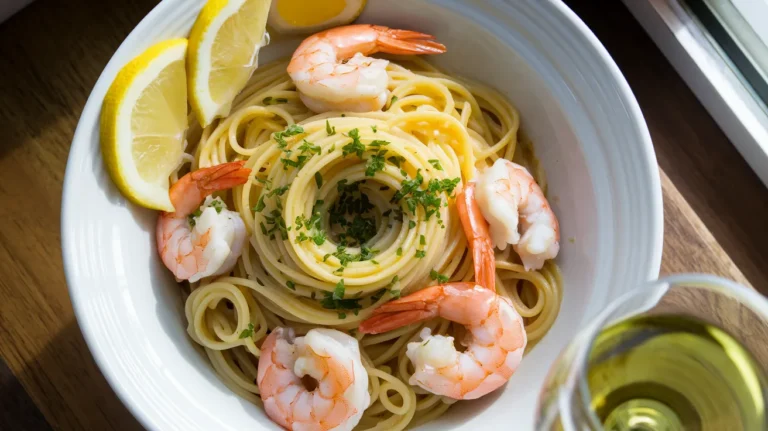
Protein-Rich Option: Add grilled chicken strips, sautéed shrimp, or sliced Italian sausage during the final tossing phase. The textured pasta grabs onto proteins beautifully.
International Fusion: Try adapting our korma curry pasta technique but start with this bronze die base for incredible sauce retention and authentic texture.
Seasonal Herb Garden: Replace parsley with whatever fresh herbs you have – basil in summer, sage in fall, or rosemary in winter.
Storage and Reheating Guidelines
Proper Refrigeration: Store leftovers in airtight containers for up to 3 days maximum. The olive oil base keeps Italian Bronze Die Cut Pasta fresh longer than cream-based sauces.
Reheating Without Drying Out: Add 2-3 tablespoons of water or low-sodium chicken broth to a large skillet. Heat gently over medium-low while stirring constantly. The bronze die texture rehydrates beautifully.
Freezing Considerations: This simple oil-based recipe doesn’t freeze well because the cheese and oil separate when thawed. Always make fresh for best results.
Make-Ahead Strategy: Prep all ingredients up to 4 hours in advance, but cook the pasta fresh. The bronze die texture loses its magic when it sits too long.
Safety Notes and Professional Tips
Hot Oil Safety Warning: Always keep heat at medium-low when heating olive oil. High heat creates dangerous splattering and burns the garlic instantly.
Pasta Water Precautions: Boiling water and steam can cause serious burns. Use long-handled spoons and keep pot handles turned inward.
Cheese Temperature Control: Let pasta cool for 30 seconds before adding cheese to prevent seizing. Cold cheese added to extremely hot pasta creates lumps that won’t smooth out.
Timing Success Strategy: Have every ingredient measured and ready before you start cooking. This recipe moves quickly once the pasta hits the water.
Quality Investment Tip: Premium Italian Bronze Die Cut Pasta costs more but delivers exponentially better results. The texture difference justifies the extra expense.
Serving Temperature Secret: Warm your serving bowls with hot tap water for 30 seconds, then dry them. Cold bowls instantly cool the pasta and ruin the experience.
Professional Tasting Technique: Always taste and adjust seasoning before serving. Every batch needs slightly different amounts of salt, pepper, and cheese based on ingredient variations.
Prep Time: 7 minutes
Cook Time: 10 minutes
Total Time: 17 minutes
Serves: 4 people perfectly
Difficulty Level: Beginner-friendly