This homemade karashi recipe delivers that signature fiery kick Japanese restaurants are famous for. Making fresh karashi at home takes just minutes and creates a condiment that’s infinitely more flavorful than store-bought versions. This traditional Japanese hot mustard pairs perfectly with everything from sushi to grilled meats, bringing authentic heat and complexity to your table.
SERVES: 4 | PREP: 5 MIN | COOK: 0 MIN | TOTAL: 5 MIN
Ingredients
Main Components
| Ingredient | Amount | Notes |
|---|---|---|
| Dry mustard powder | 3 tablespoons | Coleman’s or Keen’s work best |
| Warm water | 2-3 tablespoons | Room temperature, not hot |
| Rice vinegar | 1/2 teaspoon | Optional for tang |
| Salt | Pinch | Enhances flavor |
Step-by-Step Instructions
Phase 1: Preparation (2 minutes)
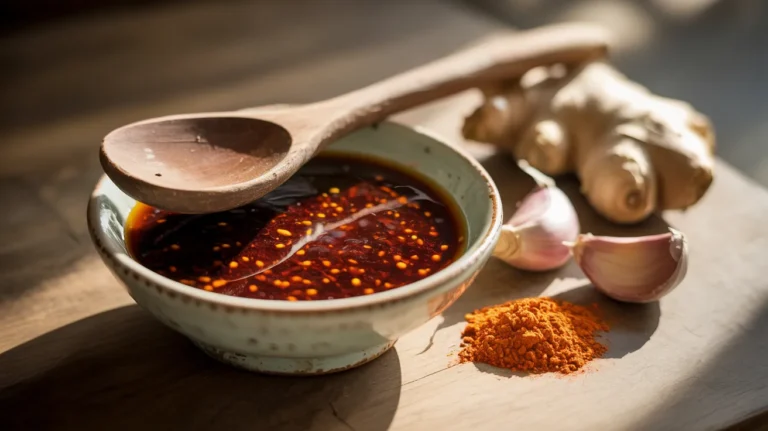
Step 1: Gather all your ingredients on a clean work surface. Make sure your dry mustard powder is fresh – old powder loses its punch and won’t deliver that authentic karashi heat we’re after.
Step 2: Choose your mixing bowl carefully. Use a small glass or ceramic bowl, never metal, as metal can react with the mustard and create a bitter taste that ruins the final product.
Phase 2: Creating the Base (2 minutes)
Step 3: Measure exactly 3 tablespoons of dry mustard powder into your bowl. Level off each tablespoon with a knife for accuracy – too much powder makes it gritty, too little makes it weak.
Step 4: Start with just 1 tablespoon of warm water. Pour it slowly into the center of the mustard powder, not around the edges. This prevents lumps from forming right from the start.
Step 5: Using a small spoon, mix from the center outward in gentle circular motions. You’ll see the powder transform into a thick paste. Don’t rush this step – proper mixing is crucial for smooth karashi.
Phase 3: Achieving Perfect Consistency (1 minute)
Step 6: Add water 1/2 tablespoon at a time, mixing thoroughly between each addition. The karashi should be thick enough to hold its shape but smooth enough to spread easily.
Step 7: Test the consistency by lifting some on your spoon. Perfect karashi should drop slowly in a thick ribbon, not drip like water or stick like cement.
Step 8: Add the 1/2 teaspoon rice vinegar if using. This adds a subtle tang that balances the heat beautifully and helps preserve the karashi longer.
Step 9: Sprinkle in a small pinch of salt and mix once more. Taste carefully – remember, this karashi packs serious heat, so use just the tip of a clean spoon.
Phase 4: Final Adjustments
Step 10: Let the mixture sit for 2-3 minutes. This resting time allows the mustard oils to fully activate, creating that signature burning sensation karashi is famous for.
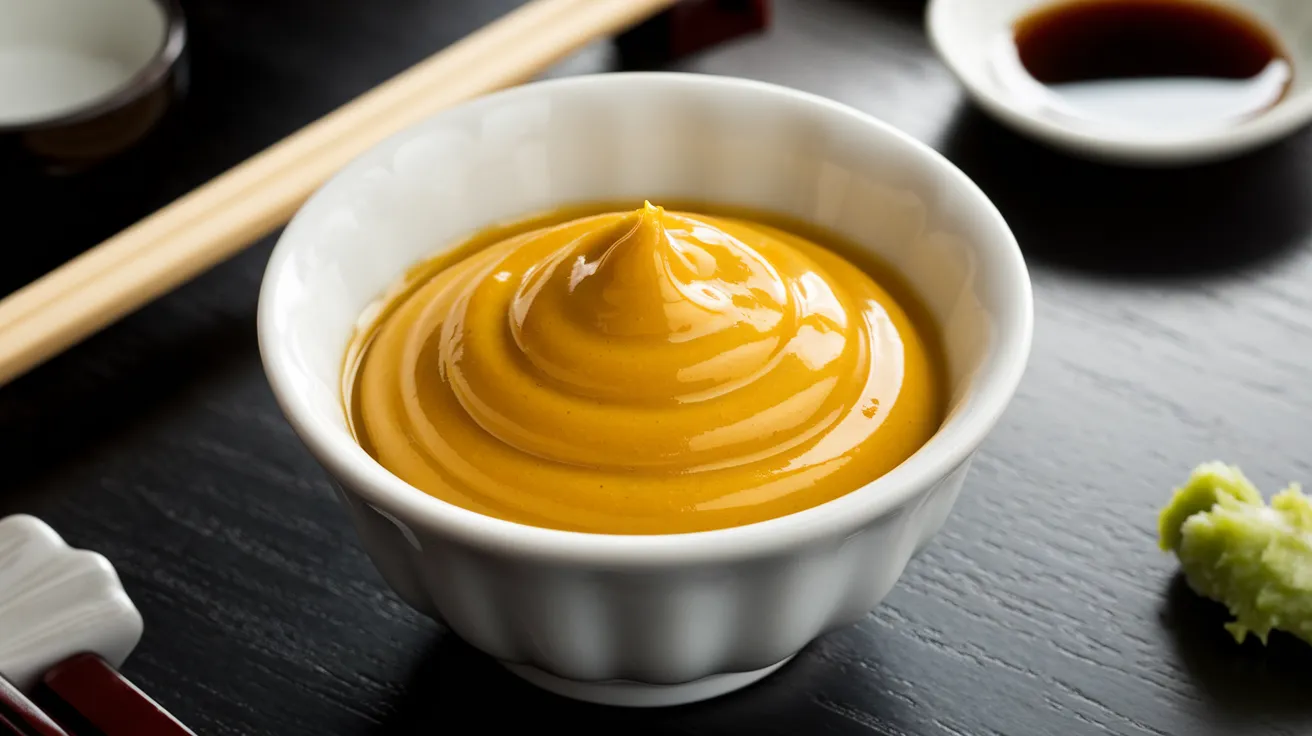
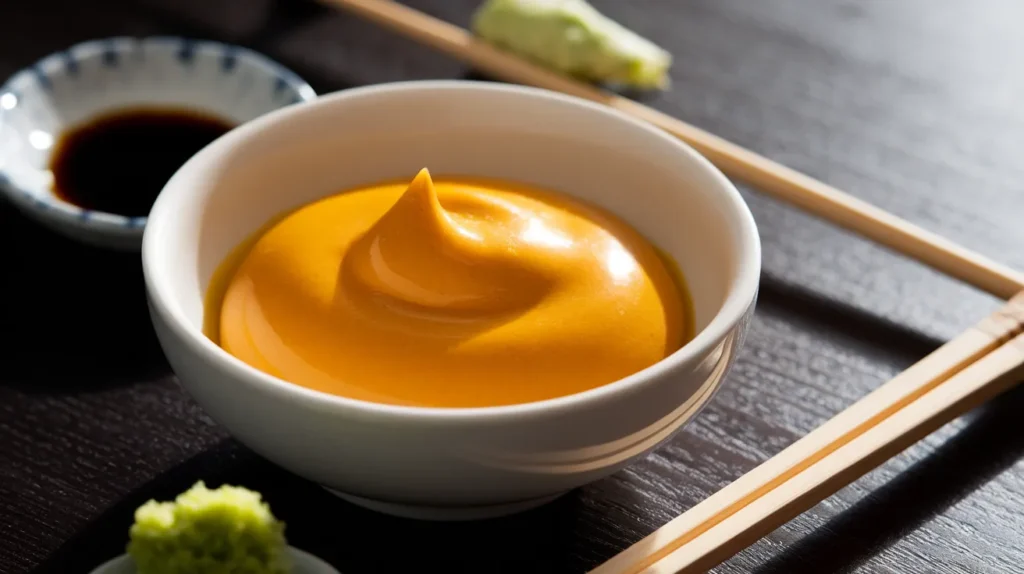
Step 11: Give it one final stir and adjust consistency if needed. The karashi should be vibrant yellow and completely smooth.
Step 12: Transfer to a small serving bowl or squeeze bottle for easy application. Your homemade karashi is now ready to bring the heat to any dish.
Chef’s Notes
Heat Development: Fresh karashi gets hotter as it sits, so don’t panic if it seems mild at first. The full heat develops within 10-15 minutes of mixing.
Powder Quality: Always use the freshest mustard powder possible. Store your powder in an airtight container away from light and heat to maintain potency.
Consistency Control: If your karashi becomes too thick, add water drop by drop. Too thin? Sprinkle in more powder gradually until you reach the perfect spreadable consistency.
Flavor Balance: The rice vinegar isn’t just for taste – it actually helps stabilize the karashi and prevents it from becoming bitter over time.
Nutrition Information (Per Serving)
- Calories: 8
- Protein: 0.4g
- Carbohydrates: 0.8g
- Fat: 0.5g
- Sodium: 15mg
Creative Variations
Honey Karashi: Add 1/2 teaspoon honey for a sweet-heat combination that’s incredible with chicken teriyaki.
Miso Karashi: Mix in 1/2 teaspoon white miso paste for an umami-rich version that pairs beautifully with goma dare sauce for the ultimate dipping experience.
Citrus Karashi: Replace rice vinegar with fresh lemon juice for a bright, zesty kick that cuts through rich foods.
Spicy Blend Karashi: Combine with a pinch of shichimi togarashi for a complex heat that adds depth to any dish.
Storage & Reheating
Immediate Use: Fresh karashi is best used within 2 hours of making for maximum heat and flavor.
Short-term Storage: Cover tightly and refrigerate for up to 3 days. The heat will mellow slightly but remain potent.
Texture Maintenance: If refrigerated karashi thickens too much, stir in a few drops of warm water to restore the proper consistency.
Freezing: Not recommended – freezing breaks down the mustard oils and creates a watery, flavorless result.
Troubleshooting Common Issues
Problem 1: Lumpy Karashi Solution: Strain through a fine-mesh sieve and re-mix with a fork. Always add water gradually next time.
Problem 2: Too Hot to Handle Solution: Mix in a tiny amount of honey or sugar. Don’t add more water – it dilutes flavor without reducing heat effectively.
Problem 3: Bitter Aftertaste Solution: Your mustard powder might be old, or you used a metal bowl. Start fresh with ceramic or glass equipment.
Problem 4: Not Hot Enough Solution: Use less water next time, or add a pinch more fresh powder. Old powder simply can’t deliver proper heat.
Problem 5: Separating or Watery Solution: You added too much liquid too quickly. Whisk vigorously and let sit – it often comes back together.
Equipment Essentials
- Small glass or ceramic mixing bowl
- Measuring spoons (metal is fine for measuring)
- Small whisk or teaspoon for mixing
- Fine-mesh strainer (for troubleshooting lumps)
- Airtight storage container
Shopping List
Condiment Aisle
- Dry mustard powder (Coleman’s or Keen’s brand)
- Rice vinegar
Pantry Staples
- Salt
Success Secrets
- Use room temperature water – hot water kills the heat-producing enzymes, cold water won’t activate them properly.
- Mix immediately after adding water – letting mustard powder sit in water without mixing creates permanent lumps.
- Taste with extreme caution – fresh karashi can be 10 times hotter than prepared yellow mustard.
- Make small batches – karashi loses potency quickly, so fresh is always better than stored.
- Let it rest before serving – that 2-3 minute waiting period is when the magic happens and the heat fully develops.