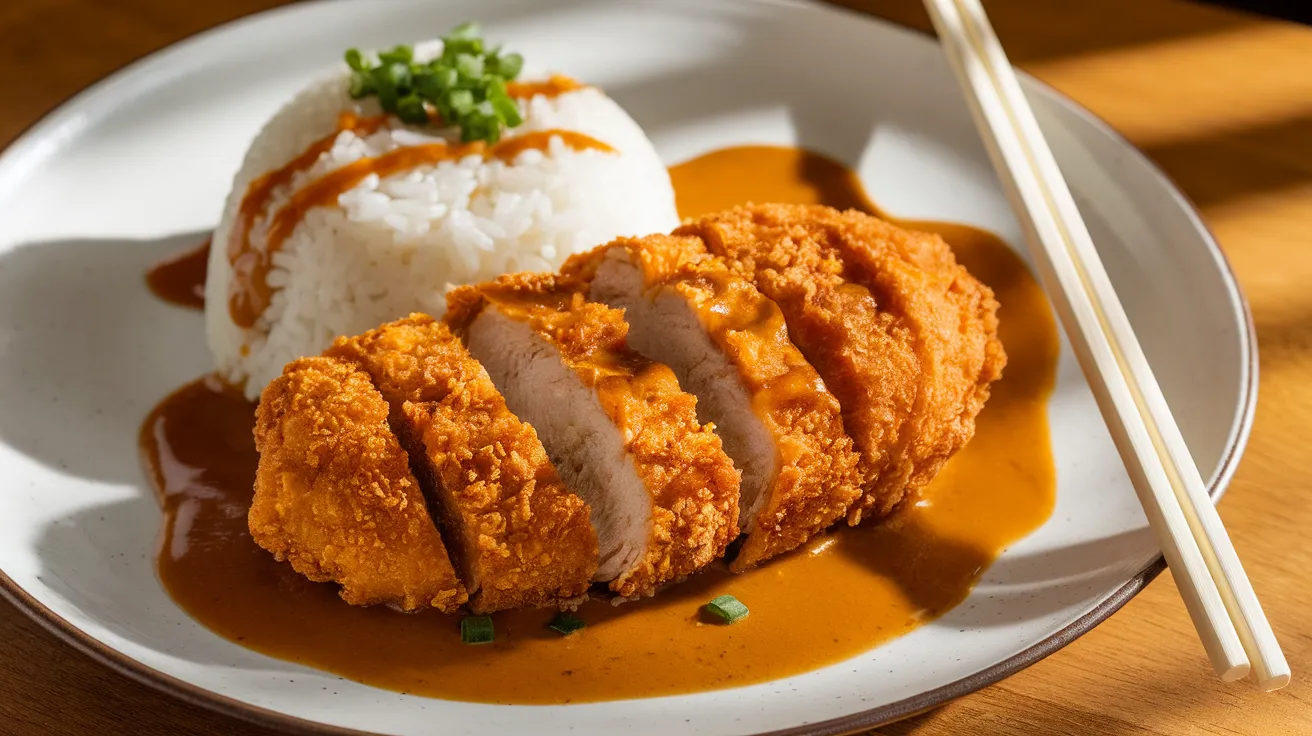
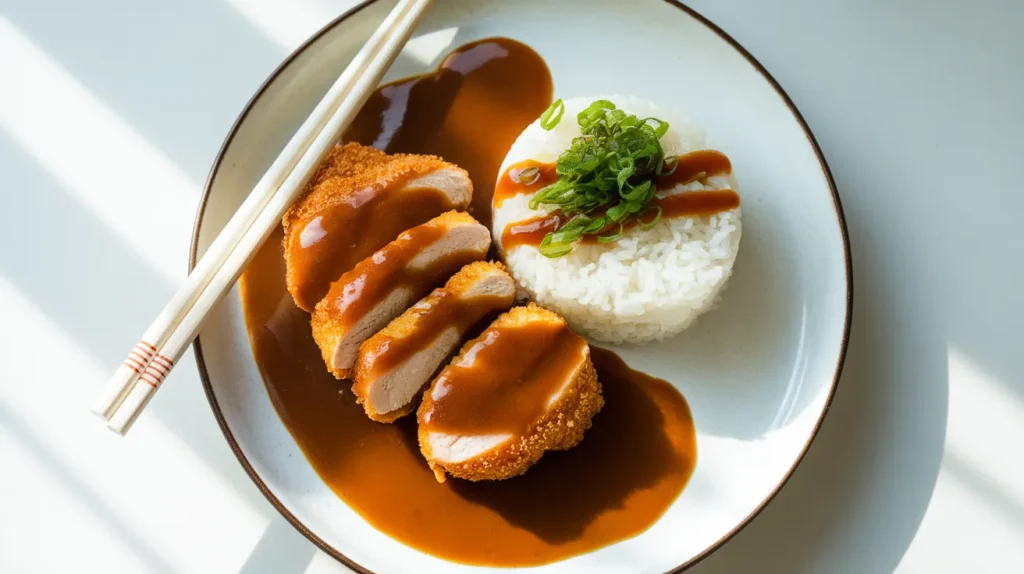
Rich, velvety katsu curry sauce transforms ordinary fried cutlets into restaurant-quality comfort food. This authentic katsu curry sauce recipe delivers that perfect balance of sweet, savory, and mildly spiced flavors that makes Japanese curry so addictive. Whether you’re serving it over crispy chicken katsu or pork tonkatsu, this homemade katsu curry sauce will become your go-to recipe for cozy weeknight dinners.
SERVES: 4 | PREP: 15 MIN | COOK: 25 MIN | TOTAL: 40 MIN
Ingredients for Katsu Curry Sauce
Base Ingredients
| Ingredient | Amount | Notes |
|---|---|---|
| Butter | 3 tablespoons | Unsalted preferred |
| All-purpose flour | 3 tablespoons | For roux base |
| Yellow onion | 1 medium (diced) | Sweet onion works too |
| Garlic cloves | 3 cloves (minced) | Fresh only |
| Fresh ginger | 1 tablespoon (grated) | Peeled and grated |
Liquid Components
| Ingredient | Amount | Notes |
|---|---|---|
| Chicken stock | 2 cups | Low-sodium preferred |
| Whole milk | ½ cup | Room temperature |
| Soy sauce | 2 tablespoons | Light soy sauce |
| Worcestershire sauce | 1 tablespoon | For umami depth |
Spice & Flavor Mix
| Ingredient | Amount | Notes |
|---|---|---|
| Japanese curry powder | 2 tablespoons | S&B brand recommended |
| Honey | 2 tablespoons | Or brown sugar |
| Apple | ½ medium (grated) | For natural sweetness |
| Tomato paste | 1 tablespoon | Concentrated flavor |
Step-by-Step Instructions
Phase 1: Creating the Roux Foundation (8 minutes)
Step 1: Heat butter in a heavy-bottomed saucepan over medium-low heat. Why this matters: Heavy pans prevent hot spots that can burn your roux, and medium-low heat gives you control over the browning process.
Step 2: Once butter melts completely and stops foaming (about 1 minute), gradually whisk in flour. Safety tip: Add flour slowly while whisking constantly to prevent lumps from forming.
Step 3: Cook the flour-butter mixture for 3-4 minutes, whisking continuously until it turns light golden brown. Visual cue: The mixture should smell nutty, not raw or floury. If it starts browning too quickly, reduce heat immediately.
Step 4: The roux is ready when it’s smooth, golden, and pulls away from the pan sides when stirred. Troubleshooting: If lumps form, remove from heat and whisk vigorously until smooth.
Phase 2: Building Aromatic Base (7 minutes)
Step 5: Add diced onions to the roux and cook for 3-4 minutes until softened. Timing tip: Onions should be translucent but not browned – this keeps the sauce color light.
Step 6: Stir in minced garlic and grated ginger, cooking for 30 seconds until fragrant. Important: Don’t let garlic brown or it will taste bitter.
Step 7: Add curry powder and stir constantly for 1 minute to toast the spices. Why this step: Toasting releases essential oils and deepens the curry flavor significantly.
Phase 3: Liquid Integration (10 minutes)
Step 8: Slowly pour in chicken stock while whisking continuously. Critical technique: Add liquid gradually to prevent the roux from seizing up and creating lumps.
Step 9: Bring mixture to a gentle simmer over medium heat, whisking frequently. Temperature guide: Small bubbles should break the surface – avoid a rolling boil.
Step 10: Add tomato paste, soy sauce, and Worcestershire sauce. Mixing tip: Whisk tomato paste thoroughly to distribute evenly and prevent clumps.
Step 11: Stir in grated apple and honey, then simmer for 8-10 minutes until sauce thickens. Consistency check: Sauce should coat the back of a spoon when ready.
Step 12: Remove from heat and gradually whisk in room-temperature milk. Temperature warning: Cold milk can cause the sauce to seize – let it come to room temperature first.
Step 13: Strain sauce through fine-mesh sieve if completely smooth texture is desired. Professional tip: This step is optional but creates restaurant-quality smoothness.
Step 14: Taste and adjust seasoning with salt, pepper, or additional honey as needed. Flavor balance: The sauce should be mildly sweet with warm spice notes.
Chef’s Notes
Curry Powder Quality: Invest in high-quality Japanese curry powder like S&B brand for authentic flavor. Fresh spices make a noticeable difference in your katsu curry sauce depth and complexity.
Consistency Control: If your katsu curry sauce becomes too thick, thin it with warm chicken stock. Too thin? Simmer uncovered for a few extra minutes to reduce and concentrate flavors.
Make-Ahead Magic: This katsu curry sauce actually improves in flavor when made a day ahead. The spices meld beautifully overnight, creating a more complex taste profile.
Sweetness Balance: The grated apple provides natural sweetness that complements the curry spices perfectly. Don’t skip this ingredient – it’s what separates good katsu curry sauce from exceptional.
Nutrition Information (Per Serving)
- Calories: 145
- Protein: 4g
- Carbohydrates: 18g
- Fat: 7g
- Fiber: 2g
- Sodium: 580mg
Creative Variations
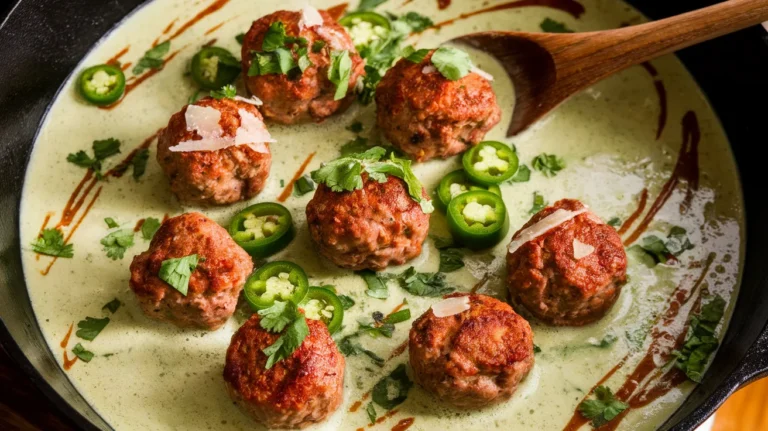
Spicy Katsu Curry Sauce: Add 1-2 teaspoons of sriracha or 1 minced jalapeño during the aromatic base phase for heat lovers.
Coconut Katsu Curry: Replace half the milk with coconut milk for richer, tropical notes that pair beautifully with seafood katsu.
Vegetable-Forward Version: Sauté diced carrots and celery with the onions for added nutrition and subtle sweetness – similar to how you might enhance omurice sauce with vegetables.
Restaurant-Style Thick Katsu Curry: Double the flour in your roux for an ultra-thick sauce that clings to every piece of katsu like your favorite Japanese restaurant.
Storage & Reheating Guidelines
Refrigerator Storage: Store cooled katsu curry sauce in airtight containers for up to 5 days. Glass containers work best as they won’t absorb curry flavors like plastic might.
Freezer Storage: Freeze in portions for up to 3 months in freezer-safe containers. Pro tip: Leave 1-inch headspace for expansion.
Reheating Method: Warm gently over low heat, whisking frequently. Add liquid as needed – start with 1-2 tablespoons of stock or milk to restore smooth consistency.
Microwave Alternative: Reheat in 30-second intervals, stirring between each interval to prevent hot spots and separation.
Troubleshooting Common Issues
Problem 1 – Lumpy Sauce: If your katsu curry sauce has lumps, immediately remove from heat and whisk vigorously. Solution: For stubborn lumps, strain through fine-mesh sieve or use immersion blender briefly.
Problem 2 – Too Thin Consistency: Simmer uncovered for additional 5-10 minutes to reduce liquid. Alternative fix: Mix 1 tablespoon cornstarch with 2 tablespoons cold water, then whisk into simmering sauce.
Problem 3 – Bland Flavor: Taste and adjust with more soy sauce for saltiness, honey for sweetness, or curry powder for spice depth. Remember: Flavors intensify as sauce cools.
Problem 4 – Sauce Separating: This happens when heat is too high or liquid is added too quickly. Fix: Remove from heat, let cool slightly, then whisk in 1 tablespoon cold butter to re-emulsify.
Problem 5 – Burnt Bottom: If you smell burning, immediately transfer sauce to clean pan. Prevention: Use heavy-bottomed pans and maintain medium-low heat throughout cooking process.
Equipment Essentials
- Heavy-bottomed saucepan (2-3 quart capacity)
- Wire whisk for smooth mixing
- Fine-mesh strainer (optional for ultra-smooth texture)
- Sharp knife for dicing vegetables
- Box grater for apple and ginger
- Measuring cups and spoons
- Wooden spoon for stirring
Shopping List by Store Section
Produce Section
- 1 medium yellow onion
- 1 head fresh garlic
- 1 piece fresh ginger root
- 1 medium apple
Dairy Section
- Unsalted butter
- Whole milk
Pantry/Dry Goods
- All-purpose flour
- Japanese curry powder
- Honey
- Soy sauce (light)
- Worcestershire sauce
- Tomato paste
Meat/Deli Section
- Low-sodium chicken stock
Success Secrets
1. Toast your curry powder in the roux for 60 seconds – this single step transforms the flavor profile from flat to complex and aromatic.
2. Keep your heat at medium-low throughout the entire process. High heat is the enemy of smooth katsu curry sauce and leads to burning and separation.
3. Grate your apple fresh rather than using applesauce. Fresh apple adds texture and natural enzymes that help balance the curry spices perfectly.
4. Always strain if serving to guests – the extra step creates that restaurant-quality smoothness that impresses every time.
5. Make it a day ahead when possible. Overnight aging allows flavors to marry and develop depth that’s impossible to achieve in a single cooking session.
This katsu curry sauce pairs beautifully with crispy chicken katsu, pork tonkatsu, or even drizzled over rice for a simple comfort meal. Like other Japanese condiments such as oroshi sauce, this sauce elevates simple ingredients into something truly special. The key is patience with the roux and gentle heat throughout – your taste buds will thank you for the extra care!