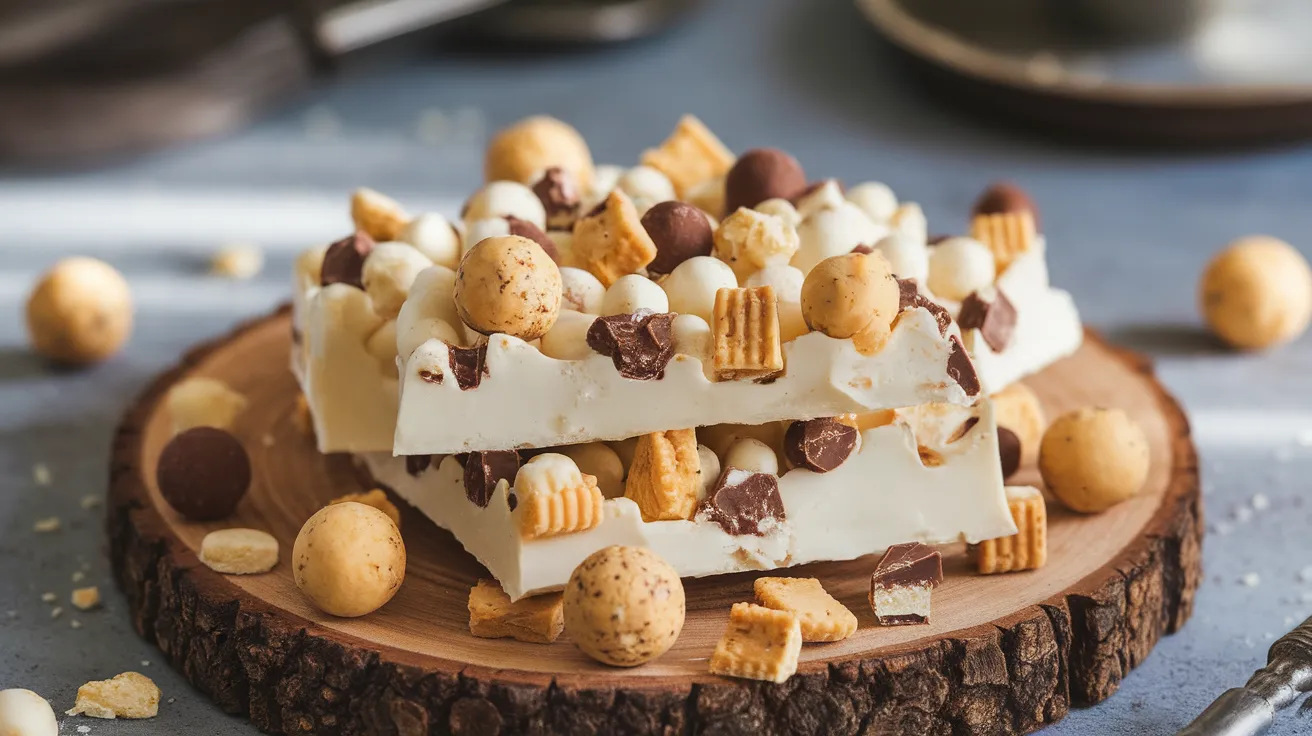
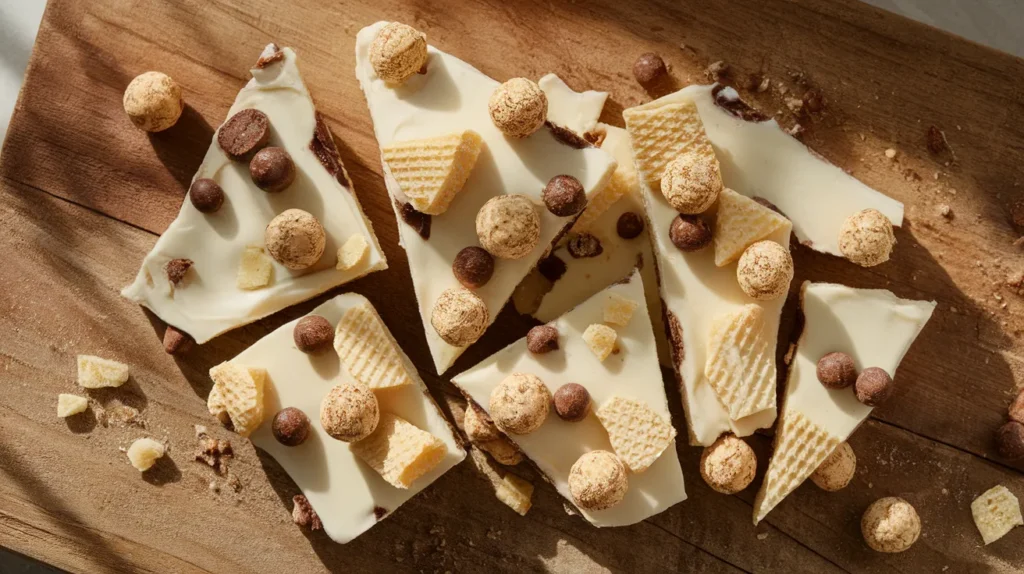
This irresistible malted milk bark combines creamy white chocolate with crunchy malted milk powder and crushed cookies for a nostalgic treat that’s surprisingly simple to make. Perfect for gift-giving or satisfying your sweet tooth, this malted milk bark recipe delivers rich, malty flavors in every bite.
SERVES: 4 | PREP: 15 MIN | COOK: 5 MIN | TOTAL: 2 HOURS 20 MIN (including chilling)
Ingredients
Chocolate Base
- 12 oz high-quality white chocolate chips or chopped white chocolate
- 2 tablespoons coconut oil or vegetable shortening
Malted Milk Components
- 1/2 cup malted milk powder (like Carnation or Horlicks)
- 1 cup malted milk balls, roughly chopped (Whoppers work perfectly)
- 1/2 cup vanilla wafer cookies, crushed into chunks
Optional Toppings
- 1/4 teaspoon vanilla extract
- Pinch of sea salt for sprinkling
Step-by-Step Instructions
Phase 1: Preparation Setup (5 minutes)
Step 1: Line a 9×9 inch baking pan with parchment paper, leaving overhang for easy removal. This prevents sticking and makes cutting much cleaner later.
Step 2: Place malted milk balls in a sealed plastic bag and gently crush with a rolling pin until you have chunky pieces, not powder. You want varied textures for the best bite experience.
Step 3: Crush vanilla wafer cookies the same way, aiming for pieces about the size of small peas. These add extra crunch and complement the malty flavor beautifully.
Phase 2: Chocolate Preparation (8 minutes)
Step 4: Set up a double boiler by placing a heat-proof bowl over a pot with 1 inch of simmering water. Make sure the bottom of the bowl doesn’t touch the water – this prevents overheating.
Step 5: Add white chocolate and coconut oil to the bowl. The oil helps create a smoother, more workable consistency that’s easier to spread.
Step 6: Stir constantly with a rubber spatula as the chocolate melts. This should take 3-4 minutes. Safety tip: Never let water droplets get into the chocolate, as this will cause it to seize and become grainy.
Step 7: Once chocolate is 90% melted, remove from heat and continue stirring. The residual heat will melt the remaining pieces, preventing overheating.
Phase 3: Flavor Integration (3 minutes)
Step 8: Whisk in malted milk powder gradually while the chocolate is still warm. This ensures no lumps form and the malty flavor distributes evenly throughout.
Step 9: Add vanilla extract if using. This enhances the overall flavor profile and adds depth to the sweetness.
Step 10: Fold in half of the crushed malted milk balls and cookie pieces. Reserve the rest for topping – this creates layers of texture.
Phase 4: Assembly and Setting (4 minutes active, 2+ hours chilling)
Step 11: Pour the mixture into your prepared pan immediately. Work quickly as white chocolate sets faster than dark chocolate.
Step 12: Use an offset spatula to spread evenly, creating a smooth surface. Tap the pan gently on the counter to release air bubbles.
Step 13: Sprinkle remaining crushed malted milk balls and cookie pieces on top while chocolate is still liquid. Press gently so toppings adhere properly.
Step 14: Add a light sprinkle of sea salt if desired. This enhances the sweet and malty flavors remarkably.
Step 15: Refrigerate for at least 2 hours until completely set. The bark should feel firm to the touch and not leave fingerprints when pressed lightly.
Step 16: Using parchment overhang, lift bark from pan and place on cutting board. Use a sharp knife to cut into irregular pieces for a rustic, artisanal look.
Chef’s Notes
Temperature Control: Keep your workspace cool when working with white chocolate. If your kitchen is warm, chill your bowl and utensils beforehand for better results with this malted milk bark.
Quality Matters: Invest in good white chocolate – avoid chips with stabilizers if possible. Real white chocolate contains cocoa butter and melts more smoothly than imitation versions.
Texture Balance: The combination of smooth chocolate, crunchy malted milk balls, and cookie pieces creates the perfect textural contrast that makes this malted milk bark addictive.
Make-Ahead Magic: This bark actually improves after 24 hours as flavors meld together, making it perfect for advance preparation.
Nutrition Information (Per Serving)
- Calories: 385
- Protein: 6g
- Carbohydrates: 45g
- Fat: 22g
- Fiber: 1g
Delicious Variations
Dark Chocolate Malt Bark: Replace white chocolate with dark chocolate for a more sophisticated flavor profile that pairs beautifully with the malty sweetness.
Pretzel Malt Bark: Add crushed pretzels instead of cookies for a salty-sweet combination that’s absolutely irresistible.
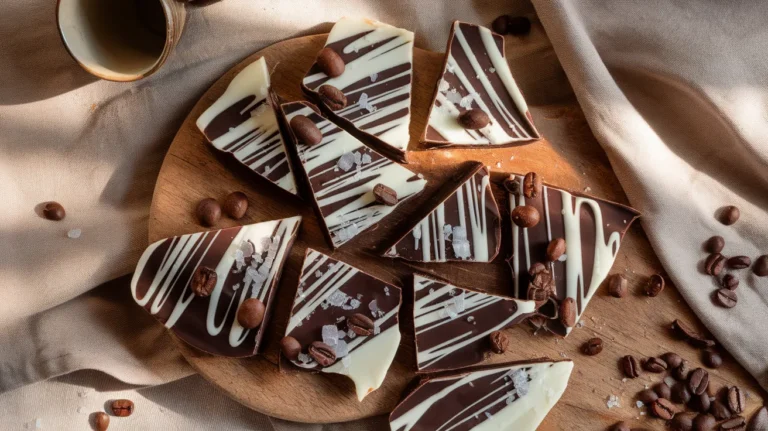
Coffee Shop Style: Mix in instant espresso powder with the malted milk powder for a grown-up twist that coffee lovers will adore. For more creative bark ideas, check out our matcha bark recipe for another unique flavor combination.
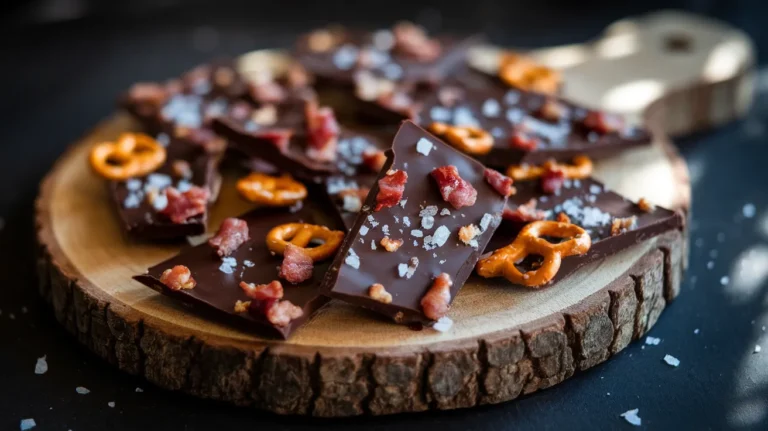
Bacon Malt Bark: Incorporate crumbled crispy bacon for an unexpected savory element, similar to our popular chocolate bacon bark that combines sweet and salty perfectly.
Storage & Reheating
Room Temperature: Store in an airtight container for up to 1 week. Layer between parchment paper to prevent sticking.
Refrigerated: Keeps for 3 weeks when properly stored. Bring to room temperature before serving for best texture and flavor.
Freezing: Wrap well and freeze for up to 3 months. Thaw in refrigerator overnight before serving.
Gift Packaging: Pack in decorative tins or cellophane bags tied with ribbon. This malted milk bark makes wonderful homemade gifts.
Troubleshooting Common Problems
Problem 1 – Chocolate Seized: If chocolate becomes grainy and thick, it got too hot or water got in. Start over with fresh chocolate, keeping temperature lower and ensuring no moisture enters.
Problem 2 – Won’t Set Properly: Your kitchen might be too warm, or you may have added too much oil. Move to a cooler location and extend chilling time.
Problem 3 – Toppings Sink: You added toppings too late after chocolate began setting. Next time, work faster and add toppings while chocolate is still completely liquid.
Problem 4 – Uneven Thickness: Pour all chocolate at once rather than in stages, and spread quickly with an offset spatula for even distribution.
Problem 5 – Difficult to Cut: Let bark come to room temperature for 10 minutes before cutting, and use a sharp knife with steady pressure rather than sawing motions.
Equipment Essentials
- Double boiler or heat-proof bowl and saucepan
- 9×9 inch baking pan
- Parchment paper
- Rubber spatula
- Offset spatula (optional but helpful)
- Rolling pin for crushing
- Sharp knife for cutting
Shopping List
Baking Aisle
- Malted milk powder
- White chocolate chips or bars
- Vanilla extract
Candy Section
- Malted milk balls (Whoppers)
- Vanilla wafer cookies
Oils & Fats
- Coconut oil or vegetable shortening
Seasonings
- Sea salt (optional)
Success Secrets
- Temperature is everything – Use a candy thermometer if you’re nervous about overheating. White chocolate should never exceed 110°F.
- Prep all ingredients first – Once you start melting chocolate, work quickly. Having everything measured and ready prevents scrambling.
- Room temperature matters – Choose a cool day or air-conditioned kitchen for best results when making any bark recipe.
- Sharp, clean cuts – Wipe your knife between cuts and use steady downward pressure rather than sawing back and forth.
- Patience pays off – Don’t rush the chilling process. Properly set bark breaks cleanly and has better texture than rushed versions.