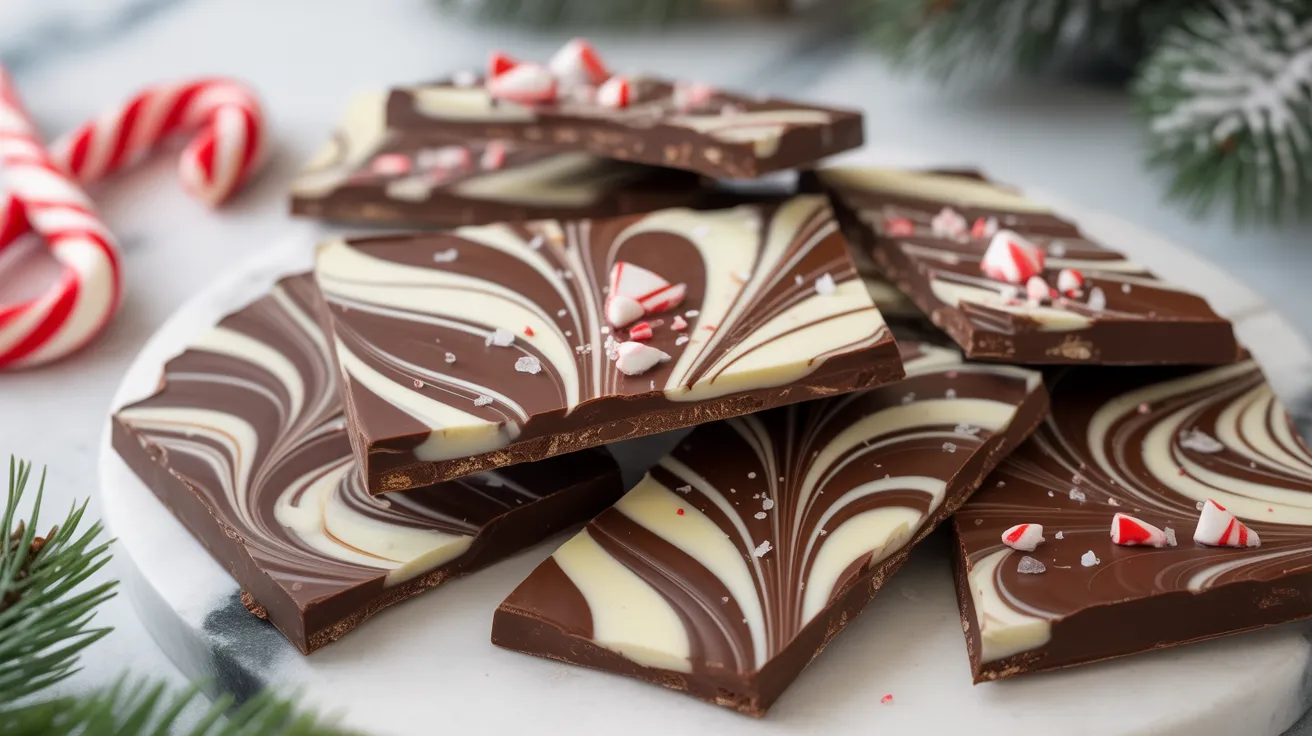
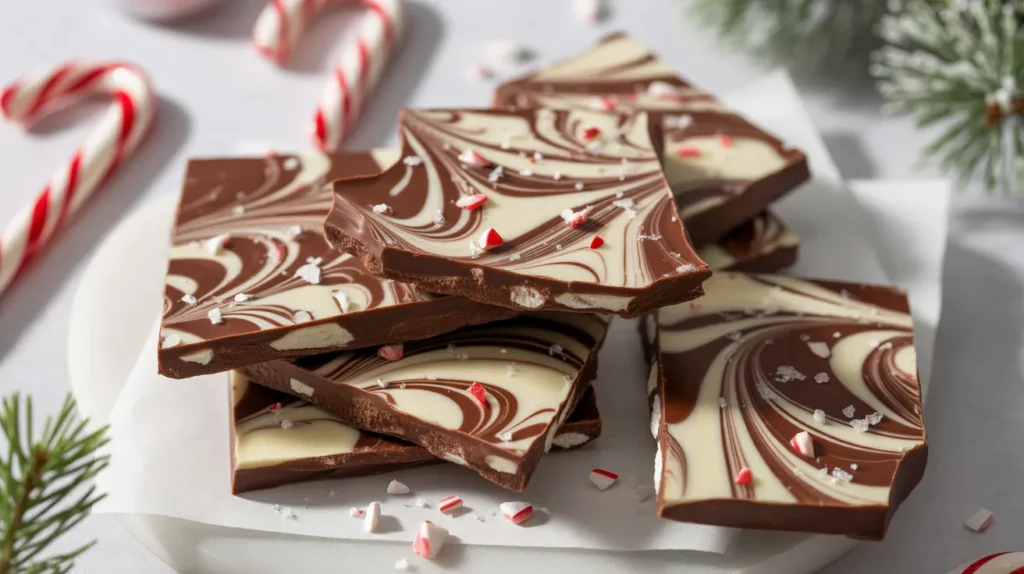
Mint chocolate swirl bark transforms simple ingredients into an elegant holiday treat that looks like it came from a fancy chocolatier. This mint chocolate swirl bark combines rich dark chocolate with creamy white chocolate and fresh peppermint for a stunning two-toned confection perfect for gift-giving or holiday entertaining. The best part? You’ll create beautiful marbled patterns with just a toothpick, making this impressive dessert surprisingly simple for beginners.
SERVES: 4 | PREP: 15 MIN | COOK: 5 MIN | TOTAL: 2 HR 20 MIN (includes chilling)
Ingredients
For the Dark Chocolate Layer:
| Ingredient | Amount |
|---|---|
| Dark chocolate chips (60-70% cocoa) | 12 oz |
| Coconut oil | 1 tablespoon |
| Peppermint extract | 1/2 teaspoon |
For the White Chocolate Layer:
| Ingredient | Amount |
|---|---|
| White chocolate chips | 8 oz |
| Coconut oil | 2 teaspoons |
| Peppermint extract | 1/4 teaspoon |
| Green food coloring (optional) | 2-3 drops |
For Topping:
| Ingredient | Amount |
|---|---|
| Crushed candy canes or peppermint candies | 1/4 cup |
| Flaky sea salt | Pinch |
Step-by-Step Instructions
Phase 1: Preparation (5 minutes)
Step 1: Line a 9×13-inch baking sheet with parchment paper, leaving about 2 inches of overhang on each side. This overhang acts as handles for easy removal later. Smooth out any wrinkles in the parchment because they’ll create uneven spots in your finished bark.
Step 2: Place your crushed peppermint candies in a small bowl and set aside. If you’re crushing whole candy canes, seal them in a zip-top bag and gently tap with a rolling pin until you get pieces about the size of rice grains. Too-large pieces will make the bark difficult to break cleanly.
Phase 2: Melting the Dark Chocolate (3 minutes)
Step 3: Combine 12 oz dark chocolate chips with 1 tablespoon coconut oil in a microwave-safe bowl. The coconut oil helps create a smooth, glossy finish and makes the chocolate easier to spread.
Step 4: Microwave on 50% power for 30 seconds, then stir. Repeat this process 3-4 times until the chocolate is completely smooth with no lumps. Don’t rush this step by using full power because chocolate can seize and become grainy if overheated.
Step 5: Stir in 1/2 teaspoon peppermint extract. The mixture might thicken slightly when you add the extract, which is perfectly normal.
Phase 3: Creating the Base Layer (2 minutes)
Step 6: Pour the melted dark chocolate onto your prepared baking sheet. Use an offset spatula or the back of a spoon to spread it into an even rectangle about 1/4 inch thick. Don’t spread it too thin or your bark will be fragile and break into tiny pieces.
Step 7: Tap the baking sheet firmly on your counter 5-6 times. This releases air bubbles trapped in the chocolate, which would otherwise create weak spots in your finished bark.
Phase 4: Preparing the White Chocolate (3 minutes)
Step 8: In a clean microwave-safe bowl, combine 8 oz white chocolate chips with 2 teaspoons coconut oil. White chocolate burns more easily than dark chocolate, so patience is key here.
Step 9: Microwave on 30% power for 30 seconds, stir, and repeat 3-4 times until smooth. White chocolate should feel warm to the touch but not hot. If it feels hot, you’ve gone too far and it might become grainy.
Step 10: Stir in 1/4 teaspoon peppermint extract and 2-3 drops green food coloring if using. The green creates a more dramatic swirl pattern, but classic white works beautifully too.
Phase 5: Creating the Swirl Pattern (5 minutes)
Step 11: Working quickly before the dark chocolate sets, dollop tablespoon-sized portions of the white chocolate mixture randomly across the dark chocolate base. Space them about 2 inches apart to ensure even coverage when you swirl.
Step 12: Use a toothpick or skewer to drag through both chocolate layers, creating swirl patterns. Start from one corner and make long S-curves or figure-8 patterns across the entire surface. Don’t over-swirl or the colors will muddy together instead of creating distinct marbled patterns.
Step 13: Immediately sprinkle the crushed peppermint candies evenly over the surface, gently pressing them into the chocolate so they stick. Add a light sprinkle of flaky sea salt if desired. The salt enhances the chocolate flavor and balances the sweetness.
Phase 6: Setting and Finishing (2 hours)
Step 14: Refrigerate the bark for 2 hours until completely firm. Don’t try to speed this up in the freezer because rapid temperature changes can cause the chocolate to develop a white film called “bloom.”
Step 15: Once set, lift the bark out using the parchment paper overhang. Place it on a cutting board and use a sharp chef’s knife to break it into irregular 2-3 inch pieces. For cleaner breaks, let the bark sit at room temperature for 5 minutes before breaking.
Chef’s Notes
Temperature Control: Keep your kitchen cool (65-70°F) while making mint chocolate swirl bark. Warm rooms cause the chocolate to stay soft and refuse to set properly.
Quality Matters: Use high-quality chocolate chips from brands like Ghirardelli or Guittard. The better your chocolate, the glossier and more professional your bark will look.
Extract Strength: Peppermint extract is very concentrated. Start with less than recommended and taste-test before adding more. Too much creates an overpowering medicinal flavor.
Storage Timing: This bark tastes best within 5 days of making. The peppermint candies absorb moisture over time and can become sticky, especially in humid climates.
Nutrition Information (Per Serving)
Calories: 420
Protein: 4g
Carbohydrates: 48g
Fat: 26g
Fiber: 3g
Sugar: 42g
Sodium: 45mg
Variations to Try
Peppermint Mocha Bark: Add 1 tablespoon instant espresso powder to the dark chocolate layer for a sophisticated coffee-mint combination that rivals your favorite coffee shop treats.
Triple Chocolate Peppermint: Use milk chocolate instead of dark chocolate for a sweeter, more kid-friendly version. This works especially well when making bark as gifts for children.
Crushed Cookie Bark: Replace half the peppermint candies with crushed Oreos or chocolate sandwich cookies. This creates texture variation similar to what you’ll find in gingerbread house white chocolate bark.
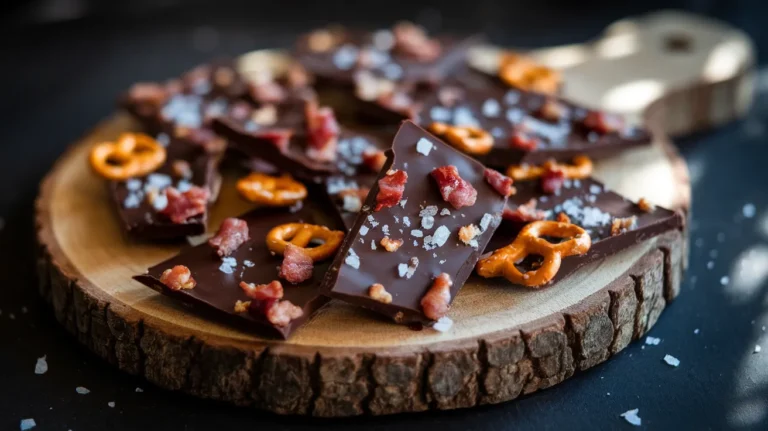
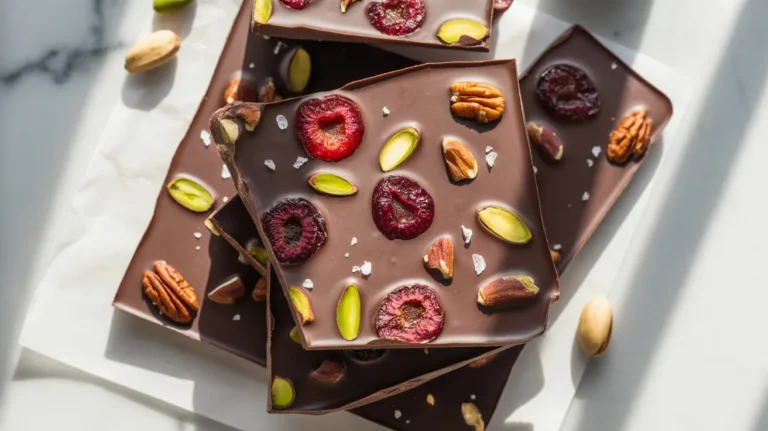
Nut Lover’s Bark: Fold in 1/4 cup chopped pistachios or toasted almonds before the chocolate sets. The nutty richness pairs beautifully with mint, much like the combination in chocolate hazelnut bark.
Storage & Reheating
Room Temperature Storage: Keep mint chocolate swirl bark in an airtight container at cool room temperature (65-70°F) for up to 3 days. Layer pieces between parchment paper to prevent sticking.
Refrigerator Storage: Store in an airtight container for up to 2 weeks. Let the bark sit at room temperature for 10 minutes before serving because cold chocolate loses flavor.
Freezer Storage: Wrap individual pieces in parchment paper, then place in a freezer-safe container for up to 2 months. Thaw in the refrigerator overnight.
Humidity Warning: Never store chocolate bark in humid environments. Moisture causes the sugar in chocolate to dissolve and recrystallize, creating an unappetizing grainy texture.
Troubleshooting Common Problems
Problem: White film appeared on my bark
Solution: This “chocolate bloom” happens when chocolate experiences temperature fluctuations. It’s safe to eat but looks unattractive. Prevent it by keeping chocolate at steady 65-70°F during setting and storing in a cool, dry place.
Problem: The chocolate won’t melt smoothly
Solution: You’ve overheated the chocolate and it seized. Start over with fresh chocolate and use 30-50% microwave power instead of full power. Stir between every 30-second interval.
Problem: My swirls look muddy instead of distinct
Solution: You over-mixed the two chocolate layers. Next time, use fewer, longer strokes with your toothpick. Three or four long swirls create better patterns than many short ones.
Problem: The bark is too soft and won’t snap cleanly
Solution: You didn’t use enough chocolate or spread it too thin. Aim for 1/4 inch thickness across the entire sheet. If already made, refrigerate for an extra hour to firm it up.
Problem: Peppermint candies sank to the bottom
Solution: You added them too late after the chocolate started setting. Sprinkle toppings immediately after creating your swirl pattern while the chocolate is still liquid enough for them to nestle in.
Equipment Essentials
- 9×13-inch rimmed baking sheet
- Parchment paper
- Two microwave-safe mixing bowls
- Offset spatula or silicone spatula
- Toothpicks or wooden skewers
- Sharp chef’s knife
- Rolling pin (for crushing candy)
- Zip-top bag
Shopping List
Baking Aisle:
- Dark chocolate chips (12 oz)
- White chocolate chips (8 oz)
- Peppermint extract
Oils & Condiments:
- Coconut oil
Candy Aisle:
- Candy canes or peppermint candies (1/4 cup when crushed)
Baking Supplies:
- Parchment paper
Optional:
- Green food coloring
- Flaky sea salt
Success Secrets
1. Temperature is Everything: Work in a cool kitchen and use a thermometer to check your chocolate reaches 88-90°F for dark and 84-86°F for white chocolate. This creates the shiniest, snappiest bark.
2. Quality Chocolate Makes a Difference: Skip generic chocolate chips and invest in couverture chocolate or premium chips. The higher cocoa butter content creates smoother melting and better texture.
3. The Swirl Technique: Create dramatic patterns by dragging your toothpick in one continuous motion from corner to corner. Lift the toothpick completely between strokes instead of keeping it in the chocolate.
4. Peppermint Candy Prep: Crush candies to different sizes for visual interest. Mix fine powder with rice-sized pieces and larger chunks for varied texture in every bite.
5. Gift Presentation: Break mint chocolate swirl bark into uniform 2-inch squares for gifting. Stack pieces in clear cellophane bags tied with ribbon, or arrange in decorative tins lined with parchment paper.