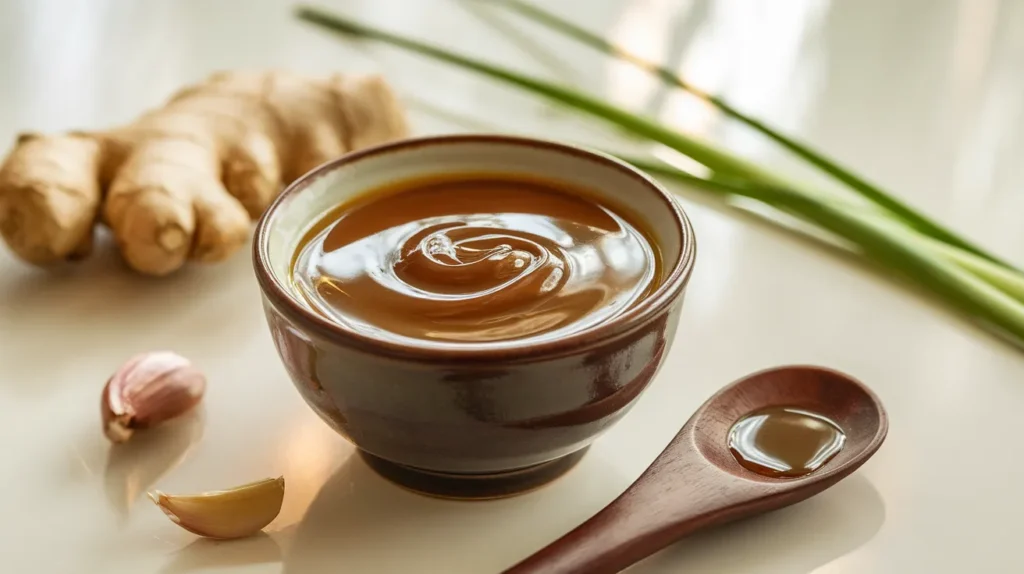
This miso sauce delivers incredible umami depth that transforms any dish from ordinary to extraordinary. Perfect for beginners, this foolproof miso sauce recipe creates a versatile condiment that works as a glaze, marinade, or dipping sauce, serving four people with ingredients you can find at any grocery store.
SERVES: 4 | PREP: 8 MIN | COOK: 12 MIN | TOTAL: 20 MIN
Ingredients
Base Ingredients
| Ingredient | Amount | Notes |
|---|---|---|
| White miso paste | ¼ cup | Found in refrigerated section |
| Rice vinegar | 2 tablespoons | Unseasoned type only |
| Mirin | 2 tablespoons | Japanese sweet rice wine |
| Soy sauce | 1 tablespoon | Low-sodium works best |
Flavor Enhancers
| Ingredient | Amount | Notes |
|---|---|---|
| Fresh ginger | 1 teaspoon | Must be freshly grated |
| Garlic | 2 cloves | Fresh cloves only |
| Sesame oil | 1 teaspoon | Toasted variety preferred |
| Honey | 1 tablespoon | Pure honey or maple syrup |
Optional Additions
- Red pepper flakes – ¼ teaspoon for mild heat
- Green onions – 2 stalks, finely chopped
Detailed Step-by-Step Miso Sauce Instructions
Phase 1: Complete Preparation Setup (5 minutes)
- Clear your workspace completely and lay out a clean kitchen towel. Having everything organized prevents mistakes when cooking this miso sauce. Wipe down your counter and gather a medium bowl, whisk, small saucepan, and measuring tools.
- Read through the entire recipe twice before starting. This helps you understand the timing and prevents surprises. Miso sauce comes together quickly once you start cooking.
- Measure all liquid ingredients first. Pour the rice vinegar, mirin, and soy sauce into separate small bowls or measuring cups. Label them if needed – they look similar but serve different purposes.
- Prepare the miso paste properly. Open your miso container and use a clean spoon to scoop out exactly ¼ cup. Pack it lightly but don’t compress it too much. Fresh miso should look smooth and slightly glossy.
- Grate the ginger with care. Use a microplane grater or the finest side of a box grater. Grate against the grain – you’ll see the fibers running one direction, so grate perpendicular to them. You need 1 level teaspoon of finely grated ginger pulp.
- Mince garlic into tiny pieces. Peel both cloves completely, removing any green sprouts from the center. Chop into pieces no larger than rice grains. Larger pieces will create harsh flavor spots in your miso sauce.
Phase 2: Creating the Miso Base (4 minutes)
- Place miso paste in your medium bowl and break it up slightly with a fork. This makes whisking easier and prevents lumps in your finished miso sauce.
- Add rice vinegar one tablespoon at a time. Pour the first tablespoon directly onto the miso paste. Whisk in small circular motions, working from the center outward. The mixture will look chunky at first – this is normal.
- Continue whisking vigorously for 30 seconds. The miso will gradually dissolve into the vinegar. Keep whisking until no visible chunks remain and the mixture looks smooth and creamy.
- Add the second tablespoon of rice vinegar and repeat the whisking process. Your miso sauce base should now look completely smooth and have the consistency of heavy cream.
- Test the smoothness by lifting your whisk. The mixture should drip off in a steady stream without any lumps. If you see chunks, whisk for another 30 seconds.
Phase 3: Building Aromatic Foundation (3 minutes)
- Heat your saucepan over medium-low heat for exactly 1 minute. Touch the bottom of the pan – it should feel warm but not hot. Too much heat will make your miso sauce bitter.
- Add sesame oil to the warm pan. You should hear a very gentle sizzle, nothing aggressive. If it pops or sputters, lower the heat immediately. The oil should shimmer slightly.
- Add minced garlic to the oil first. Stir constantly with a wooden spoon for 30 seconds. The garlic should smell fragrant but never turn brown – brown garlic tastes bitter.
- Add grated ginger to the pan. Continue stirring for another 30 seconds. The mixture should smell incredible now – sweet, spicy, and aromatic. This creates the flavor foundation for your miso sauce.
Phase 4: Combining and Cooking the Miso Sauce (4 minutes)
- Pour the miso mixture into the pan slowly. Add it in a steady stream while stirring constantly. You’ll hear gentle bubbling – this is perfect. Aggressive bubbling means your heat is too high.
- Stir the mixture constantly for the first minute. Use a whisk now instead of a spoon to prevent any lumps from forming. The miso sauce should start to thicken slightly.
- Add mirin to the pan while stirring. The mixture will bubble more actively for about 10 seconds as the alcohol cooks off. Keep stirring to prevent sticking.
- Add soy sauce and continue stirring. The color will deepen to a rich golden brown. This is exactly what you want your miso sauce to look like.
- Simmer gently for 2 minutes. Lower the heat if needed to maintain just tiny bubbles around the edges. The sauce should coat the back of your spoon when lifted.
Phase 5: Final Seasoning and Finishing (4 minutes)
- Add honey while stirring continuously. The honey will dissolve quickly in the warm miso sauce. This balances the saltiness perfectly.
- Taste carefully with a clean spoon. The sauce should taste balanced – salty, sweet, and tangy all at once. Add more honey if too salty, or a splash more soy sauce if too sweet.
- Add red pepper flakes now if using. The residual heat will bloom the spices perfectly without making them bitter. Stir them in completely.
- Remove from heat immediately once you’re happy with the taste. Miso sauce continues cooking from residual heat, so timing matters here.
- Let cool for 2 minutes before serving. This allows the flavors to settle and the sauce to reach its final consistency. It should coat food nicely without being too thin or thick.
- Garnish with green onions just before serving if desired. Add these last to maintain their fresh, crisp flavor and bright green color.
Chef’s Professional Miso Sauce Notes
• Quality Makes the Difference: Choose refrigerated white miso paste over shelf-stable versions. Fresh miso creates a more complex, nuanced miso sauce that tastes restaurant-quality.
• Heat Control is Critical: Never exceed medium-low heat when making miso sauce. High temperatures break down the beneficial enzymes and create bitter, harsh flavors instead of smooth umami richness.
• Consistency Troubleshooting: If your sauce seems too thick, whisk in warm water one teaspoon at a time. If too thin, simmer uncovered for 1-2 additional minutes while stirring constantly.
• Flavor Development Secret: This miso sauce actually improves after resting. The ingredients meld together beautifully, creating deeper, more complex flavors within 30 minutes of cooking.
Nutrition Information (Per Serving)
- Calories: 85
- Protein: 3g
- Carbohydrates: 12g
- Fat: 3g
- Sodium: 780mg
- Fiber: 1g
- Sugar: 8g
Creative Miso Sauce Variations
Fiery Miso Sauce
Transform your basic recipe by adding 1 tablespoon sriracha and ½ teaspoon chili oil during the final cooking phase. This creates a perfect balance of heat and umami.
Bright Citrus Miso Sauce
Replace half the rice vinegar with fresh lime juice and add 1 teaspoon lime zest. This lighter version pairs beautifully with seafood and complements our shoyu sauce for complete Asian flavor profiles.
Rich Creamy Miso Sauce
Whisk in 2 tablespoons mayonnaise after removing from heat. This creates an incredible dressing for salads, vegetables, and grain bowls.
Sweet Glazing Miso Sauce
Double the honey and add 1 tablespoon brown sugar during cooking. This caramelized version works wonderfully for glazing proteins and pairs excellently with our okonomiyaki sauce for Japanese-inspired meals.
Storage & Reheating Your Miso Sauce
Refrigerator Storage
Store your homemade miso sauce in a clean glass jar with a tight-fitting lid for up to 3 weeks. The natural preservatives in miso keep it fresh longer than most homemade sauces.
Freezer Storage
Pour into ice cube trays for perfect single-serving portions. Once frozen solid, transfer cubes to labeled freezer bags for up to 6 months.
Proper Reheating Method
Warm gently in a small saucepan over low heat, stirring frequently. Add warm water gradually if your miso sauce has thickened during storage. Never microwave – it can separate the sauce.
Complete Troubleshooting Guide
Problem: My Miso Sauce Tastes Too Salty
Detailed Solution: Add 1 more tablespoon of honey and 1 teaspoon of rice vinegar. Stir well and taste again. The sweetness and acidity naturally balance excessive saltiness without diluting the umami flavor.
Problem: Lumpy or Grainy Texture
Detailed Solution: Strain through a fine-mesh strainer, pressing solids with a spoon. For ultra-smooth results, use an immersion blender for 15-20 seconds. Always blend off the heat.
Problem: Sauce is Too Thin and Watery
Detailed Solution: Return to medium-low heat and simmer uncovered for 2-3 minutes, stirring constantly. The miso sauce should coat the back of a spoon when properly thickened.
Problem: Bitter or Harsh Aftertaste
Detailed Solution: This indicates overheating. Add 1 tablespoon each of honey and mirin to counteract bitterness. Reduce heat for future batches – gentle cooking preserves miso’s delicate flavors.
Problem: Sauce Separated During Cooking
Detailed Solution: Remove from heat immediately and whisk vigorously for 1 minute. If separation persists, start fresh with new miso paste and gradually whisk in the separated mixture off the heat.
Essential Equipment for Perfect Miso Sauce
Must-Have Tools
- Heavy-bottomed saucepan – Prevents hot spots and burning
- Wire whisk – Critical for smooth, lump-free texture
- Medium mixing bowl – For combining miso base properly
- Wooden spoon – Won’t react with acidic ingredients
- Fine-mesh strainer – Optional but helpful for ultra-smooth results
Professional Upgrades
- Microplane grater – Creates perfect ginger texture
- Digital kitchen scale – Most accurate ingredient measurements
- Immersion blender – For restaurant-quality smoothness
- Glass storage jars – Better than plastic for preserving flavors
Complete Shopping List
Asian/International Aisle
- White miso paste (refrigerated section)
- Rice vinegar (unseasoned variety)
- Mirin (sweet rice cooking wine)
- Sesame oil (toasted type)
- Soy sauce (low-sodium preferred)
Fresh Produce Section
- Fresh ginger root (firm and unwrinkled)
- Garlic bulbs (heavy and firm)
- Green onions (optional garnish)
Pantry/Baking Aisle
- Pure honey (or maple syrup)
- Red pepper flakes (optional)
Expert Success Secrets for Perfect Miso Sauce
- Taste constantly throughout cooking. Miso sauce should achieve perfect balance between salty, sweet, and tangy elements. Adjust seasoning gradually – you can always add more but can’t take it away.
- Invest in quality miso paste. Fresh, refrigerated miso from a reputable brand creates dramatically better flavor than shelf-stable varieties. The extra cost pays off in taste.
- Master the aromatics technique. Properly blooming garlic and ginger in oil creates the flavor foundation that separates homemade miso sauce from store-bought versions.
- Control temperature religiously. Low, gentle heat preserves the complex flavors and beneficial enzymes in miso. High heat destroys these delicate compounds and creates harsh, bitter notes.
- Make larger batches for convenience. Miso sauce keeps excellently and transforms simple weeknight meals into restaurant-quality dishes. Having it ready in your refrigerator changes how you cook.
This beginner-friendly miso sauce recipe proves that complex, restaurant-quality flavors can emerge from your home kitchen with just 20 minutes of careful attention. Master this fundamental miso sauce technique, and you’ll have a versatile condiment that elevates everything from simple rice bowls to elaborate dinner presentations.