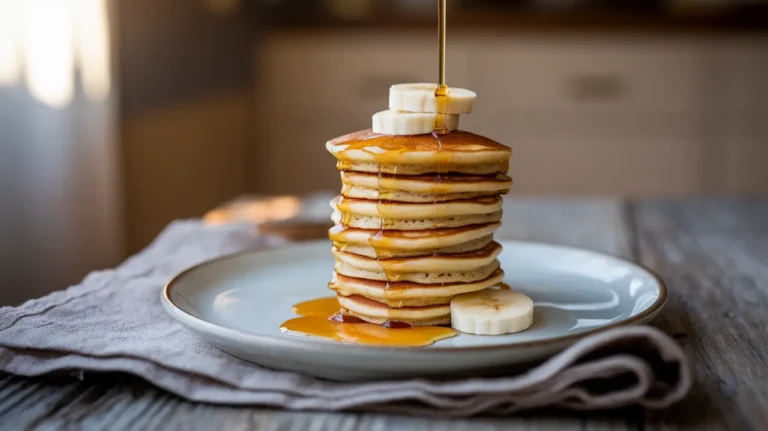
These amazing mochi pancakes blend Japanese tradition with breakfast comfort, creating incredibly fluffy yet chewy pancakes that bounce back when you press them. This beginner-friendly mochi pancake recipe uses simple ingredients to make cloud-like pancakes with a unique texture that’s completely different from regular pancakes.
SERVES: 4 | PREP: 20 MIN | COOK: 25 MIN | TOTAL: 45 MIN
What Makes Mochi Pancakes Special
Mochi pancakes get their signature bounce from mochiko (sweet rice flour), which creates a delightfully chewy texture while keeping the inside incredibly fluffy. Unlike regular pancakes that can become dense, these mochi pancakes stay light and airy with every bite.
Ingredients for Perfect Mochi Pancakes
Dry Ingredients
| Ingredient | Amount | Purpose |
|---|---|---|
| Mochiko (sweet rice flour) | 1 cup | Creates the signature chewy texture |
| All-purpose flour | ½ cup | Provides structure and fluffiness |
| Baking powder | 2 teaspoons | Makes pancakes rise and stay light |
| Sugar | 3 tablespoons | Adds sweetness and helps browning |
| Salt | ½ teaspoon | Enhances flavor |
Wet Ingredients
| Ingredient | Amount | Purpose |
|---|---|---|
| Whole milk | 1¼ cups | Creates tender, moist pancakes |
| Large eggs | 2 | Binds ingredients and adds richness |
| Vanilla extract | 1 teaspoon | Adds warm, sweet flavor |
| Melted butter | 3 tablespoons | Makes pancakes tender and flavorful |
For Cooking
| Ingredient | Amount |
|---|---|
| Butter or oil | For greasing pan |
Detailed Step-by-Step Mochi Pancake Instructions
Phase 1: Setting Up Your Workspace (3 minutes)
1. Gather all ingredients and tools. Before you start making your mochi pancake batter, lay out everything you need on your counter. This includes two large mixing bowls, a whisk, a rubber spatula, measuring cups, and a ¼-cup measuring cup for portioning. Having everything ready prevents mistakes and makes the process smoother.
2. Measure your mochiko carefully. Mochiko can be tricky to measure because it’s finer than regular flour. Use the spoon-and-level method: spoon the mochiko into your measuring cup, then level it off with a knife. Don’t pack it down or tap the cup, as this creates too dense a mochi pancake batter.
Phase 2: Creating the Perfect Batter (10 minutes)
3. Combine all dry ingredients thoroughly. In your largest mixing bowl, add the mochiko, all-purpose flour, baking powder, sugar, and salt. Use a whisk to mix these together for at least 30 seconds, making sure there are no clumps of baking powder or flour. This step is crucial because unmixed baking powder creates uneven rising in your mochi pancakes.
4. Prepare wet ingredients in correct order. In your second bowl, start with the milk at room temperature (cold milk can cause the melted butter to solidify). Crack the eggs into the milk and whisk them together until you see no streaks of egg white. The mixture should look completely smooth and pale yellow.
5. Add vanilla extract and mix. Pour the vanilla extract into the milk mixture and whisk it in completely. The vanilla should be evenly distributed throughout the liquid.
6. Handle melted butter properly. Melt your butter in the microwave for 30-45 seconds until just melted, not hot. Let it cool for 2 minutes. While whisking the milk mixture constantly, slowly drizzle in the melted butter. This technique prevents the butter from forming clumps in your mochi pancake batter.
7. Combine wet and dry ingredients carefully. Pour the wet ingredients into the bowl with the dry ingredients. Using a rubber spatula, gently fold the mixture together. Start from the bottom of the bowl and fold upward, turning the bowl as you go. Stop mixing as soon as you don’t see any dry flour – the batter should still look slightly lumpy.
8. Rest the mochi pancake batter. This is the most important step for perfect mochi pancakes. Cover the bowl with a clean kitchen towel and let it sit for exactly 8 minutes. During this time, the mochiko absorbs the liquid and develops its characteristic chewy texture. Don’t skip this step!
Phase 3: Preparing to Cook (5 minutes)
9. Set up your cooking station. While the batter rests, get your cooking area ready. Place your non-stick skillet or griddle on the stove, get your butter for greasing ready, and set out a plate for finished pancakes. Preheat your oven to 200°F to keep cooked pancakes warm.
10. Test and adjust your heat. Turn your burner to medium-low heat and let the pan warm for 2-3 minutes. To test if it’s ready, sprinkle a few drops of water on the surface – they should gently sizzle and evaporate in about 3 seconds. If they dance around vigorously, your heat is too high for mochi pancakes.
11. Check your batter consistency. After resting, your mochi pancake batter should be thick but still pourable. It should fall from a spoon in a thick ribbon. If it’s too thick, add milk 1 tablespoon at a time. If it’s too thin, whisk in mochiko 1 tablespoon at a time.
Phase 4: Cooking Perfect Mochi Pancakes (15 minutes)
12. Grease the pan properly. Add about 1 teaspoon of butter to your warm pan and let it melt completely. Use a paper towel to spread it evenly across the surface, including the edges. The pan should look glossy but not have puddles of butter.
13. Portion the batter correctly. Use your ¼-cup measuring cup to scoop the mochi pancake batter. Fill it completely, then pour the batter into the center of the pan. Don’t spread it with a spoon – let it naturally form a round shape. The batter will be thicker than regular pancake batter and won’t spread as much.
14. Watch for the first cooking signs. Cook the first side for 4-5 minutes without moving the pancake. You’ll know it’s ready to flip when you see small bubbles forming on the surface and the edges look slightly set and dry. The bottom should be golden brown when you peek with a spatula. Mochi pancakes take longer than regular pancakes, so be patient.
15. Master the flip technique. Slide a thin, flexible spatula completely under the pancake. In one confident motion, flip it over. The cooked side should be golden brown with a slightly bouncy texture. If it tears, wait longer before flipping the next one.
16. Cook the second side perfectly. Cook the second side for 3-4 minutes until golden brown. Press the center gently with your spatula – it should spring back when done. The mochi pancake should feel slightly bouncy, not dense or heavy.
17. Keep pancakes warm while cooking batches. Transfer each finished mochi pancake to an oven-safe plate and place it in your preheated 200°F oven. This keeps them warm and maintains their texture while you cook the remaining batter.
18. Repeat the process. Re-grease the pan lightly between each pancake. You should get 8 pancakes from this recipe, making 2 pancakes per person. Each pancake takes about 7-9 minutes total cooking time.
Phase 5: Final Serving (2 minutes)
19. Check doneness of all pancakes. Before serving, make sure each mochi pancake springs back when gently pressed. They should feel bouncy but not mushy, with a golden-brown exterior and fluffy interior.
20. Serve immediately for best texture. Stack your warm mochi pancakes on serving plates and add your favorite toppings right away. These are best enjoyed while still warm, when their unique chewy texture is at its peak.
Expert Tips for Mochi Pancake Success
• Temperature control is everything: Keep your heat at medium-low throughout the entire cooking process. Mochi pancakes burn easily on the outside while staying raw inside if the heat is too high.
• Don’t overmix the batter: Unlike regular pancakes, mochi pancake batter should look slightly lumpy. Overmixing develops the gluten too much and makes them tough instead of tender.
• Fresh mochiko makes a difference: Check the expiration date on your mochiko. Old sweet rice flour can create off flavors and won’t give you that perfect bouncy texture.
• Resting time is non-negotiable: Those 8 minutes of resting allow the mochiko to fully hydrate. Skipping this step results in mochi pancakes with poor texture and uneven cooking.
Nutrition Information (Per Serving – 2 Pancakes)
- Calories: 285
- Protein: 8g
- Carbohydrates: 45g
- Fat: 8g
- Fiber: 1g
- Sugar: 12g
Creative Mochi Pancake Variations
Green Tea Mochi Pancakes
Transform your basic mochi pancake recipe by adding 2 tablespoons of matcha powder to the dry ingredients. Reduce the all-purpose flour by 2 tablespoons to maintain the proper texture. These create beautiful green pancakes with an earthy, slightly bitter flavor that pairs perfectly with sweet toppings.
Chocolate Lover’s Mochi Pancakes
Fold ½ cup of mini chocolate chips into your finished mochi pancake batter just before cooking. The thick batter holds the chips perfectly, creating pockets of melted chocolate throughout each pancake.
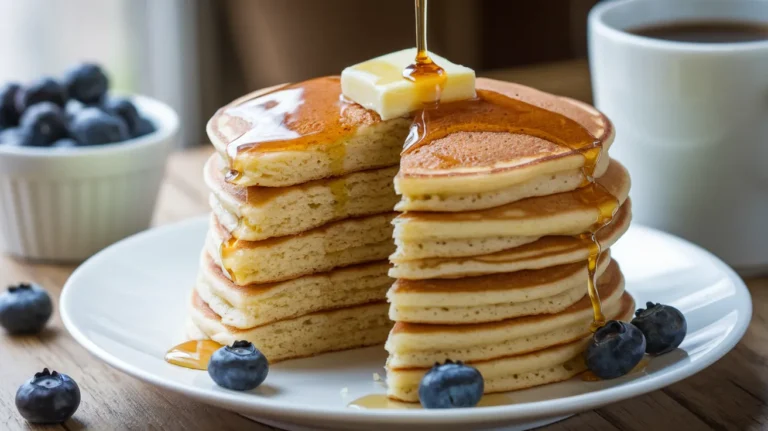
Berry Burst Mochi Pancakes
Gently fold ¾ cup of fresh blueberries or diced strawberries into the batter after it has rested. Use fresh fruit rather than frozen to prevent the batter from becoming too watery. These create colorful, fruity pancakes that burst with flavor.
Tropical Coconut Mochi Pancakes
Replace ½ cup of the milk with coconut milk and add ¼ cup of shredded coconut to the dry ingredients. This creates tropical-flavored pancakes with extra texture, similar to our mini banana pancakes but with that distinctive mochi pancake bounce.
Storage and Reheating Your Mochi Pancakes
Refrigerator Storage: Store leftover mochi pancakes in an airtight container for up to 3 days. Place parchment paper between each pancake to prevent them from sticking together.
Freezer Storage: Mochi pancakes freeze beautifully for up to 2 months. Wrap each pancake individually in plastic wrap, then store them in a freezer bag with the air removed.
Reheating Methods: Microwave for 20-30 seconds to restore warmth, or toast them lightly in a dry pan for 1 minute per side. Avoid over-reheating as it makes the texture tough.
Make-Ahead Tips: You can prepare the mochi pancake batter the night before and store it covered in the refrigerator. Stir gently before cooking and add a splash of milk if the batter has thickened overnight.
Troubleshooting Common Mochi Pancake Problems
Problem: My mochi pancakes are dense and heavy instead of fluffy
Solution: Check that your baking powder is fresh (replace every 6 months) and measure it accurately. Also, don’t overmix the batter – it should look lumpy when you’re done mixing. The mochiko needs gentle handling to maintain the light, airy texture that makes mochi pancakes special.
Problem: The pancakes burn on the outside but stay raw in the middle
Solution: Your heat is too high. Lower it to medium-low and be patient – mochi pancakes need more time than regular pancakes due to their thickness and the density of mochiko. They should cook for 4-5 minutes on the first side.
Problem: The pancakes fall apart when I try to flip them
Solution: Wait longer before flipping – they need those full 4-5 minutes on the first side to set properly. Also make sure your spatula is thin and flexible, and flip in one confident motion rather than hesitating.
Problem: The batter is too thick to pour smoothly
Solution: Add milk 1 tablespoon at a time until you reach the right consistency. Mochi pancake batter should be thicker than regular pancake batter but still pour in a steady stream from your measuring cup.
Problem: My pancakes don’t have the signature chewy texture
Solution: Make sure you’re using mochiko (sweet rice flour), not regular rice flour or glutinous rice flour. Also, don’t substitute other flours – the mochiko is essential for the authentic mochi pancake texture. Finally, ensure you’re letting the batter rest for the full 8 minutes.
Problem: The pancakes stick to my pan even with butter
Solution: Your pan might not be properly seasoned, or your heat might be too high. Try using a bit more butter and make sure it’s evenly spread. Also, ensure your pan is at the right temperature before adding batter.
Essential Equipment for Making Mochi Pancakes
Must-Have Tools:
• Two large mixing bowls – One for dry, one for wet ingredients • Wire whisk – For mixing ingredients smoothly • Rubber spatula – For gentle folding without overmixing • ¼-cup measuring cup – For consistent pancake sizing • Non-stick skillet or griddle – Prevents sticking and ensures even cooking • Thin, flexible spatula – Essential for successful flipping • Kitchen towel – For covering resting batter
Nice-to-Have Tools:
• Wire cooling rack – For keeping pancakes crisp • Oven-safe plates – For keeping pancakes warm • Fine-mesh strainer – For extra-smooth batter (optional)
Equipment Alternatives: If you don’t have mochiko locally, you can find it at Asian grocery stores or order it online. A regular skillet works fine if you don’t have non-stick – just use extra butter and monitor the heat carefully.
Complete Shopping List for Mochi Pancakes
Asian/International Aisle
- Mochiko (sweet rice flour) – 1 box (usually 16 oz)
Baking Aisle
- All-purpose flour – 5 lb bag
- Baking powder – 1 container
- Granulated sugar – 4 lb bag
- Vanilla extract – 1 bottle
- Salt – 1 container
Dairy Section
- Whole milk – 1 half-gallon
- Large eggs – 1 dozen
- Butter – 1 lb package
Shopping Tips: Mochiko is sometimes labeled as “sweet rice flour” or “glutinous rice flour.” Look for the Mochiko brand or Koda Farms in the Asian foods section. It comes in a white box and keeps well in your pantry for months.
Five Essential Secrets for Perfect Mochi Pancakes
1. Master the heat and timing: Medium-low heat is absolutely crucial for mochi pancakes. They need gentle, steady heat to cook through properly without burning. Think of it like cooking a thick steak – low and slow wins the race.
2. Respect the resting period: That 8-minute rest isn’t just a suggestion – it’s when the mochiko transforms your batter into something magical. Use this time to prepare your cooking station and get your pan ready.
3. Size consistency matters: Keep your mochi pancakes uniform by using the same ¼-cup measure for each one. Smaller, consistent pancakes cook more evenly than large, uneven ones due to the dense nature of mochiko.
4. Fresh ingredients make the difference: Use fresh mochiko, check your baking powder’s expiration date, and use room-temperature ingredients when possible. Fresh ingredients create better texture and flavor in your mochi pancakes.
5. Serve immediately for best experience: Unlike no-egg Bisquick pancakes that hold well, mochi pancakes are at their absolute best when served hot off the griddle. Their unique bouncy texture is most pronounced when they’re fresh and warm.