Wake up to protein-packed sausages with real maple and apple flavors
Make 6-8 patties in just 25 minutes from simple paleo ingredients
Perfect meal prep option — freeze for quick weekday breakfasts
No fillers or preservatives unlike store-bought sausages
Tired of Boring Breakfasts? These Sausages Change Everything
Ever noticed how store-bought breakfast sausages contain ingredients you can’t pronounce? Many people struggle with finding quick, protein-rich breakfasts that actually taste good.
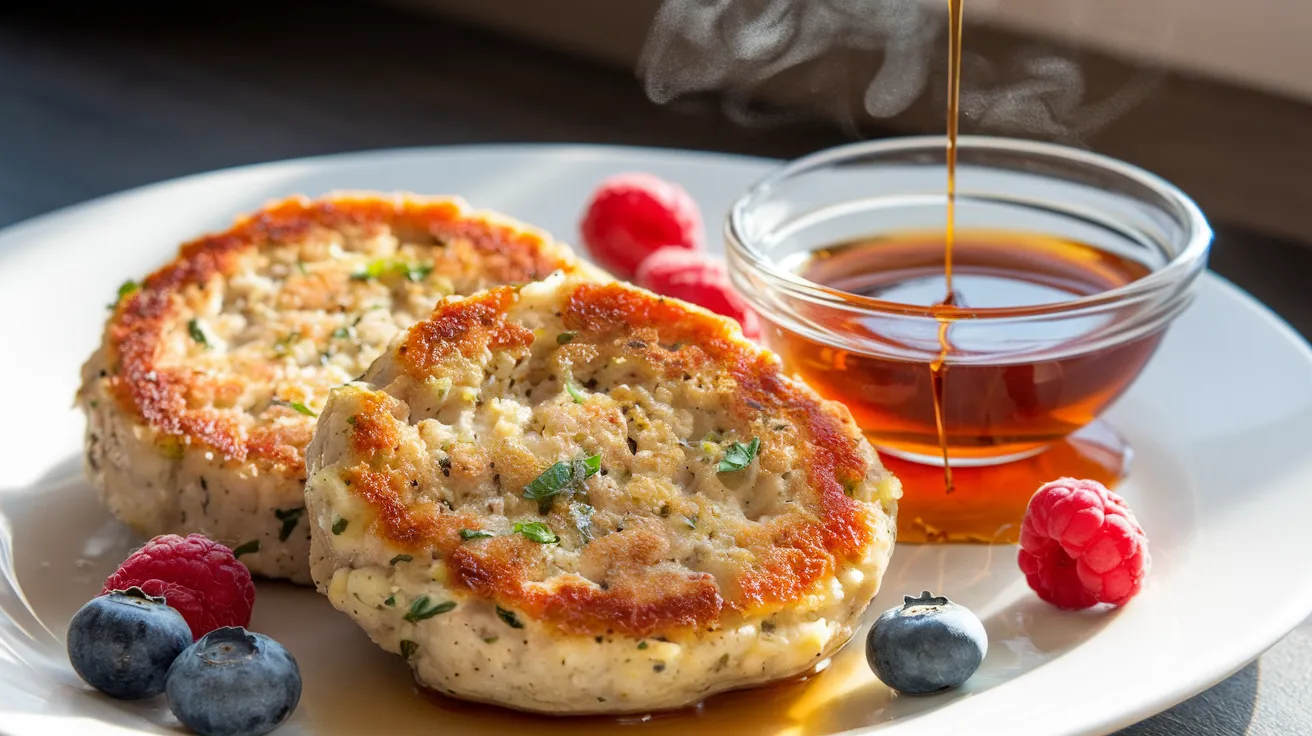
That’s why these paleo maple apple chicken breakfast sausages are a game-changer. With just ground chicken, fresh apple, real maple syrup, and simple spices, you’ll create juicy, flavorful patties that make mornings something to look forward to.
Nutrition Facts Comparison
Nutrient
Homemade Paleo Sausage (per patty)
Store-Bought Sausage (per patty)
Calories
120
180
Protein
15g
9g
Carbs
6g
3g
Fat
5g
16g
Sugar
4g
2g
Sodium
180mg
450mg
Additives
None
Multiple
What You’ll Need
Ingredients (4-Person Serving)
Ingredient
Amount
Notes
Ground chicken
1 pound
Organic preferred
Apple
1 medium
Sweet variety like Honeycrisp or Gala
Maple syrup
2 tablespoons
100% pure only
Avocado oil
2 tablespoons
For cooking
Dried sage
1 teaspoon
Dried thyme
½ teaspoon
Garlic powder
½ teaspoon
Onion powder
½ teaspoon
Sea salt
¾ teaspoon
Black pepper
¼ teaspoon
Cinnamon
⅛ teaspoon
Optional but recommended
Kitchen Tools
Tool
Purpose
Large mixing bowl
For combining ingredients
Box grater
For grating apple
Measuring spoons
For accurate seasoning
Large skillet
For cooking patties
Spatula
For flipping patties
Meat thermometer
For checking doneness
Paper towels
For draining excess oil
Possible Substitutions
Ground turkey can replace chicken (cooking time may vary slightly)
Pear can substitute for apple
Honey can replace maple syrup (less pronounced flavor)
Fresh garlic (1 minced clove) instead of powder
Coconut oil can replace avocado oil
Step-by-Step Instructions
Prep Time: 10 minutes
Cook Time: 15 minutes
Total Time: 25 minutes
Preparation Phase
Set up your workspace:
Wash your hands thoroughly with soap and water for at least 20 seconds.
Clear a large countertop area to work on.
Place all ingredients on the counter so everything is within reach.
Set out all measuring tools and kitchen equipment.
Gather and measure all ingredients:
Place 1 pound of ground chicken in a large mixing bowl.
Remove the chicken from the refrigerator about 10 minutes before use to take the chill off.
Measure all dry seasonings in advance: 1 teaspoon dried sage, ½ teaspoon dried thyme, ½ teaspoon garlic powder, ½ teaspoon onion powder, ¾ teaspoon sea salt, ¼ teaspoon black pepper, and ⅛ teaspoon cinnamon.
Measure 2 tablespoons of maple syrup and set aside.
Prepare the apple:
Rinse the apple under cold water, rubbing gently to remove any dirt or residue.
Using a sharp knife, cut the apple into four equal quarters.
Remove the core from each quarter by cutting at an angle to remove the seeds and tough center.
Hold your box grater over a plate or bowl with the large holes facing up.
One quarter at a time, grate the apple using downward strokes, stopping before you reach your fingers.
Continue until all apple quarters are grated.
IMPORTANT STEP FOR BEGINNERS: Place the grated apple onto 2-3 layers of paper towels. Gather the corners and gently squeeze over a sink or bowl to remove excess moisture. This prevents soggy sausages!
Mix the seasonings:
Take a small bowl and add all the measured dry seasonings: sage, thyme, garlic powder, onion powder, salt, pepper, and cinnamon.
Using a spoon or your finger, mix these spices together until they appear evenly combined and no clumps remain.
This ensures even flavor distribution throughout your sausages.
Assembly Steps
Combine all ingredients:
Make sure your ground chicken is in a large mixing bowl with enough room to add ingredients and mix.
Add the squeezed grated apple to the chicken.
Pour the 2 tablespoons of maple syrup over the mixture.
Sprinkle the spice mixture evenly across the top of the chicken.
Mix thoroughly but gently:
Wash your hands again thoroughly before touching the mixture.
With clean hands, gently fold and mix the ingredients together.
Use your fingers to lift and fold rather than squeeze or knead.
Mix for about 1-2 minutes until everything appears evenly distributed.
BEGINNER TIP: Stop mixing when you no longer see big patches of spices or apple. Overmixing makes tough sausages!
VISUAL CHECK: The mixture should look uniform in color with small flecks of apple and spices throughout.
Form the patties – DETAILED GUIDE:
Wash and dry your hands again for easier handling.
Divide the mixture visually into 8 equal portions in the bowl.
Scoop approximately ¼ cup of the mixture (one portion) into your palm.
Gently roll it into a ball between your palms.
Place the ball on a clean plate or cutting board.
Using your fingers, press down gently to form a patty about 3 inches in diameter.
Press a little more in the center to create a slight depression (this prevents the patty from puffing up in the middle).
The finished patty should be about ½-inch thick throughout.
Repeat with remaining mixture until you have 8 evenly sized patties.
BEGINNER TIP: If the mixture sticks to your hands, wet your hands slightly with cold water between forming patties.
Cooking Phase
Heat the skillet:
Place a large skillet on the stove over medium heat.
Add 1 tablespoon of avocado oil to the pan.
Let the pan heat for 2-3 minutes.
BEGINNER TEST: To check if the pan is ready, add a tiny pinch of the meat mixture. It should sizzle gently when it hits the oil.
WARNING: If the oil starts smoking, the pan is too hot! Remove from heat, let cool slightly, then return to stove on a lower heat setting.
Cook the first batch of patties:
Using a spatula, carefully place 4 patties in the skillet with at least 1 inch between them.
Don’t overcrowd the pan or the patties will steam instead of browning.
Let them cook undisturbed for 4-5 minutes.
VISUAL CHECK: The edges should start to look opaque and the bottom should be golden brown before flipping.
Using a thin spatula, carefully slide under each patty and flip it over.
If the patty sticks, let it cook 30 seconds longer – it probably isn’t ready to flip.
Cook for another 4-5 minutes on the second side.
SAFETY CHECK FOR BEGINNERS: Use a meat thermometer to check that the internal temperature has reached 165°F (74°C) by inserting it horizontally into the side of the patty.
If temperature hasn’t reached 165°F, continue cooking for 1-minute intervals, checking after each minute.
Remove and rest first batch:
Once fully cooked, use the spatula to transfer patties to a plate lined with paper towels.
This helps absorb any excess oil.
Let them rest while you cook the second batch.
Cook the second batch:
Add the remaining 1 tablespoon of avocado oil to the skillet.
Allow it to heat for 30 seconds.
Place the remaining 4 patties in the skillet.
Follow the same cooking process as the first batch.
Remember to check the internal temperature again for food safety.
Finishing Steps
Final rest period:
Once all patties are cooked, allow them to rest for 2-3 minutes.
This isn’t just a suggestion – this time allows the juices to redistribute within the meat, making for juicier sausages!
BEGINNER TIP: Use this time to clean up your workspace and prepare any side dishes.
Serve your delicious creation:
Place 2 patties on each plate for a 4-person serving.
Great pairings include:
Sliced fresh fruit like berries or melon
Roasted sweet potatoes
Sautéed greens like spinach or kale
A side of avocado slices
Immediate storage (if not eating all at once):
Allow any leftover patties to cool completely, about 20 minutes.
Place in an airtight container with a paper towel on the bottom to absorb moisture.
Refrigerate promptly.
Troubleshooting
Common Issues and Solutions
Problem
Cause
Solution
Patties fall apart
Too much moisture
Squeeze apple more thoroughly; chill mixture 15 minutes before cooking
Patties too dry
Overcooked
Reduce cooking time; use meat thermometer to check doneness
Bland flavor
Under-seasoned
Increase salt slightly; add a pinch more sage and thyme
Burning
Heat too high
Use medium-low heat; watch patties carefully
Sticking to pan
Pan not hot enough initially
Ensure pan is properly heated before adding patties
Variations & Substitutions
Make It Your Own
Spicy Maple Chicken Sausage
Add ¼ teaspoon red pepper flakes or ⅛ teaspoon cayenne