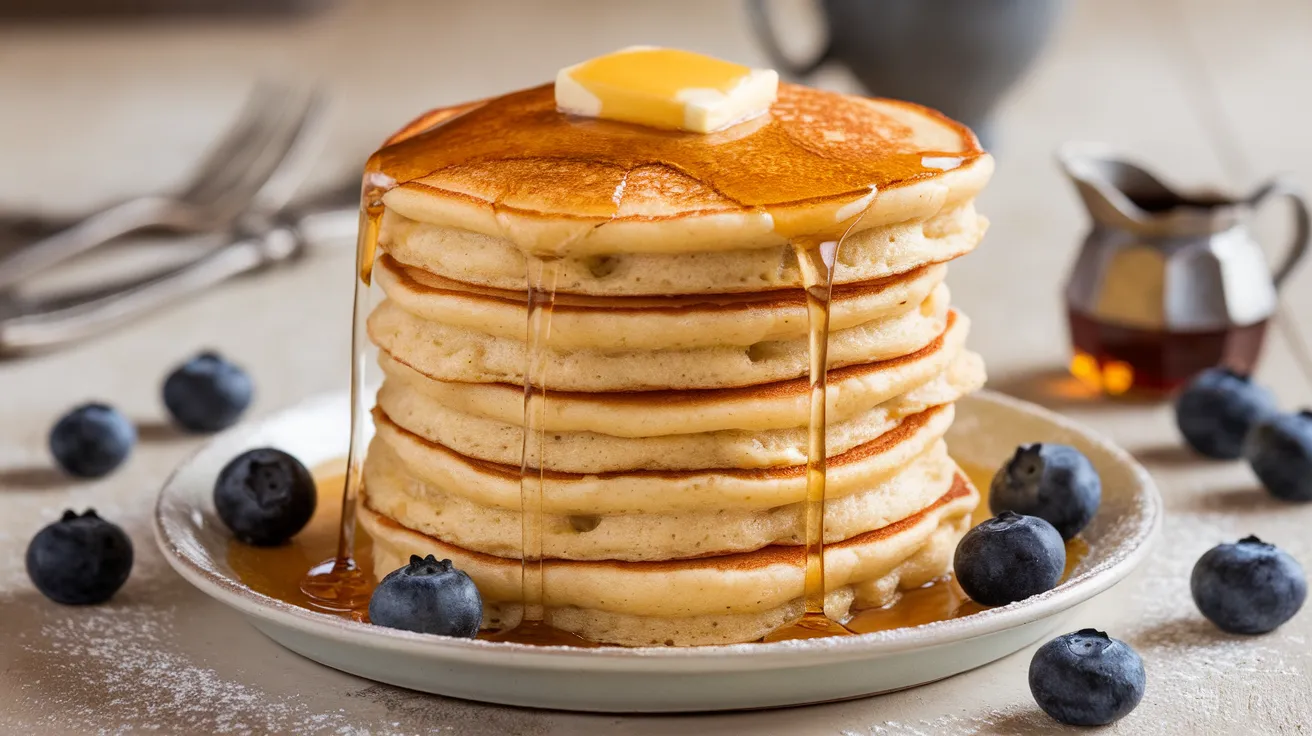
Imagine waking up to the aroma of golden, cloud-like ricotta bisquick pancakes sizzling on your griddle. These aren’t your ordinary pancakes – the secret ingredient of creamy ricotta transforms simple Bisquick mix into impossibly fluffy, restaurant-quality breakfast stacks that’ll have everyone asking for seconds. Perfect for lazy Sunday mornings or special breakfast celebrations.
SERVES: 4 | PREP: 10 MIN | COOK: 15 MIN | TOTAL: 25 MIN
Why These Ricotta Bisquick Pancakes Work
The magic happens when tangy ricotta cheese meets convenient Bisquick mix. The ricotta adds moisture and creates air pockets that make each pancake incredibly light. I’ve tested this recipe countless times, and the Bisquick provides the perfect foundation – no measuring multiple dry ingredients needed.
These pancakes stay fluffy even when they cool. That’s the ricotta doing its job.
Ingredients for Perfect Ricotta Bisquick Pancakes
Dry Ingredients
| Ingredient | Measurement |
|---|---|
| Bisquick mix | 2 cups |
| Sugar | 2 tablespoons |
| Baking powder | 1 teaspoon |
Wet Ingredients
| Ingredient | Measurement |
|---|---|
| Whole milk ricotta cheese | 1 cup |
| Whole milk | ¾ cup |
| Large eggs | 2 |
| Vanilla extract | 1 teaspoon |
| Butter (melted) | 3 tablespoons |
For Cooking
| Ingredient | Measurement |
|---|---|
| Butter or oil | For griddle |
Step-by-Step Instructions for Ricotta Bisquick Pancakes
Phase 1: Prep Work (5 minutes)
Step 1: Take your ricotta cheese out of the refrigerator 15 minutes before starting. Room temperature ricotta mixes more smoothly and creates better texture in your batter. Cold ricotta creates lumps that won’t fully incorporate.
Step 2: Gather all your ingredients and measuring tools. Having everything ready prevents the batter from sitting too long, which can deflate those precious air bubbles we’re creating.
Step 3: Crack your eggs into a small bowl first. This prevents shell pieces from getting into your batter and lets you check for freshness. Fresh eggs create fluffier pancakes.
Phase 2: Creating the Batter (5 minutes)
Step 4: In a large mixing bowl, combine 2 cups Bisquick mix, 2 tablespoons sugar, and 1 teaspoon baking powder. Whisk these dry ingredients together for 30 seconds. The extra baking powder gives an additional lift that makes these ricotta bisquick pancakes extra fluffy.
Step 5: In a separate medium bowl, add 1 cup ricotta cheese. Use a fork to break it up slightly – you want it creamy but small curds are perfectly fine. They’ll create delicious pockets of creamy goodness in your finished pancakes.
Step 6: Add 2 eggs to the ricotta and whisk vigorously for 1 minute. You’re incorporating air here, which is crucial for fluffy texture. The mixture should look slightly frothy.
Step 7: Pour in ¾ cup whole milk, 1 teaspoon vanilla extract, and 3 tablespoons melted butter to the ricotta mixture. Whisk until just combined. The butter should be melted but not hot – hot butter can cook the eggs prematurely.
Step 8: Pour the wet ingredients into the dry ingredients. Here’s the critical part: Stir gently with a rubber spatula only until you see no more dry Bisquick. Stop immediately when combined. Small lumps are good – they mean you haven’t overmixed. Overmixing develops gluten and creates tough, flat pancakes instead of fluffy ones.
Step 9: Let the batter rest for 5 minutes. This allows the Bisquick to fully hydrate and the baking powder to activate. You’ll see tiny bubbles forming on the surface – that’s exactly what you want.
Phase 3: Cooking Your Pancakes (15 minutes)
Step 10: Heat a large griddle or non-stick pan over medium heat (about 350°F if your griddle has temperature control). Add a small pat of butter and let it melt, coating the entire surface. The butter should sizzle gently but not brown – that’s your perfect temperature.
Step 11: Test the heat by sprinkling a few drops of water on the griddle. If they dance and evaporate within 2-3 seconds, you’re ready. Too hot and your pancakes will burn outside while staying raw inside.
Step 12: Using a ¼ cup measuring cup, scoop batter onto the griddle. Pour from about 3 inches above the surface – this helps create perfectly round pancakes. Space them 2 inches apart as they’ll spread slightly.
Step 13: Watch for bubbles to form across the entire surface of each pancake, approximately 2-3 minutes. You should see about 20-25 bubbles pop and stay open. The edges will look set and slightly dry. This is your flip signal.
Step 14: Slide your spatula under the pancake. It should release easily – if it sticks, wait another 30 seconds. Flip quickly and confidently. The cooked side should be golden brown with slightly darker spots – that’s caramelized butter creating flavor.
Step 15: Cook the second side for 1½-2 minutes. This side cooks faster. The pancake will puff up noticeably. Gently press the center with your finger – it should spring back when done.
Step 16: Transfer to a warm plate and cover loosely with foil. This keeps them warm without making them soggy. Continue cooking remaining batter, adding butter to the griddle between batches.
Step 17: Serve immediately while still warm. Stack 3-4 pancakes per person, add your favorite toppings, and watch them disappear.
Chef’s Notes for Amazing Ricotta Bisquick Pancakes
The Ricotta Quality Matters: Use whole milk ricotta, not part-skim. The extra fat creates richer flavor and better texture. I prefer brands with larger curds for pockets of creaminess throughout.
Temperature Control is Everything: If your first pancake burns, reduce heat slightly. If it’s pale and doesn’t brown, increase heat. The perfect temperature gives you golden pancakes in exactly 2-3 minutes per side.
Don’t Skip the Rest: That 5-minute batter rest is when the magic happens. The Bisquick absorbs liquid and the ricotta bisquick pancakes develop their signature fluffy texture during this time.
Batch Cooking Strategy: These pancakes freeze beautifully. Make a double batch and freeze extras between parchment paper. Reheat in the toaster for quick weekday breakfasts.
Nutrition Information (Per Serving – 3 Pancakes)
- Calories: 385
- Protein: 14g
- Carbohydrates: 42g
- Fat: 18g
- Fiber: 1g
- Sugar: 9g
Creative Variations for Your Ricotta Bisquick Pancakes
Lemon Ricotta Bliss: Add 2 tablespoons fresh lemon juice and 1 tablespoon lemon zest to the wet ingredients. The bright citrus flavor pairs perfectly with the creamy ricotta. Top with fresh berries and a dusting of powdered sugar.
Chocolate Chip Heaven: Fold ½ cup mini chocolate chips into the finished batter. The small chips distribute better than regular-sized ones. Serve with whipped cream for an indulgent breakfast treat.
Berry Explosion: Gently fold ¾ cup fresh or frozen blueberries into the batter after it rests. If you love fruity pancakes, try our ricotta blueberry pancakes for another delicious variation. The berries burst while cooking, creating sweet pockets of fruit.
Apple Cinnamon Comfort: Mix 1 teaspoon cinnamon into the dry ingredients and fold in 1 cup finely diced apple. For a seasonal twist, check out our ricotta apple pancakes recipe. Serve with warm maple syrup and a sprinkle of cinnamon.
Storage and Reheating Tips
Refrigerator Storage: Stack cooled pancakes between parchment paper in an airtight container. They’ll stay fresh for 3-4 days. The parchment prevents sticking.
Freezer Storage: Freeze individual pancakes on a baking sheet for 1 hour, then transfer to freezer bags. They’ll keep for 2 months. This method prevents them from freezing together.
Reheating Methods: The toaster is your best friend – it makes them crispy outside and warm inside. Use the lowest setting and toast until heated through. Alternatively, microwave for 20-30 seconds wrapped in a damp paper towel to prevent drying.
Make-Ahead Batter: Mix dry ingredients the night before. Combine wet ingredients in the morning. The batter stays fluffy for up to 2 hours refrigerated, though immediate cooking yields best results.
Troubleshooting Common Pancake Problems
Problem: Flat, Dense Pancakes Your ricotta was too cold or you overmixed the batter. Ensure ricotta reaches room temperature and mix only until ingredients are barely combined. Those lumps are your friends – they mean air pockets will form.
Problem: Burning Outside, Raw Inside Your griddle temperature is too high. Reduce heat to medium or 325°F. Ricotta bisquick pancakes need gentle, even heat to cook through while developing that golden crust.
Problem: Tough, Rubbery Texture You’ve developed too much gluten by overmixing. Remember – stir the batter only until you can’t see dry Bisquick anymore. Those small lumps will disappear during cooking.
Problem: Pale Pancakes That Won’t Brown Your griddle isn’t hot enough or you’re using too much butter. Wait for the proper temperature (water droplets should dance) and use just a thin coating of butter between batches.
Problem: Pancakes Sticking to the Griddle Either your pan isn’t properly heated or you need more fat. Ensure your griddle is fully preheated and coat evenly with butter or oil. Non-stick surfaces work best for ricotta pancakes.
Equipment Essentials
- Large mixing bowl – For dry ingredients
- Medium mixing bowl – For wet ingredients
- Whisk – Creates necessary air incorporation
- Rubber spatula – Gentle folding prevents overmixing
- ¼ cup measuring cup – Ensures uniform pancake size
- Large griddle or non-stick pan – Even heat distribution is crucial
- Wide spatula – Makes flipping easier and prevents breaking
- Kitchen thermometer (optional) – Takes guesswork out of temperature
Shopping List Organized by Store Section
Dairy Section
- 1 container whole milk ricotta cheese (15-16 oz)
- 1 carton whole milk
- 1 stick butter
- 1 dozen eggs
Baking Aisle
- 1 box Bisquick mix
- 1 bag sugar
- 1 container baking powder
- 1 bottle vanilla extract
Optional Toppings
- Pure maple syrup
- Fresh berries
- Whipped cream
- Powdered sugar
Success Secrets for Perfect Ricotta Bisquick Pancakes Every Time
1. Room Temperature is Key: Let ricotta, eggs, and milk sit at room temperature for 15-20 minutes before mixing. This creates better emulsion and fluffier texture. Cold ingredients don’t incorporate well and create dense pancakes.
2. The Two-Bowl Method: Always mix wet and dry ingredients separately, then combine. This prevents overmixing and ensures even distribution of leavening agents. Your batter will be smoother and your pancakes fluffier.
3. Test Your First Pancake: Consider the first pancake your tester. Use it to adjust heat and timing. Professional chefs always sacrifice one to get the temperature perfect for the rest of the batch.
4. The Bubble Test Never Fails: Wait for bubbles to form AND pop on the surface before flipping. Flipping too early creates gummy centers. When you see those bubbles staying open like little craters, you’re ready to flip.
5. Keep Them Warm Properly: Stack finished pancakes on an oven-safe plate in a 200°F oven. Cover loosely with foil. This maintains temperature without creating steam that makes pancakes soggy. Serve within 20 minutes for optimal texture.
These ricotta bisquick pancakes transform ordinary breakfast into something extraordinary. The combination of convenient Bisquick and luxurious ricotta creates restaurant-quality results without complicated techniques. Make them this weekend and watch them become your new breakfast staple!