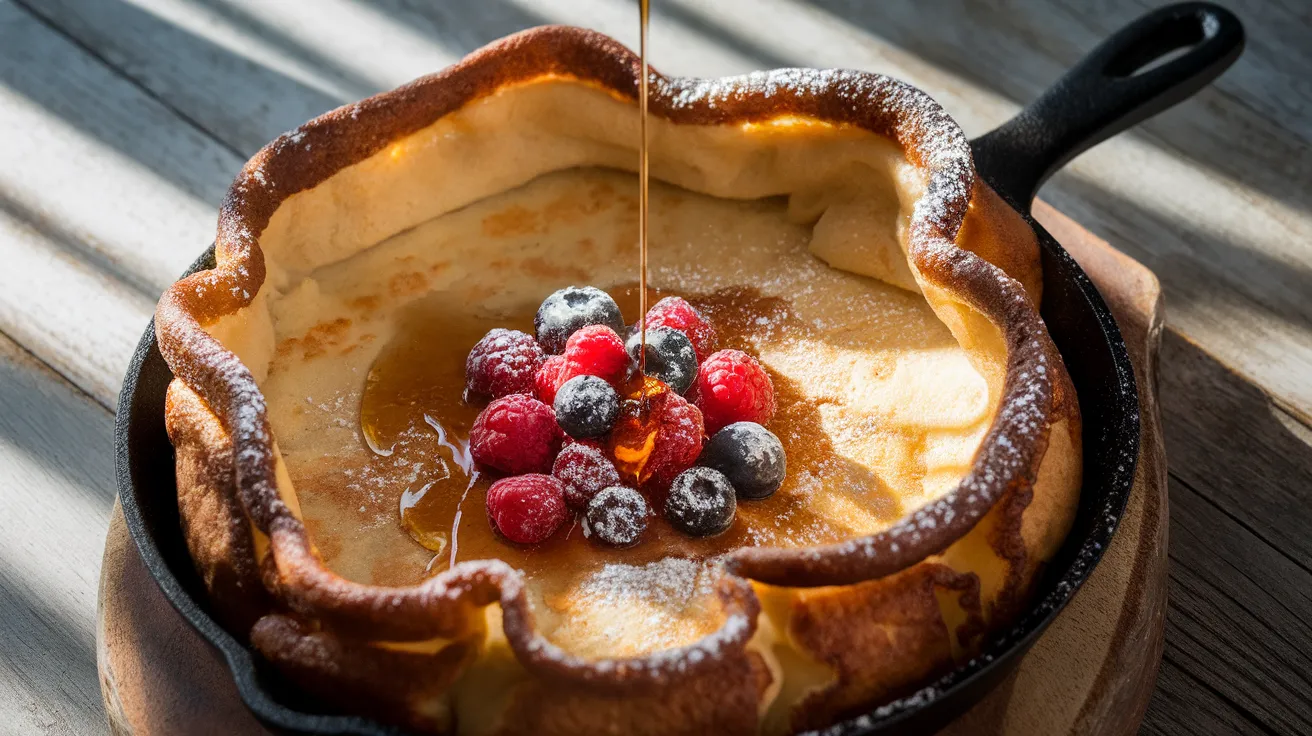
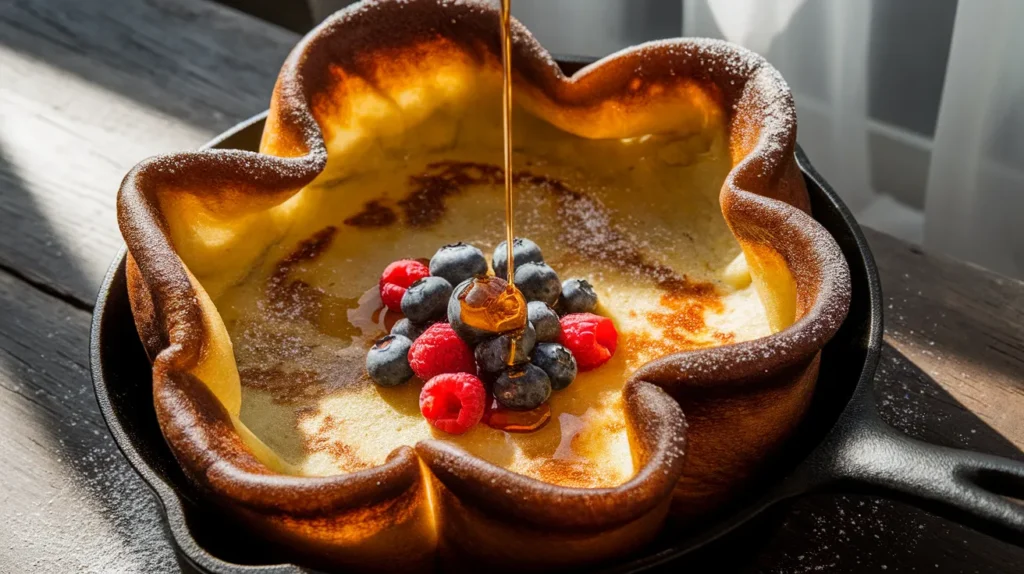
This ricotta dutch baby pancake transforms your morning routine with its cloud-like texture and golden edges. Perfect for weekend brunches, this impressive ricotta dutch baby pancake puffs dramatically in the oven, creating a show-stopping breakfast that tastes like you spent hours in the kitchen.
SERVES: 4 | PREP: 10 MIN | COOK: 20 MIN | TOTAL: 30 MIN
Ingredients You’ll Need
For the Batter
| Ingredient | Amount |
|---|---|
| Large eggs | 4 |
| Whole milk ricotta cheese | ½ cup |
| Whole milk | ⅔ cup |
| All-purpose flour | ¾ cup |
| Granulated sugar | 2 tablespoons |
| Pure vanilla extract | 1 teaspoon |
| Fine sea salt | ¼ teaspoon |
| Unsalted butter | 3 tablespoons |
For Serving
| Ingredient | Amount |
|---|---|
| Powdered sugar | For dusting |
| Fresh berries | 2 cups mixed |
| Pure maple syrup | ½ cup |
| Lemon wedges | 4 pieces |
Step-by-Step Instructions
Phase 1: Prep Work (5 minutes)
Step 1: Position your oven rack in the lower third of your oven and preheat to 425°F (218°C). This specific placement prevents the top from browning too quickly while ensuring the bottom gets crispy. The high heat is crucial for that dramatic puff.
Step 2: Place your 10-inch cast iron skillet or oven-safe pan in the preheating oven. This 10-minute preheat is non-negotiable – the screaming hot pan creates instant steam when the batter hits it, causing that signature rise.
Step 3: While the oven heats, bring your eggs, ricotta, and milk to room temperature by placing them in warm water for 5 minutes. Cold ingredients won’t blend smoothly and can deflate your pancake.
Phase 2: Making the Batter (5 minutes)
Step 4: In your blender, combine eggs and ricotta cheese first. Blend on medium speed for 30 seconds until absolutely no lumps remain. The ricotta should completely disappear into the eggs – you’re looking for a pale yellow, silky mixture.
Step 5: Add the whole milk, flour, sugar, vanilla extract, and salt to the blender. Pulse 3-4 times, then blend on low for exactly 20 seconds. Over-mixing develops gluten, which makes your pancake tough instead of tender.
Step 6: Let the batter rest while your pan continues heating. This 5-minute rest allows the flour to hydrate fully, creating a smoother texture. You’ll notice tiny bubbles forming on the surface – that’s perfect.
Step 7: Check your batter consistency – it should coat the back of a spoon like heavy cream. If it seems thick, whisk in 1 tablespoon of milk at a time until you achieve this texture.
Phase 3: Cooking (20 minutes)
Step 8: Carefully remove your blazing hot skillet from the oven using thick oven mitts. Place it on a heatproof surface. You should feel intense heat radiating from the pan – that’s exactly what you want.
Step 9: Add all 3 tablespoons of butter to the hot pan. It should sizzle violently and melt within 15 seconds. Swirl the pan to coat the bottom and halfway up the sides with melted butter. This creates a non-stick surface and adds flavor.
Step 10: Immediately pour your batter into the center of the buttered pan. Don’t spread it – just let it flow naturally to the edges. The batter should sizzle the moment it touches the pan.
Step 11: Transfer the pan straight to your preheated oven on the lower rack. Set a timer for 20 minutes and resist the urge to open the oven door. Temperature fluctuations will deflate your pancake.
Step 12: Watch through the oven window as magic happens. Around minute 8, you’ll see the edges start climbing the pan. By minute 15, the center will puff dramatically. At minute 20, the pancake should be golden brown with crispy, curled edges rising 3-4 inches above the pan.
Phase 4: Finishing & Serving (5 minutes)
Step 13: Remove the pan from the oven when the pancake is deeply golden and puffed. The edges should look almost burnt – that’s caramelization, not burning. The center will still jiggle slightly, like a custard.
Step 14: Let it rest in the pan for exactly 2 minutes. During this time, the steam escapes and the structure sets. You’ll hear gentle crackling sounds as it deflates slightly – this is normal and expected.
Step 15: Using a thin metal spatula, gently loosen the edges and slide the pancake onto your serving platter. Work quickly but carefully – the pancake is delicate when hot.
Step 16: Dust generously with powdered sugar using a fine-mesh sieve. Add your fresh berries in the center, creating a colorful pile. Drizzle with maple syrup and serve immediately with lemon wedges on the side.
Chef’s Notes
Temperature Control: The secret to a sky-high ricotta dutch baby pancake lies in extreme temperature contrast. Your batter should be room temperature while your pan is scorching hot – this creates maximum steam for lift.
Ricotta Selection: Use whole milk ricotta for the creamiest results. Low-fat versions contain more water and less fat, creating a denser, less flavorful pancake. The ricotta adds protein and creates an incredibly tender crumb.
Pan Matters: Cast iron retains heat better than any other material, creating those perfectly crispy edges. If using a lighter pan, increase cooking time by 3-5 minutes and watch for browning.
Timing is Everything: Serve within 5 minutes of removing from the oven. Like a soufflé, this ricotta dutch baby pancake starts deflating as it cools – it’s still delicious, just less dramatic.
Nutrition Information (Per Serving)
Calories: 285 | Protein: 12g | Carbohydrates: 28g | Fat: 14g | Fiber: 1g | Sugar: 11g
Creative Variations
Savory Herb Version: Skip the sugar and vanilla. Add ¼ cup chopped fresh herbs (basil, chives, thyme) and ½ cup grated Parmesan to the batter. Top with ricotta deviled eggs for an impressive brunch spread.
Lemon Blueberry: Add 2 teaspoons lemon zest to the batter and fold in ½ cup fresh blueberries just before pouring. The berries create beautiful purple streaks throughout.
Chocolate Indulgence: Replace 2 tablespoons flour with cocoa powder and add chocolate chips. Serve with whipped cream and chocolate sauce for a dessert version.
Savory Breakfast: Create a complete meal by pairing with our ricotta egg bake – the combination offers protein-packed comfort food perfect for feeding a crowd.
Storage & Reheating Guide
Immediate Storage: Let the pancake cool completely at room temperature, about 30 minutes. Transfer to an airtight container, placing parchment paper between layers if stacking.
Refrigeration: Store in the fridge for up to 3 days. The texture becomes more dense and custardy, which many people actually prefer for next-day eating.
Freezing: Wrap individual portions tightly in plastic wrap, then aluminum foil. Freeze for up to 2 months. Label with the date and reheating instructions.
Reheating Method: Preheat oven to 350°F. Place pancake pieces on a baking sheet and cover loosely with foil. Heat for 8-10 minutes until warmed through. The puff won’t return, but the flavor remains delicious.
Microwave Option: Heat individual portions for 30-45 seconds on 70% power. This method is quick but creates a softer, less crispy texture.
Troubleshooting Common Problems
Pancake Didn’t Puff: Your pan wasn’t hot enough. The butter should sizzle violently when added. Next time, preheat the pan for a full 10 minutes and ensure your oven is fully preheated.
Soggy Center: This happens when the oven temperature is too low or the pancake is underbaked. Use an oven thermometer to verify your temperature is accurate. Cook until the center barely jiggles and the edges are deep golden.
Stuck to Pan: Insufficient butter or the pan wasn’t hot enough before adding butter. Make sure every surface is coated with melted butter, especially the sides where the batter climbs.
Deflated Immediately: Opening the oven door during cooking lets cold air in, causing collapse. Keep the door closed for the entire baking time. Some deflation after removing is normal and expected.
Tough Texture: Over-mixing the batter develops gluten, creating a chewy pancake instead of tender. Blend just until combined – 20 seconds maximum after adding flour.
Equipment Essentials
- 10-inch cast iron skillet (or oven-safe pan)
- High-powered blender (for smooth batter)
- Oven thermometer (to verify temperature)
- Heat-resistant oven mitts
- Fine-mesh sieve (for dusting sugar)
- Metal spatula (for serving)
- Large serving platter
Shopping List
Dairy Section
- 4 large eggs
- ½ cup whole milk ricotta cheese
- ⅔ cup whole milk
- 3 tablespoons unsalted butter
Baking Aisle
- All-purpose flour
- Granulated sugar
- Powdered sugar
Pantry
- Pure vanilla extract
- Fine sea salt
Produce Section
- 2 cups mixed fresh berries
- 4 lemon wedges
Breakfast Aisle
- Pure maple syrup
Success Secrets
1. Temperature Mastery: Use an instant-read thermometer to ensure your oven is exactly 425°F. Oven temperatures vary by 25-50 degrees, which dramatically affects rise and browning.
2. Room Temperature Ingredients: Cold ingredients from the fridge won’t emulsify properly. Set everything out 30 minutes before starting, or use the warm water bath method for quick warming.
3. The Sizzle Test: When you add butter to the hot pan, it should immediately foam and sizzle. If it sits there melting slowly, your pan isn’t hot enough yet – give it 3 more minutes.
4. Visual Cues Matter: The batter should look like thick cream and flow smoothly when poured. The finished pancake should have deeply caramelized edges that curl upward at least 2 inches.
5. Serve Immediately: This ricotta dutch baby pancake is most impressive straight from the oven when it’s puffed to its maximum height. Have your toppings ready and your guests seated before removing from the oven.
Pro Tip: Make the batter the night before and store it covered in the fridge. Bring to room temperature for 30 minutes before cooking – this actually improves the texture by allowing the flour to fully hydrate overnight.