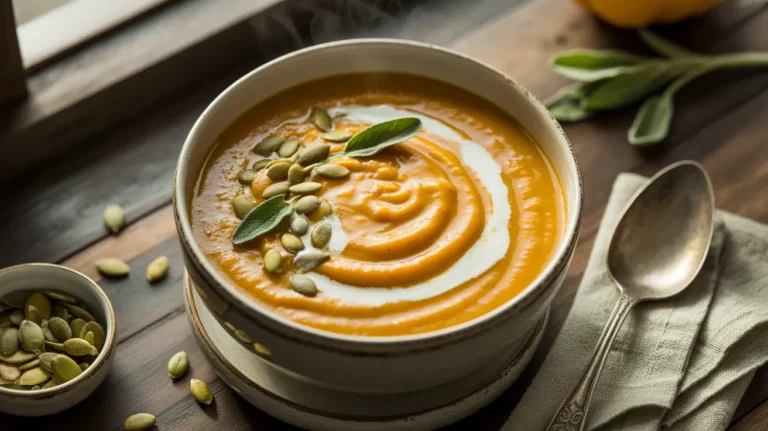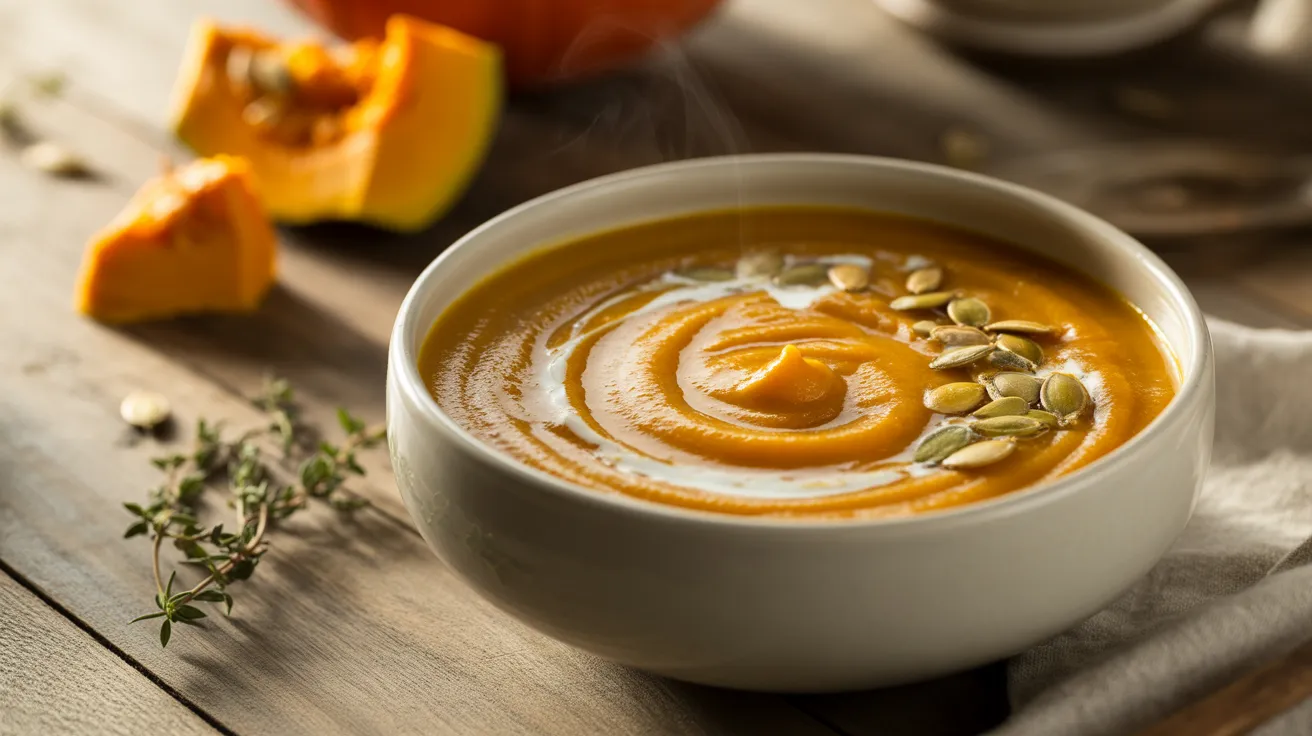
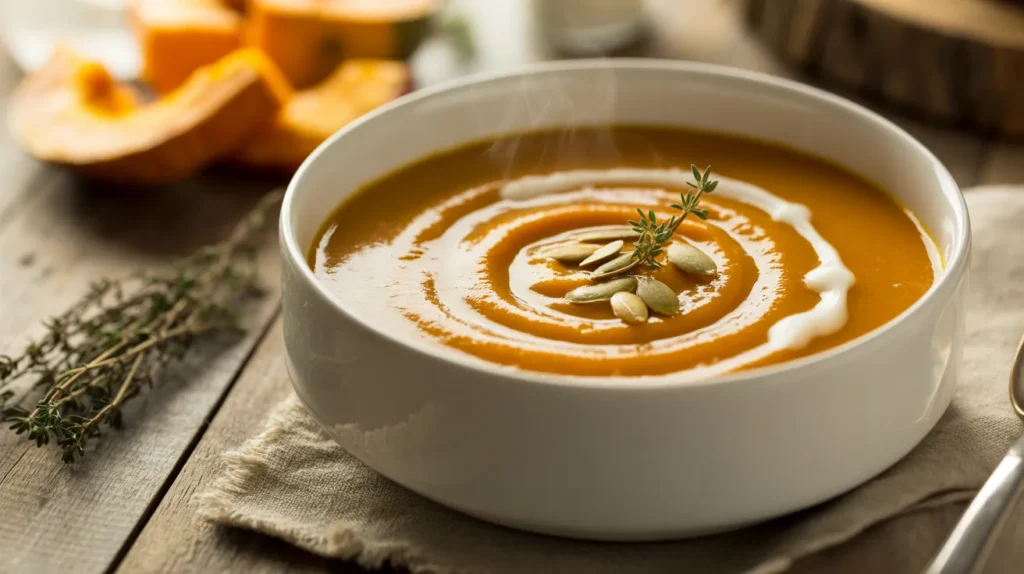
There’s something magical about roasted pumpkin soup on a crisp fall evening. This roasted pumpkin soup transforms simple ingredients into a velvety, caramelized bowl of comfort that beats any canned version by miles. I’ll show you exactly how to make this restaurant-quality soup at home, with foolproof steps that guarantee perfect results every time.
SERVES: 4 | PREP: 20 MIN | COOK: 55 MIN | TOTAL: 1 HR 15 MIN
Ingredients
For the Roasted Pumpkin
| Ingredient | Amount |
|---|---|
| Sugar pumpkin (or pie pumpkin) | 3 pounds (about 1 medium) |
| Olive oil | 2 tablespoons |
| Salt | 1 teaspoon |
| Black pepper | ½ teaspoon |
For the Soup Base
| Ingredient | Amount |
|---|---|
| Unsalted butter | 3 tablespoons |
| Yellow onion, diced | 1 large |
| Garlic cloves, minced | 4 cloves |
| Fresh ginger, grated | 1 tablespoon |
| Ground cumin | 1 teaspoon |
| Ground coriander | ½ teaspoon |
| Vegetable broth | 4 cups |
| Heavy cream | ½ cup |
| Maple syrup | 2 tablespoons |
| Fresh thyme leaves | 1 teaspoon |
Step-by-Step Instructions
Phase 1: Preparing and Roasting the Pumpkin (35 minutes)
Step 1: Preheat your oven to 400°F and line a large rimmed baking sheet with parchment paper. This temperature is perfect for caramelizing the pumpkin’s natural sugars without burning the edges.
Step 2: Cut the pumpkin in half from top to bottom using a sharp chef’s knife. Press down firmly and rock the knife gently if needed. The pumpkin will give way easier than you think.
Step 3: Scoop out all the seeds and stringy pulp with a large metal spoon. Save those seeds for roasting later if you want a crunchy snack.
Step 4: Cut each pumpkin half into 4-inch wedges, about 2 inches thick. You don’t need to peel them now because the skin becomes incredibly easy to remove after roasting.
Step 5: Arrange the pumpkin wedges on your prepared baking sheet with the cut sides facing up. Drizzle with 2 tablespoons olive oil and sprinkle evenly with 1 teaspoon salt and ½ teaspoon black pepper.
Step 6: Rub the oil and seasonings into the pumpkin flesh with your hands. This ensures every bit gets flavored and helps create those beautiful caramelized spots.
Step 7: Roast for 30-35 minutes until the pumpkin is fork-tender and the edges turn golden brown. You’ll know it’s ready when a fork slides through the flesh like butter and you see some caramelized, darker patches on the surface.
Step 8: Remove from the oven and let cool for 10 minutes. The flesh will pull away from the skin easily now, which is exactly what you want for your roasted pumpkin soup.
Phase 2: Building the Soup Base (10 minutes)
Step 9: While the pumpkin cools, melt 3 tablespoons butter in a large Dutch oven or soup pot over medium heat. The butter should bubble gently but not turn brown.
Step 10: Add the diced onion and cook for 5-6 minutes, stirring occasionally, until it softens and turns translucent. You’re looking for soft and sweet, not browned.
Step 11: Stir in the minced garlic, grated ginger, 1 teaspoon cumin, and ½ teaspoon coriander. Cook for 1 minute until incredibly fragrant. Your kitchen should smell amazing right now.
Step 12: Peel the cooled pumpkin wedges by simply pulling the skin away from the flesh. It should come off in large pieces without any struggle. Roughly chop the roasted pumpkin flesh.
Phase 3: Simmering and Blending (20 minutes)
Step 13: Add all the roasted pumpkin chunks to your pot along with 4 cups vegetable broth and 1 teaspoon fresh thyme leaves. Bring to a gentle simmer over medium-high heat.
Step 14: Reduce heat to medium-low and let simmer for 15 minutes, stirring occasionally. This allows all the flavors to blend together beautifully.
Step 15: Remove the pot from heat and let cool for 5 minutes. This prevents dangerous hot splatter when you blend.
Step 16: Use an immersion blender to puree the soup until completely smooth and creamy, about 2-3 minutes. Move the blender around to catch every chunk. If using a regular blender, work in batches and never fill more than halfway.
Step 17: Stir in the ½ cup heavy cream and 2 tablespoons maple syrup. The cream adds richness while the maple syrup balances the earthiness of the pumpkin perfectly.
Step 18: Taste and adjust seasoning with additional salt and pepper if needed. The soup should taste balanced—slightly sweet, savory, and perfectly seasoned.
Chef’s Notes
Pumpkin Selection: Choose sugar pumpkins (also called pie pumpkins) rather than large carving pumpkins. They’re smaller, denser, and much sweeter—perfect for roasted pumpkin soup.
Roasting is Key: Don’t skip the roasting step and use canned pumpkin instead. Roasting develops deep, caramelized flavors that make this soup special. The difference is night and day.
Cream Alternatives: Substitute coconut cream for a dairy-free version that’s equally rich. Full-fat coconut milk works too, though it adds a subtle tropical note.
Spice Adjustments: Add a pinch of cayenne pepper or red pepper flakes if you like heat. The warmth cuts through the sweetness beautifully and adds complexity.
Nutrition Information (Per Serving)
| Nutrient | Amount |
|---|---|
| Calories | 285 |
| Protein | 5g |
| Carbohydrates | 32g |
| Fat | 17g |
| Fiber | 6g |
| Sugar | 14g |
Creative Variations
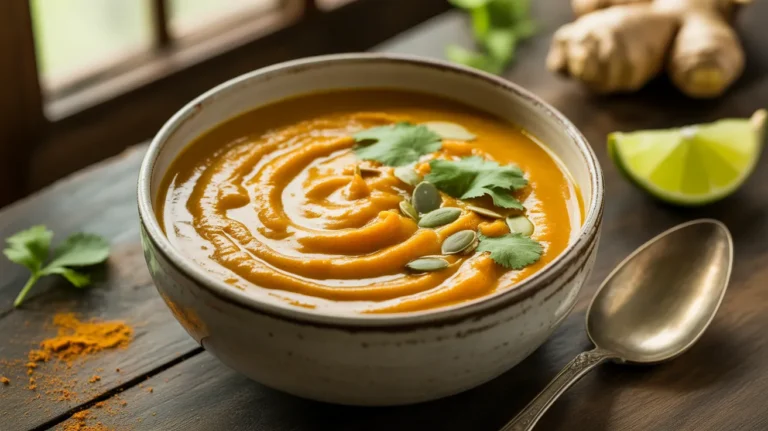
Curried Roasted Pumpkin Soup: Add 2 teaspoons curry powder and 1 teaspoon turmeric with the other spices. Finish with a swirl of coconut milk and chopped cilantro. The warming spices transform this into something exotic and comforting.
Smoky Chipotle Version: Blend in 1 chipotle pepper in adobo sauce for smoky heat. Top with crumbled queso fresco and crispy tortilla strips. If you love bold flavors, try my cinnamon pumpkin soup for another spice-forward twist.
Apple Pumpkin Soup: Add 2 peeled, diced apples when you add the broth. The fruit adds brightness and natural sweetness that complements the pumpkin beautifully.
Sweet Potato Hybrid: Replace half the pumpkin with roasted sweet potato for extra creaminess and a gorgeous orange color. For more sweet potato inspiration, check out this pumpkin and sweet potato soup that combines both vegetables perfectly.
Storage & Reheating
Refrigerator Storage: Cool the soup completely before transferring to airtight containers. It keeps perfectly for 4-5 days in the fridge. The flavors actually improve overnight.
Freezer Storage: Freeze in portion-sized containers for up to 3 months. Leave about 1 inch of headspace since liquids expand when frozen. Label with the date so you remember what you’ve got.
Reheating Instructions: Thaw frozen soup overnight in the fridge. Reheat gently on the stovetop over medium-low heat, stirring frequently. Add a splash of broth or cream if it’s too thick. Microwave individual portions for 2-3 minutes, stirring halfway through.
Make-Ahead Tip: Roast the pumpkin up to 2 days ahead and store the flesh in the fridge. This cuts your active cooking time significantly when you’re ready to make the soup.
Troubleshooting Common Problems
Problem 1: Soup is Too Thick Your roasted pumpkin soup turned into pumpkin paste instead of soup. This happens when you use too much pumpkin or not enough liquid. Thin it out gradually by adding warm broth ¼ cup at a time until you reach your desired consistency. Heat through before serving.
Problem 2: Soup Tastes Bland If your soup lacks flavor, you probably didn’t season enough or skipped salting the pumpkin before roasting. Fix it by adding more salt ¼ teaspoon at a time, plus a squeeze of lemon juice to brighten everything up. The acidity makes a huge difference.
Problem 3: Soup is Watery and Thin You added too much broth or your pumpkin had high water content. Simmer the soup uncovered over medium heat for 10-15 minutes to reduce and concentrate the flavors. Stir occasionally to prevent sticking.
Problem 4: Pumpkin Won’t Blend Smoothly Your immersion blender keeps hitting chunks and the soup stays grainy. This means the pumpkin wasn’t roasted long enough. Return unblended soup to the pot and simmer for 10 more minutes to soften everything, then blend again.
Problem 5: Soup Separated After Adding Cream The cream curdled or separated, creating an unappetizing appearance. This happens when you add cold cream to boiling soup. Remove the pot from heat first, let it cool for 5 minutes, then stir in room-temperature cream. Reheat gently without boiling.
Equipment Essentials
- Large rimmed baking sheet (at least 13×18 inches)
- Parchment paper (prevents sticking and makes cleanup easy)
- Sharp chef’s knife (for cutting through the pumpkin)
- Large metal spoon (for scooping out seeds)
- Dutch oven or large soup pot (5-6 quart capacity minimum)
- Immersion blender (or regular blender)
- Cutting board (large enough for pumpkin prep)
- Measuring cups and spoons
Shopping List by Store Section
Produce Section
- 3 pounds sugar pumpkin (1 medium)
- 1 large yellow onion
- 1 head garlic
- 1 piece fresh ginger root
- Fresh thyme
Dairy Section
- 3 tablespoons unsalted butter
- ½ cup heavy cream
Pantry/Baking Aisle
- Olive oil
- Salt
- Black pepper
- Ground cumin
- Ground coriander
- 2 tablespoons maple syrup
- 4 cups vegetable broth
Success Secrets
- Always roast your pumpkin cut-side up. This exposes more surface area to the heat, creating better caramelization and deeper flavor in your roasted pumpkin soup.
- Don’t rush the onion cooking. Taking the full 5-6 minutes to properly soften them creates a sweet, mellow base that makes the whole soup taste more complex.
- Let hot soup cool before blending. This critical safety step prevents dangerous splattering and potential burns. Those extra 5 minutes of patience are worth it.
- Blend longer than you think necessary. Keep that immersion blender running for a full 2-3 minutes to achieve restaurant-quality silky smoothness. Any grainy texture means you stopped too soon.
- Taste before serving and adjust boldly. Your soup needs proper seasoning to shine. Add salt until the flavors pop, then balance with a tiny drizzle of maple syrup if needed. Trust your taste buds.