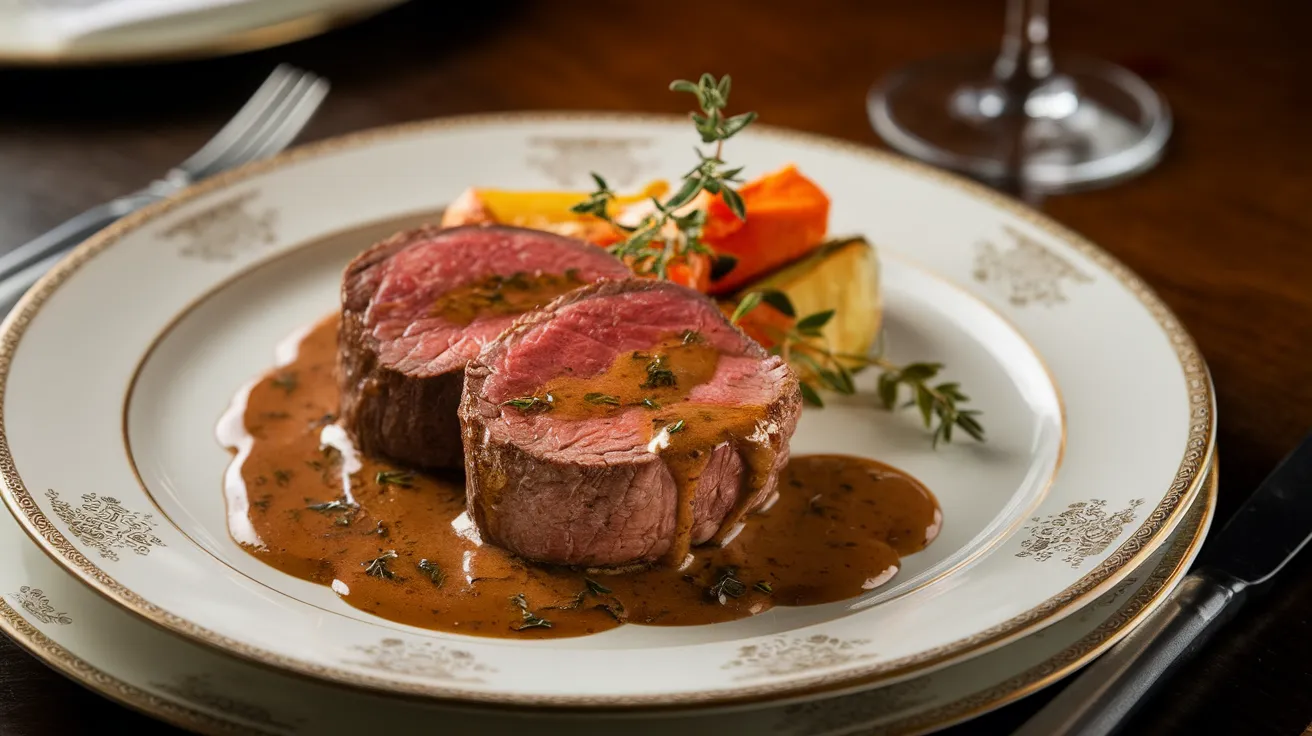
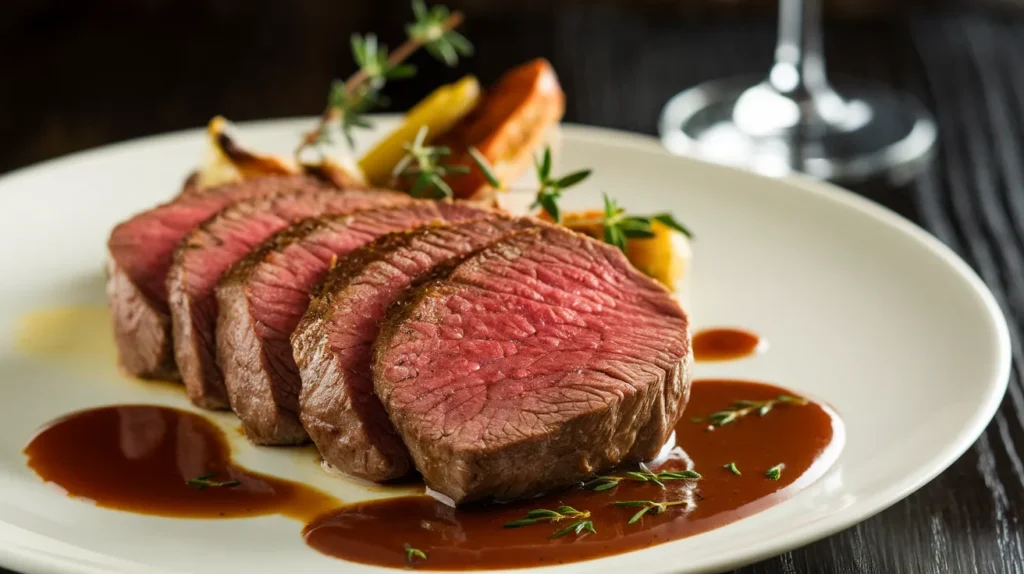
This foolproof sauce for beef tenderloin recipe creates a restaurant-quality accompaniment that even beginners can master. Our step-by-step sauce for beef tenderloin guide includes detailed explanations, visual cues, and helpful tips to ensure your sauce turns out perfectly every single time.
SERVES: 4 | PREP: 20 MIN | COOK: 25 MIN | TOTAL: 45 MIN
Ingredients for Your Sauce for Beef Tenderloin
For the Base Sauce
| Ingredient | Amount | Notes |
|---|---|---|
| Beef stock | 2 cups | Low-sodium preferred |
| Red wine | 1/2 cup | Dry variety like Cabernet |
| Heavy cream | 1/3 cup | Room temperature |
| Butter | 4 tablespoons | Cold, cubed |
| Shallots | 2 large | Finely minced |
| Fresh thyme | 2 teaspoons | Or 1 tsp dried |
For the Flavor Enhancement
| Ingredient | Amount | Notes |
|---|---|---|
| Dijon mustard | 1 tablespoon | Smooth variety |
| Garlic cloves | 3 medium | Minced |
| Worcestershire sauce | 1 teaspoon | For depth |
| Salt | 1/2 teaspoon | Kosher or sea salt |
| Black pepper | 1/4 teaspoon | Freshly ground |
| Olive oil | 2 tablespoons | For sautéing |
Detailed Step-by-Step Instructions for Sauce for Beef Tenderloin
Phase 1: Preparation and Setup (5 minutes)
Step 1: Prepare Your Ingredients Before you start cooking, measure out all your ingredients and place them in small bowls. This is called “mise en place” and prevents you from rushing during cooking. Mince your shallots into pieces about the size of rice grains. Mince your garlic very finely – you shouldn’t see any large chunks. Remove your heavy cream from the fridge 15 minutes before cooking so it reaches room temperature. Cut your butter into small cubes and keep them in the refrigerator until the final step.
Step 2: Choose the Right Pan Select a heavy-bottomed saucepan that holds 2-3 quarts. Heavy bottoms prevent hot spots that can burn your sauce. A stainless steel or enameled cast iron pan works best. Avoid thin aluminum pans as they heat unevenly and can cause your sauce for beef tenderloin to stick or burn.
Step 3: Set Up Your Workspace Place a wooden spoon, whisk, and measuring spoons within easy reach. Have a fine-mesh strainer ready if you prefer a completely smooth sauce. Keep a kitchen towel handy for spills. Position your ingredients in the order you’ll use them: oil, shallots, garlic, thyme, wine, stock, cream, mustard, Worcestershire, and finally the cold butter.
Phase 2: Building the Aromatic Base (8 minutes)
Step 4: Heat the Oil Properly Place your saucepan over medium heat and add the olive oil. Let it warm for about 1 minute. To test if it’s ready, drop a small piece of shallot into the oil. It should sizzle gently but not violently. If it doesn’t sizzle, wait another 30 seconds. If it sizzles too aggressively and starts browning immediately, reduce the heat to medium-low.
Step 5: Cook the Shallots to Perfection Add your minced shallots to the warm oil. They should sizzle softly when they hit the pan. Stir them gently with a wooden spoon every 30 seconds. Cook for 2-3 minutes total. You’ll know they’re ready when they turn translucent (like glass) and smell sweet and fragrant. They should NOT turn brown – if they start browning, lower your heat immediately. Brown shallots will make your sauce bitter.
Step 6: Add Garlic and Thyme at the Right Moment Push the shallots to one side of the pan and add your minced garlic and fresh thyme to the empty space. This prevents the garlic from burning. Cook for exactly 30 seconds, stirring constantly. The garlic should smell fragrant and aromatic but should remain pale. If it starts turning golden, it’s overcooking. Immediately move to the next step to prevent burning.
Step 7: Deglaze with Wine Remove the pan from heat temporarily (this prevents dangerous flare-ups). Pour in the red wine slowly – it will bubble and steam dramatically. This is normal! Return the pan to medium heat and use your wooden spoon to scrape up any browned bits stuck to the bottom of the pan. These bits are called “fond” and add incredible flavor to your sauce. Let the wine simmer actively for exactly 2 minutes. You’ll smell the alcohol cooking off – the sharp wine smell will mellow into a rich, complex aroma.
Phase 3: Creating the Sauce Foundation (12 minutes)
Step 8: Add Stock and Begin Reduction Pour in the beef stock slowly to prevent splashing. The liquid should come up about 2 inches in your pan. Increase heat to medium-high and bring to a gentle boil. You’ll see bubbles forming around the edges first, then across the entire surface. Once it reaches a full boil, immediately reduce heat to medium-low. The surface should show gentle, lazy bubbles, not violent rolling bubbles.
Step 9: Monitor the Reduction Process Let the sauce simmer uncovered for 10-12 minutes, stirring every 2-3 minutes with your wooden spoon. Watch carefully – you want to reduce the liquid by about half. Here’s how to tell: dip a clean spoon into the sauce and lift it out. The sauce should coat the back of the spoon lightly and leave a clear line when you draw your finger across it. If the sauce runs off immediately, it needs more time. If it’s too thick and gloopy, add 2 tablespoons of stock.
Step 10: Test for Proper Consistency After 10 minutes, test your reduction. The sauce should have a light, syrupy consistency – thicker than water but thinner than maple syrup. It should measure about 1 cup of liquid (half of what you started with). The color should be a rich, deep brown. Taste it carefully (it’s hot!) – it should taste concentrated and flavorful, not watery.
Phase 4: Adding Creaminess (5 minutes)
Step 11: Temperature Control for Cream This step is crucial for beginners! Remove your pan completely from the heat source. Let it sit off the heat for 30 seconds to cool slightly. Hot pans can cause cream to curdle, which creates an unappetizing lumpy texture. The pan should still be warm but not actively bubbling.
Step 12: Incorporate Cream Slowly Add the room temperature heavy cream in a thin, steady stream while whisking constantly with your other hand. Start whisking before you start pouring and don’t stop until the cream is fully incorporated. The sauce should turn a beautiful light tan color and become noticeably smoother and richer. If you see any lumps or curdling, whisk vigorously off the heat until smooth.
Step 13: Add Flavor Enhancers Whisk in the Dijon mustard and Worcestershire sauce until completely smooth. The mustard adds tangy depth while the Worcestershire contributes umami richness. Whisk for 30 seconds to ensure no streaks remain. The sauce should be completely uniform in color and texture.
Step 14: Final Gentle Heating Return the pan to the lowest possible heat setting. You want to warm the sauce gently without boiling it. Cream-based sauces break if they get too hot. Heat for 2-3 minutes, stirring constantly with your whisk. Small bubbles around the edges are okay, but never let it come to a full bubble. The sauce should steam gently and warm through completely.
Phase 5: Seasoning and Finishing (5 minutes)
Step 15: Taste and Season Carefully Remove from heat and taste your sauce with a clean spoon. Never taste with the spoon you’ve been cooking with! Season with salt and pepper gradually – start with half the amount called for, taste, then add more if needed. Remember, your beef tenderloin will also contribute saltiness, so err on the side of under-seasoning rather than over-seasoning.
Step 16: Master the Butter Finishing Technique This step creates that glossy, restaurant-quality finish. Make sure your pan is off the heat. Add one cube of cold butter at a time, whisking constantly until each cube is completely melted and incorporated before adding the next. This technique is called “mounting” the sauce. The cold butter creates an emulsion that gives your sauce for beef tenderloin a beautiful shine and silky texture.
Step 17: Final Texture Check Your finished sauce should coat the back of a spoon but still pour easily from a ladle. It should be glossy, smooth, and rich-colored. If it seems too thick, whisk in 1-2 tablespoons of warm stock. If it seems too thin, you can simmer it gently for 1-2 more minutes, but be very careful not to break the cream.
Step 18: Strain for Professional Results (Optional) For an ultra-smooth, restaurant-style sauce, pour it through a fine-mesh strainer into a clean saucepan. Press the solids gently with the back of a spoon to extract maximum flavor. This step removes any small bits of herbs or shallots for a perfectly smooth finish.
Step 19: Keep Warm Until Serving If not serving immediately, keep your sauce warm in a double boiler or in a small saucepan over the lowest heat, stirring occasionally. Never let it boil after adding the cream and butter. It will stay perfect for up to 30 minutes this way.
Step 20: Serve with Confidence Ladle the warm sauce generously over your sliced beef tenderloin or serve in a small pitcher on the side. The sauce should complement, not overpower, the delicate flavor of the beef.
Professional Chef’s Notes for Perfect Sauce
• Wine Selection Strategy: Use a wine you enjoy drinking. During cooking, the flavors concentrate, so cheap “cooking wine” will make your sauce taste harsh and acidic.
• Heat Management is Key: Low and slow wins the race with cream sauces. High heat will cause separation and graininess that’s impossible to fix.
• The Butter Secret: Cold butter added off heat creates that luxurious, glossy finish that separates homemade sauce for beef tenderloin from restaurant versions.
• Timing Your Sauce: Start this sauce when your beef has 45 minutes left to cook, so everything finishes together perfectly.
Complete Nutrition Information (Per Serving)
- Calories: 145
- Protein: 3g
- Carbohydrates: 4g
- Fat: 12g
- Sodium: 280mg
- Fiber: 0g
- Sugar: 2g
Creative Sauce for Beef Tenderloin Variations
Red Wine Pan Sauce Enhancement
Use the drippings from your cooked beef tenderloin instead of starting with plain oil. This creates deeper, more integrated flavors that complement your meat perfectly.
Mushroom-Enriched Version
Add 8 oz sliced cremini mushrooms with the shallots. Cook until golden and caramelized before adding garlic. This creates an earthy, luxurious sauce variation.
Peppercorn Cream Sauce
Crush 1 tablespoon of mixed peppercorns and add with the thyme. This creates a sauce similar to our sauce for filet mignon, adding wonderful warmth and complexity.
Smoky Bourbon Variation
Replace red wine with bourbon for a uniquely American twist. The smoky notes pair beautifully with grilled tenderloin, offering flavors reminiscent of our sauce for pulled pork but refined for elegant dining.
Storage and Reheating Your Beef Tenderloin Sauce
Refrigerator Storage: Transfer cooled sauce to an airtight container and refrigerate for up to 3 days. The cream may separate slightly when chilled – this is completely normal.
Proper Reheating Method: Warm gently in a small saucepan over low heat, whisking constantly to re-emulsify. Add 1-2 tablespoons of cream or stock if the sauce seems too thick after refrigeration.
Freezing Guidelines: Cream-based sauces don’t freeze well due to separation issues. For best results, always make this sauce fresh when needed.
Make-Ahead Strategy: Prepare through step 14, then finish with butter just before serving for optimal texture and flavor.
Troubleshooting Your Sauce for Beef Tenderloin
Problem 1: Sauce Appears Too Thin
Detailed Solution: Return to low heat and simmer gently for 2-3 more minutes to reduce further. Alternatively, mix 1 teaspoon cornstarch with 2 tablespoons cold stock, then whisk this slurry into your sauce while simmering. Cook for 1 minute until thickened.
Problem 2: Cream Has Curdled or Separated
Detailed Solution: Immediately remove from heat and whisk vigorously for 2-3 minutes. If whisking doesn’t help, strain through fine mesh and start the cream addition process over with fresh cream, adding it more slowly this time.
Problem 3: Sauce Tastes Too Acidic or Wine-Forward
Detailed Solution: Add 1/4 teaspoon sugar to balance acidity, or continue simmering to cook off more alcohol. You can also add an extra tablespoon of cream to mellow the sharpness.
Problem 4: Over-Salted Sauce
Detailed Solution: Add 2-3 tablespoons of unsalted stock or cream to dilute. A small pinch of sugar can also help balance excessive saltiness. Taste carefully after each addition.
Problem 5: Sauce Won’t Thicken Properly
Detailed Solution: Create a slurry with 1 teaspoon cornstarch mixed with 2 tablespoons cold stock. Whisk this mixture slowly into your simmering sauce. Cook for 2 minutes, stirring constantly, until desired thickness is reached.
Essential Equipment for Making Sauce for Beef Tenderloin
• Heavy-bottomed saucepan (2-3 quart capacity for even heating) • Fine-mesh strainer (optional, for ultra-smooth finish) • Balloon whisk (better than flat whisks for incorporating air) • Wooden spoon (won’t scratch your pan or conduct heat) • Sharp chef’s knife (for precise mincing) • Cutting board (separate from raw meat prep) • Small prep bowls (for organized mise en place) • Measuring cups and spoons (accuracy matters in sauces)
Organized Shopping List for Sauce Ingredients
Dairy Section
- Heavy cream (16 oz container)
- Unsalted butter (1 lb package)
Fresh Produce Section
- Large shallots (2 pieces)
- Fresh garlic bulb
- Fresh thyme sprigs
Wine and Spirits
- Dry red wine (Cabernet Sauvignon or Merlot)
Pantry and Condiments
- Low-sodium beef stock (32 oz container)
- Dijon mustard (smooth variety)
- Worcestershire sauce
- Extra virgin olive oil
- Kosher salt
- Black peppercorns (for fresh grinding)
Expert Success Secrets for Perfect Results
1. Temperature Awareness: Use a kitchen thermometer if you’re unsure about heat levels. The sauce should never exceed 180°F after adding cream to prevent breaking.
2. Timing is Everything: Start your sauce for beef tenderloin when your meat has about 45 minutes left to cook, ensuring both finish simultaneously.
3. Quality Ingredients Matter: Invest in good wine, real stock (not bouillon), and fresh herbs. These foundational flavors determine your final result.
4. Practice Makes Perfect: This sauce for beef tenderloin improves with repetition. Don’t be discouraged if your first attempt isn’t restaurant-perfect.
5. Confidence in Seasoning: Taste throughout the process and adjust seasonings gradually. Your palate is the best guide for perfect flavor balance.
This comprehensive sauce for beef tenderloin recipe transforms any home cook into a confident sauce maker. With detailed instructions and professional techniques, you’ll create an elegant sauce that rivals the best steakhouse versions, making your beef tenderloin dinner absolutely unforgettable.