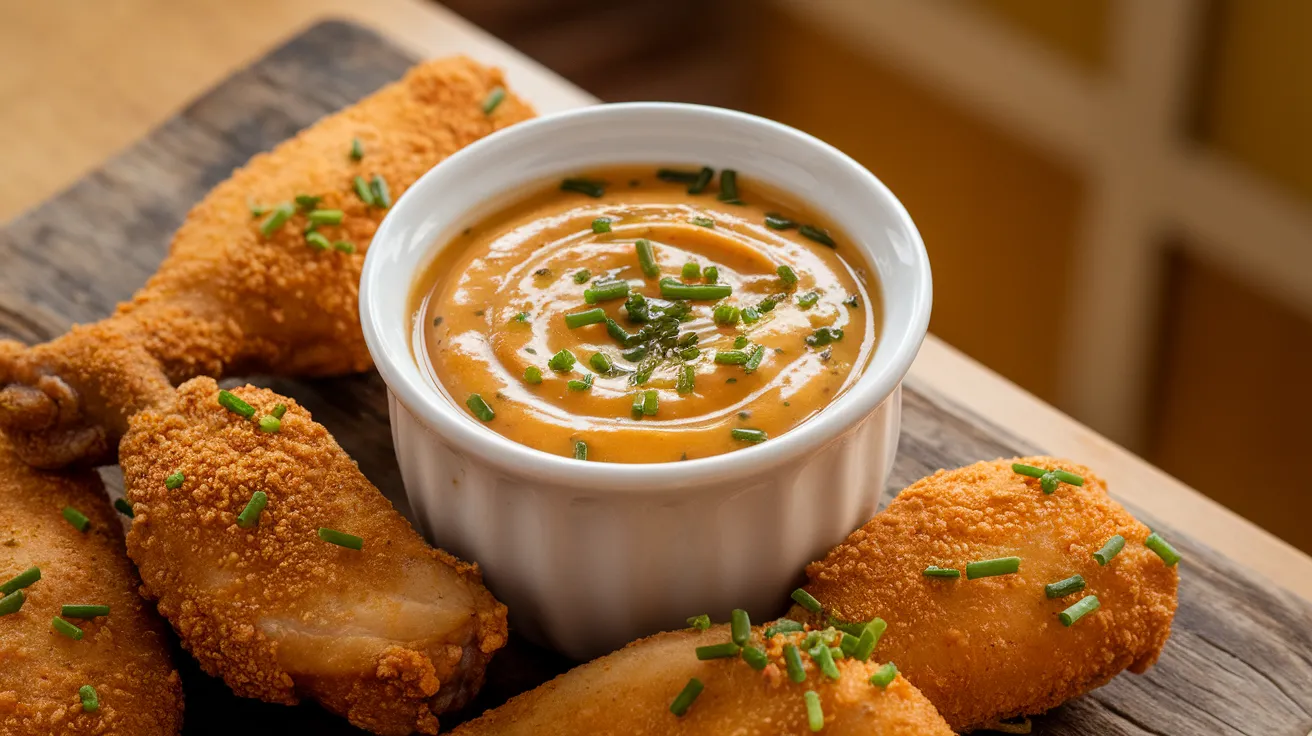
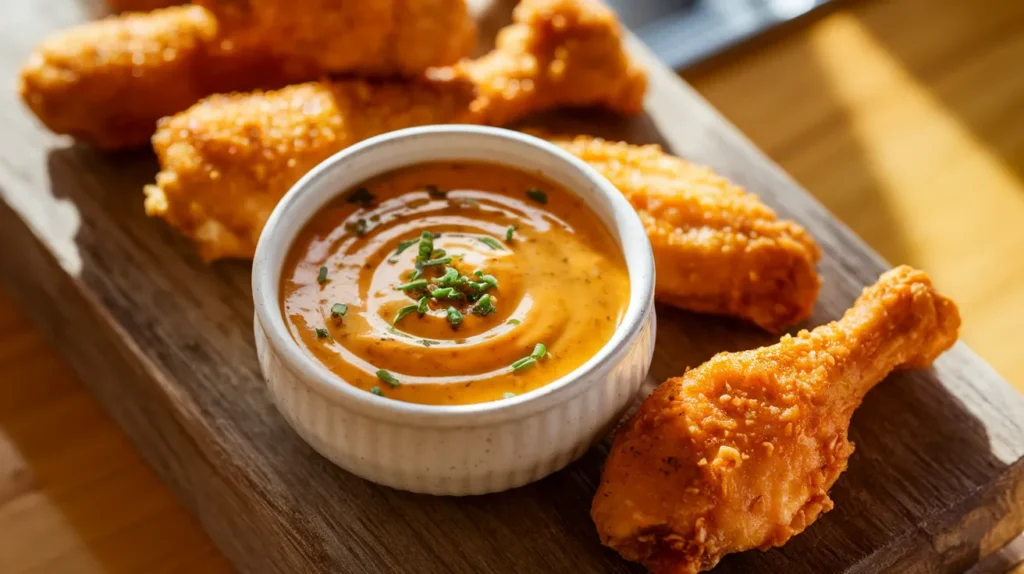
This creamy, flavorful sauce for dipping chicken elevates any meal from ordinary to extraordinary. Whether you’re serving crispy fried chicken, grilled tenders, or baked drumsticks, this homemade sauce for dipping chicken creates the perfect balance of tangy, sweet, and savory flavors that will have everyone asking for the recipe.
Recipe Info Bar
SERVES: 4 | PREP: 15 MIN | COOK: 10 MIN | TOTAL: 25 MIN
Ingredients
Base Sauce
| Ingredient | Amount |
|---|---|
| Mayonnaise | 1/2 cup |
| Sour cream | 1/4 cup |
| Dijon mustard | 2 tablespoons |
| Honey | 2 tablespoons |
| Apple cider vinegar | 1 tablespoon |
Flavor Enhancers
| Ingredient | Amount |
|---|---|
| Garlic powder | 1 teaspoon |
| Onion powder | 1/2 teaspoon |
| Paprika | 1/2 teaspoon |
| Fresh chives | 2 tablespoons, chopped |
| Salt | 1/2 teaspoon |
| Black pepper | 1/4 teaspoon |
Detailed Step-by-Step Instructions for Beginners
Phase 1: Ingredient Preparation (10 minutes)
Step 1: Temperature Check Remove mayonnaise and sour cream from refrigerator 15 minutes before starting. Cold ingredients create lumps and don’t blend smoothly. Touch the containers – they should feel cool but not ice-cold. This simple step makes mixing much easier.
Step 2: Workspace Setup Clear your counter space and gather all ingredients in one area. Get out your mixing bowl, whisk, measuring cups, and spoons. Having everything ready prevents mistakes and makes cooking smoother. This is called “mise en place” – French for “everything in its place.”
Step 3: Herb Preparation Wash fresh chives under cold running water and pat completely dry with paper towels. Using kitchen shears or a sharp knife, cut chives into small pieces about 1/8-inch long. Wet herbs dilute the sauce, so drying is crucial. If chives feel slimy, they’re old – use dried chives instead.
Phase 2: Creating the Base (8 minutes)
Step 4: Base Mixing Technique In your medium mixing bowl, add 1/2 cup mayonnaise. Use a wire whisk to gently stir and check for any lumps. Good mayonnaise should be smooth and creamy. If you see separation (oil pools), whisk gently until uniform.
Step 5: Adding Sour Cream Add 1/4 cup sour cream directly on top of mayonnaise. Using your whisk, start from the center and make small circles, gradually expanding outward. This technique prevents splattering and ensures even mixing. Continue whisking for 30-45 seconds until completely smooth and uniform in color.
Step 6: Visual Check Your mixture should now look pale white with no streaks or lumps. If you see any streaks of sour cream, keep whisking. The base should coat your whisk evenly when lifted. This smooth base is essential for professional-looking sauce.
Phase 3: Building Flavor Layers (7 minutes)
Step 7: Mustard Integration Measure 2 tablespoons Dijon mustard carefully – level off with a knife for accuracy. Add mustard to one side of the bowl, not the center. Using your whisk, start incorporating from that side, making gentle figure-8 motions. This prevents mustard clumping and creates smooth integration.
Step 8: Honey Addition Honey can be tricky – it’s thick and sticky. Measure 2 tablespoons in a separate small bowl first. Using a rubber spatula, scrape all honey into your sauce mixture. Drizzle it slowly while whisking continuously. The sauce will turn slightly golden – this is perfect.
Step 9: Vinegar Balance Apple cider vinegar adds essential tang. Pour 1 tablespoon around the bowl’s rim, not in the center. This distributes it better. Whisk immediately and vigorously for 15 seconds. You’ll smell the vinegar – this means flavors are awakening. The sauce should thin slightly.
Phase 4: Seasoning Perfection (5 minutes)
Step 10: Dry Spice Addition Measure 1 teaspoon garlic powder and 1/2 teaspoon onion powder into separate small dishes. Sprinkle garlic powder evenly across sauce surface – don’t dump in one spot. Whisk 10 times, then add onion powder the same way. Even distribution prevents flavor pockets.
Step 11: Color Enhancement Add 1/2 teaspoon paprika using the same sprinkling technique. Paprika gives beautiful color but can clump if added carelessly. Whisk until sauce turns lovely golden-orange. If you see red speckles, keep whisking – they’ll disappear.
Step 12: Fresh Herb Integration Fresh chives are delicate – they bruise easily. Add chopped chives to sauce using a rubber spatula, not a whisk. Fold gently by cutting down through mixture, scraping along bottom, and lifting over. Repeat 8-10 times. Aggressive mixing turns herbs dark and bitter.
Phase 5: Final Seasoning and Testing (3 minutes)
Step 13: Salt Balance Start with 1/4 teaspoon salt instead of the full amount. Mix well, then taste using a clean spoon (never double-dip). The sauce should enhance chicken flavor, not overpower it. Add remaining salt if needed. Remember – you can always add more, but you can’t take it out.
Step 14: Pepper Addition Add 1/4 teaspoon black pepper and whisk gently. Fresh-ground pepper tastes better than pre-ground, but either works. The sauce should have tiny black specks throughout – this shows proper mixing.
Step 15: Final Taste Test Using a fresh spoon, taste your sauce for dipping chicken. It should taste tangy, slightly sweet, and well-balanced. Too bland? Add more salt. Too sharp? Add honey. Too thick? Add a teaspoon of milk. Trust your taste buds – they know what’s delicious.
Phase 6: Finishing Touches (2 minutes)
Step 16: Consistency Check Your finished sauce should coat a spoon but still drip off smoothly. It should look creamy and uniform in color with visible herb flecks. If it seems too thick, thin with milk one teaspoon at a time. If too thin, it will thicken slightly when chilled.
Step 17: Presentation Preparation Transfer sauce to your serving bowl using a rubber spatula. Smooth the surface with the back of a spoon for professional appearance. A small offset spatula works even better if you have one.
Step 18: Chilling Process Cover sauce with plastic wrap pressed directly onto surface to prevent skin forming. Refrigerate for 15-30 minutes before serving. This resting time allows all flavors to meld together, creating deeper, more complex taste.
Perfect Sauce for Dipping Chicken: Chef’s Notes
• Temperature matters: This sauce for dipping chicken tastes best when served slightly cool, not ice-cold. Remove from refrigerator 5 minutes before serving.
• Consistency control: Sauces naturally thicken when chilled. If your sauce becomes too thick, thin with buttermilk for extra tang.
• Make-ahead advantage: Prepare this sauce for dipping chicken up to 3 days ahead. Flavors improve with time as ingredients marry.
• Spice customization: Start mild and add heat gradually. A pinch of cayenne transforms this into spicy dipping sauce without overwhelming beginners.
Nutrition Information (Per Serving)
- Calories: 185
- Protein: 2g
- Carbohydrates: 9g
- Fat: 16g
- Sodium: 340mg
- Sugar: 7g
Creative Sauce for Dipping Chicken Variations
Spicy Buffalo Style
Add 2 tablespoons hot sauce and 1 teaspoon buffalo seasoning to create fiery buffalo-style sauce. Perfect for those who love heat with their chicken.
Mediterranean Herb Version
Replace chives with fresh dill and oregano for Greek-inspired flavor. This variation pairs beautifully with grilled chicken, similar to how our artichoke dipping sauce complements roasted vegetables.
Smoky Barbecue Twist
Add 1 tablespoon barbecue sauce and 1/2 teaspoon smoked paprika for smoky sweetness that enhances any chicken preparation.
Asian-Fusion Style
Substitute rice vinegar for apple cider vinegar and add 1 teaspoon sesame oil plus 1 tablespoon low-sodium soy sauce. This creates an umami-rich sauce that’s completely different but equally delicious, like our versatile edamame sauce.
Storage & Reheating Your Chicken Dipping Sauce
Refrigerator Storage
Store your sauce for dipping chicken in airtight containers for up to 5 days. Glass containers work best as they don’t absorb flavors or odors.
Freezing Guidelines
Never freeze mayonnaise-based sauces. The emulsion breaks down, creating separated, watery texture that can’t be fixed.
Serving Temperature
Serve slightly chilled for best flavor and texture. Remove from refrigerator 5-10 minutes before serving for optimal consistency.
Portion Control
Divide sauce into small containers for individual servings. This prevents contamination and keeps unused portions fresh longer.
Troubleshooting Your Sauce for Dipping Chicken
Problem 1: Sauce Looks Lumpy
Cause: Ingredients were too cold or not mixed properly. Solution: Let sauce reach room temperature, then whisk vigorously. If lumps persist, strain through fine-mesh sieve and re-whisk.
Problem 2: Flavors Taste Flat or Bland
Cause: Not enough salt or acid balance is off. Solution: Add salt 1/4 teaspoon at a time until flavors brighten. If still flat, add more vinegar or lemon juice gradually.
Problem 3: Sauce Too Tangy or Sharp
Cause: Too much vinegar or mustard overpowering other flavors. Solution: Balance with honey, sugar, or additional mayonnaise. Add sweetness gradually until harmony returns.
Problem 4: Sauce Separating or Breaking
Cause: Temperature shock or over-mixing with acidic ingredients. Solution: Add 1 tablespoon fresh mayonnaise and whisk gently. This re-emulsifies the broken sauce.
Problem 5: Wrong Consistency
Cause: Ingredient ratios off or temperature issues. Solution: Too thick? Add milk 1 teaspoon at a time. Too thin? Add more mayonnaise or chill longer to naturally thicken.
Equipment Essentials for Perfect Results
• Medium mixing bowl – Stainless steel or glass prevents flavor absorption • Wire whisk – Essential for smooth, lump-free mixing • Rubber spatula – Gentle folding prevents herb bruising • Measuring cups and spoons – Accuracy ensures consistent results • Small prep bowls – Organization prevents mistakes • Fine-mesh strainer – Emergency rescue for lumpy sauce
Shopping List by Store Section
Dairy/Refrigerated Section
- Mayonnaise (buy quality brand for best flavor)
- Sour cream (regular, not light)
Condiment Aisle
- Dijon mustard
- Honey (liquid, not crystallized)
- Apple cider vinegar
Spice Section
- Garlic powder (not garlic salt)
- Onion powder
- Sweet paprika
- Fine sea salt
- Black pepper
Fresh Herbs/Produce
- Fresh chives (look for bright green, firm stems)
Success Secrets for Perfect Chicken Dipping Sauce
1. Temperature Control: Room temperature ingredients blend 3x faster and smoother than cold ingredients. Plan ahead for best results.
2. Taste Frequently: Your palate is the best guide. Taste after each major addition and adjust accordingly. Great cooks trust their taste buds.
3. Make-Ahead Magic: This sauce for dipping chicken improves with time. Make it 2-4 hours ahead when possible for deeper flavor development.
4. Quality Ingredients Matter: Good mayonnaise and fresh herbs make noticeable differences. Invest in quality basics for superior results.
5. Storage Savvy: Always keep sauce chilled until serving time. Warm temperatures can cause mayonnaise-based sauces to break down and lose texture.
This versatile sauce for dipping chicken transforms simple poultry into restaurant-quality appetizers. Whether you’re hosting a party or preparing family dinner, this beginner-friendly recipe delivers consistent, delicious results every single time. The detailed instructions ensure even novice cooks can create professional-tasting sauce that rivals any restaurant version.