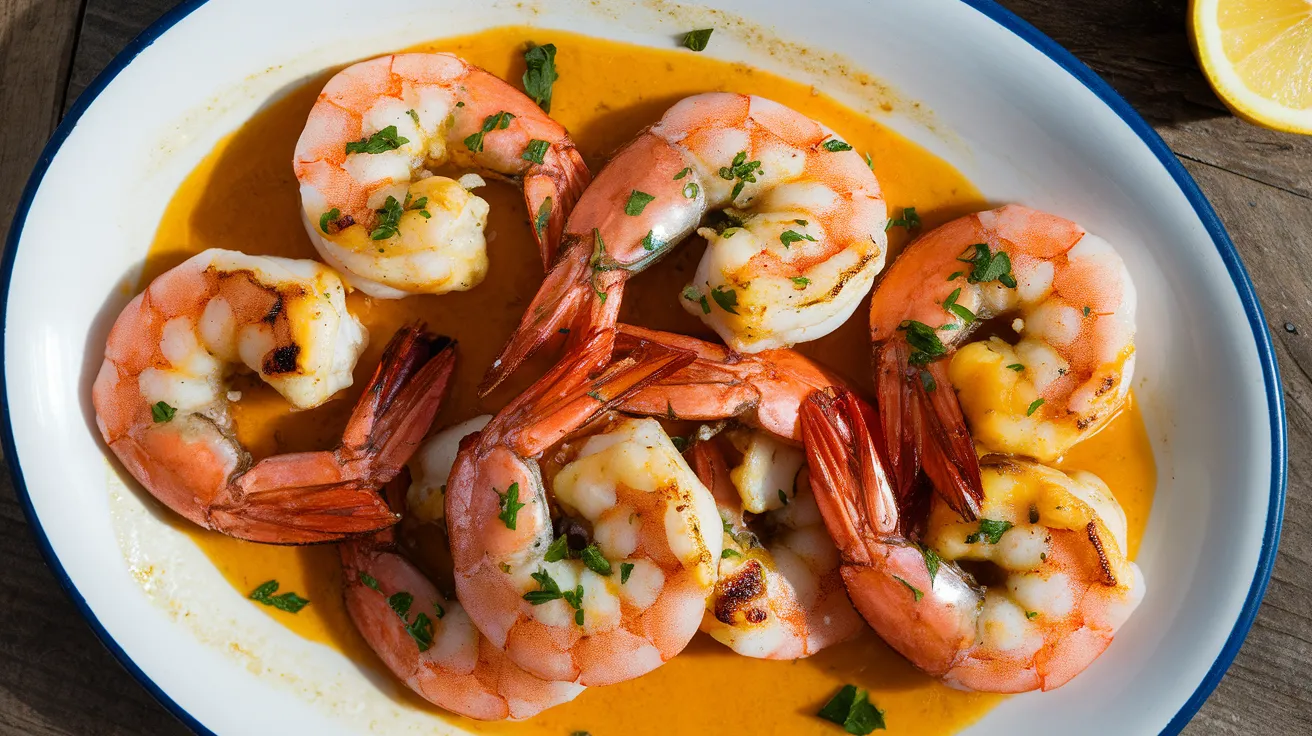
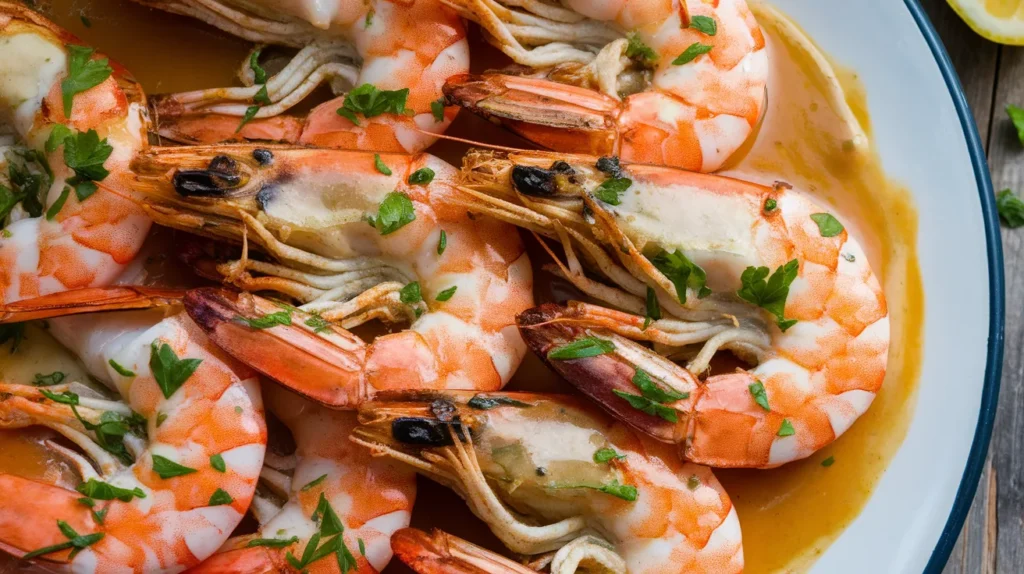
This restaurant-style sauce for grilled shrimp transforms ordinary seafood into an extraordinary culinary experience with rich, creamy flavors that coat every bite. Our foolproof sauce for grilled shrimp recipe combines butter, garlic, and fresh herbs in perfect harmony, creating a luxurious accompaniment that’s surprisingly simple for home cooks to master.
SERVES: 4 | PREP: 15 MIN | COOK: 10 MIN | TOTAL: 25 MIN
Ingredients
For the Sauce Base
| Ingredient | Amount | Notes |
|---|---|---|
| Unsalted butter | 6 tablespoons | Room temperature |
| Fresh garlic | 4 cloves | Minced fine |
| Heavy cream | 1/3 cup | Full-fat preferred |
| Fresh lemon juice | 2 tablespoons | About 1 large lemon |
Flavor Enhancers
| Ingredient | Amount | Notes |
|---|---|---|
| White wine | 1/4 cup | Dry variety |
| Fresh parsley | 3 tablespoons | Chopped fine |
| Paprika | 1 teaspoon | Sweet or smoked |
| Red pepper flakes | 1/4 teaspoon | Adjust to taste |
| Sea salt | 1/2 teaspoon | To taste |
| Black pepper | 1/4 teaspoon | Freshly ground |
Detailed Step-by-Step Instructions for Beginners
Phase 1: Preparing Your Workspace and Ingredients (5 minutes)
Step 1: Organize Your Kitchen Setup Before you begin making this sauce for grilled shrimp, gather all ingredients and place them within arm’s reach of your stove. This French cooking technique called “mise en place” prevents scrambling for ingredients while your sauce cooks. Set out a medium saucepan, whisk, measuring cups, and a wooden spoon. Have a small bowl ready for any ingredient mishaps.
Step 2: Prepare Your Garlic Properly Take your 4 garlic cloves and remove the papery skin completely. Using a sharp knife, make thin slices first, then rock your knife back and forth to create a fine mince. The pieces should be no larger than rice grains – larger pieces will burn and turn bitter in your sauce. If you have a garlic press, use it instead for perfectly uniform results.
Step 3: Set Up Your Heat Source Turn your burner to medium-low heat and let it warm for 30 seconds. Medium-low feels warm but not hot when you hold your hand 6 inches above the burner. This gentle temperature is crucial for preventing butter from burning and cream from curdling later.
Phase 2: Creating the Sauce Foundation (4 minutes)
Step 4: Start with Butter Base Place your medium saucepan on the warmed burner and add exactly 2 tablespoons of butter. Watch it carefully – the butter should melt slowly and quietly with just tiny bubbles around the edges. If it sizzles loudly or starts browning, your heat is too high. The melted butter should look clear and golden, not brown or foamy.
Step 5: Add Garlic at the Right Moment When your butter is completely melted but not bubbling vigorously, add your minced garlic all at once. Stir immediately with a wooden spoon or whisk. You should hear gentle sizzling and smell the garlic becoming fragrant within 20-30 seconds. Keep stirring constantly – garlic can go from perfect to burnt in just seconds.
Step 6: Perfect the Garlic Timing Continue stirring the garlic for exactly 45 seconds total. The garlic should smell incredible but remain pale golden, never brown. If you see any browning, remove the pan from heat immediately and stir vigorously. Brown garlic will make your entire sauce for grilled shrimp taste bitter and unpleasant.
Phase 3: Building Complex Flavors (3 minutes)
Step 7: Add Wine with Confidence Pour the 1/4 cup white wine into the pan slowly while stirring continuously. The mixture will bubble up dramatically – this is completely normal and expected. The bubbling means the alcohol is cooking off, which removes the harsh wine taste and leaves behind rich, mellow flavors that complement your shrimp perfectly.
Step 8: Reduce the Wine Properly Let the wine bubble and cook for exactly 2 minutes without stirring. You’ll notice the bubbling becomes less vigorous as the alcohol evaporates. The wine should reduce by about half – you’ll see less liquid in the pan and the color will deepen slightly. The harsh alcohol smell should disappear completely.
Step 9: Bloom Your Spices Add the paprika and red pepper flakes to the reduced wine mixture. Stir immediately for 15 seconds. This technique, called “blooming,” heats the spices just enough to release their essential oils and intensify their flavors. You should smell the paprika become more aromatic and see the red pepper flakes start to sizzle gently.
Phase 4: Creating Creamy Perfection (3 minutes)
Step 10: Lower Heat for Cream Addition Reduce your burner to the lowest setting possible. This is critical – cream will curdle if the temperature is too high. Wait 30 seconds for the temperature to drop before proceeding. The mixture should still be warm but not actively bubbling.
Step 11: Add Cream with Technique Pour the heavy cream into the pan in a thin, steady stream while whisking constantly with your other hand. This prevents the cream from shocking and curdling when it hits the warm mixture. Keep whisking for 30 seconds after all cream is added. The mixture should look smooth and pale, never lumpy or separated.
Step 12: Master the Butter Mounting Technique Take your remaining 4 tablespoons of butter and add them one piece at a time. Drop in one tablespoon, whisk until completely incorporated (about 20 seconds), then add the next piece. This French technique called “mounting” creates the silky, restaurant-quality texture that makes this sauce for grilled shrimp so special. Never rush this step.
Phase 5: Final Flavor Balancing (2 minutes)
Step 13: Balance with Citrus Remove the pan from heat completely before adding the fresh lemon juice. Squeeze the lemon directly into the sauce while whisking immediately. The acid in lemon can cause cream to curdle if the sauce is too hot, which is why we remove it from heat first. The lemon brightens all the rich flavors instantly.
Step 14: Season with Precision Add the salt and pepper gradually, stirring after each addition. Taste with a clean spoon after each seasoning addition – the sauce should taste rich but balanced, with no single flavor overwhelming the others. Remember, you can always add more seasoning, but you can’t take it away.
Step 15: Finish with Fresh Herbs Stir in the chopped fresh parsley last. The residual heat from the sauce will wilt the herbs perfectly while preserving their bright green color and fresh flavor. The parsley adds a pop of color and freshness that cuts through the rich butter and cream.
Step 16: Serve Immediately Your sauce for grilled shrimp is now ready to serve. Pour it over your grilled shrimp while both the shrimp and sauce are still warm. The sauce should coat the shrimp beautifully and pool slightly on the plate, creating an elegant presentation that rivals any restaurant.
Chef’s Notes for Perfecting Your Sauce for Grilled Shrimp
Temperature Control is Everything: This sauce for grilled shrimp depends entirely on gentle heat. High temperatures will cause the butter to brown, cream to curdle, and garlic to burn – all of which ruin the delicate flavors.
Butter Quality Matters: Use high-quality unsalted butter at room temperature for the smoothest emulsification. Cold butter won’t incorporate properly and will create a greasy rather than silky texture.
Wine Selection Guide: Choose a dry white wine you’d enjoy drinking – avoid cooking wines with added salt. Sauvignon Blanc or Pinot Grigio work beautifully without overwhelming the delicate shrimp flavors.
Fresh Herb Timing: Add fresh herbs only at the very end to preserve their color and flavor. Cooking herbs too long makes them taste bitter and look dull.
Nutrition Information (Per Serving)
- Calories: 185
- Protein: 2g
- Carbohydrates: 3g
- Fat: 18g
- Sodium: 290mg
- Fiber: 0g
Creative Variations for Your Sauce for Grilled Shrimp
Mediterranean-Inspired Version
Transform your basic sauce by replacing parsley with fresh oregano and adding 1 tablespoon of briny capers. This variation brings the flavors of the Greek islands to your dinner table and pairs wonderfully with grilled vegetables alongside your shrimp.
Cajun Heat Variation
Double the red pepper flakes and add 1/2 teaspoon each of cayenne pepper and dried thyme. This spicy version complements the smoky flavors from grilling and creates an exciting contrast with the cool, creamy base. Perfect for those who love bold flavors.
Fresh Herb Garden Blend
Combine equal parts fresh parsley, chives, and dill for a bright, herbaceous sauce that tastes like summer in a spoon. The multiple herbs create incredible complexity without overpowering the delicate shrimp flavors.
Citrus Lover’s Dream
Add fresh lemon zest along with the juice, plus 1 tablespoon of fresh lime juice and a pinch of lime zest. This variation is especially refreshing during warm weather and pairs beautifully with our sauce for mussels for a complete citrus seafood spread.
Storage & Reheating Your Sauce for Grilled Shrimp
Proper Refrigerator Storage
Store any leftover sauce in an airtight glass container for up to 3 days maximum. The sauce will solidify when cold but maintains all its flavor components perfectly. Glass containers prevent absorption of refrigerator odors that can affect delicate flavors.
Gentle Reheating Method
Reheat sauce slowly in a small saucepan over the lowest heat setting, whisking constantly to prevent separation. Add 1-2 tablespoons of fresh cream if the sauce appears broken or separated. Never use a microwave, as it heats unevenly and will break the emulsion.
Make-Ahead Strategy
Prepare the sauce base through Step 11 up to 2 hours ahead, stopping before adding the final butter. Cover and keep at room temperature. Finish with butter, lemon, and herbs just before serving for optimal texture and flavor.
Freezing Guidelines
This cream-based sauce for grilled shrimp doesn’t freeze successfully due to separation issues when thawed. The butter and cream will separate, creating an unpleasant grainy texture that can’t be repaired.
Troubleshooting Your Sauce for Grilled Shrimp
Problem: Sauce Looks Curdled or Separated
Solution: Remove from heat immediately and add 2-3 ice cubes while whisking vigorously. The sudden temperature drop often re-emulsifies broken sauces. If this doesn’t work, start over with fresh cream and gradually whisk in the broken sauce.
Problem: Sauce Too Thin and Watery
Solution: Return to low heat and simmer uncovered for 1-2 minutes to evaporate excess liquid. Alternatively, whisk in an additional tablespoon of cold butter to thicken and enrich the consistency.
Problem: Overpowering Garlic Flavor
Solution: Add an extra 2 tablespoons of cream and 1 teaspoon of sugar to mellow the intensity. The cream dilutes the garlic while sugar balances any bitterness from overcooked garlic.
Problem: Sauce Breaks While Serving
Solution: Serve immediately after preparation – broken sauce usually results from holding too long. If you must keep it warm, use a double boiler setup rather than direct heat.
Problem: Lacks Brightness and Flavor
Solution: Add an extra squeeze of fresh lemon juice and a pinch of salt. Taste after each addition until the flavors become vibrant and balanced. Sometimes sauce needs more acid to bring all flavors together.
Essential Equipment for Making Sauce for Grilled Shrimp
- Heavy-bottomed saucepan (2-3 quart) – Distributes heat evenly and prevents hot spots that burn delicate ingredients
- Wire whisk (medium size) – Creates smooth emulsification and prevents lumps in your cream sauce
- Wooden spoon – Won’t scratch your pan and doesn’t conduct heat like metal spoons
- Fine-mesh strainer – Optional, for perfectly smooth texture if desired
- Small ladle – Perfect portion control when serving over individual shrimp portions
- Sharp knife – Essential for properly mincing garlic to prevent burning
Organized Shopping List
Dairy Section
- Unsalted butter (1 stick minimum)
- Heavy cream (small carton – 16 oz)
Fresh Produce
- Fresh garlic bulbs (2-3 cloves needed)
- Fresh lemons (2 large for juice)
- Fresh parsley (1 large bunch)
Pantry Staples
- Sweet paprika (small container)
- Red pepper flakes
- Sea salt or kosher salt
- Freshly ground black pepper
Wine & Spirits Section
- Dry white wine (Sauvignon Blanc or Pinot Grigio)
Professional Success Secrets
1. Temperature Management: Keep heat low throughout the entire process – this sauce for grilled shrimp relies on gentle cooking temperatures to maintain its luxurious, silky texture without breaking or curdling.
2. Proper Emulsification: Always add butter gradually while whisking continuously. This classic French technique creates the rich, restaurant-quality texture that separates professional sauces from homemade attempts.
3. Seasoning Strategy: Taste and adjust seasonings only at the very end when all ingredients have melded together. Hot sauce tastes completely different from room temperature, so final seasoning ensures perfect balance.
4. Fresh Ingredient Priority: Use fresh herbs and real butter whenever possible – dried herbs and margarine substitutes lack the vibrant flavors that make this sauce for grilled shrimp truly exceptional.
5. Timing Excellence: Serve immediately after preparation for optimal texture and temperature. This sauce showcases why timing matters in restaurant-quality cooking, similar to the precise techniques needed for our sauce for crab cakes recipe.