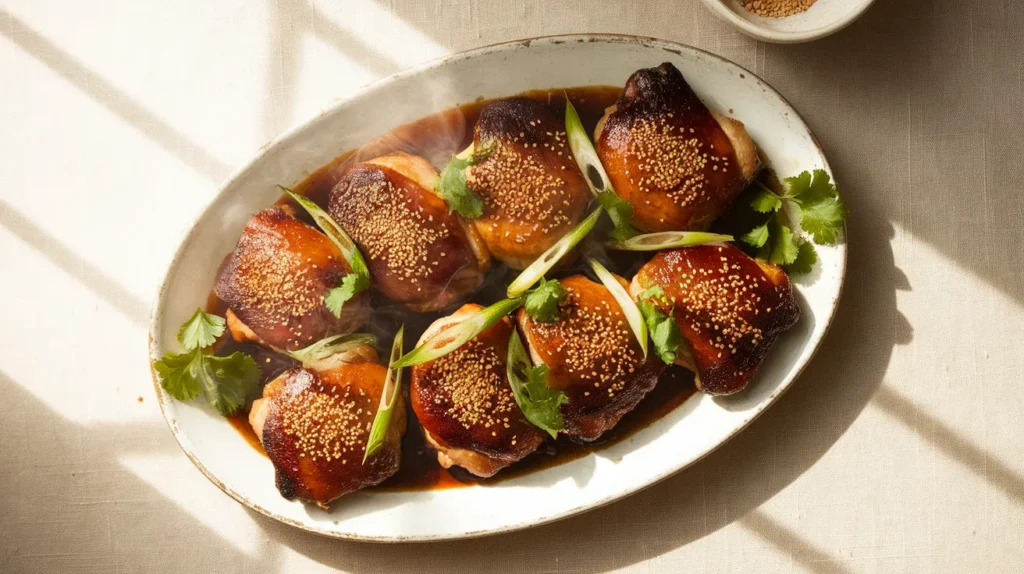
These sesame ginger chicken thighs deliver restaurant-quality flavor in under 40 minutes. The marinade creates perfectly caramelized, tender chicken with a sticky-sweet glaze that’ll have everyone asking for seconds. Perfect for busy weeknights when you want something special without the fuss.
SERVES: 4 | PREP: 15 MIN | COOK: 25 MIN | TOTAL: 40 MIN
Ingredients
For the Marinade
| Ingredient | Amount |
|---|---|
| Soy sauce | 1/4 cup |
| Fresh ginger (grated) | 2 tablespoons |
| Garlic (minced) | 4 cloves |
| Sesame oil | 2 tablespoons |
| Honey | 3 tablespoons |
| Rice vinegar | 2 tablespoons |
| Red pepper flakes | 1/2 teaspoon |
For the Chicken
| Ingredient | Amount |
|---|---|
| Bone-in, skin-on chicken thighs | 8 pieces (about 3 lbs) |
| Salt | 1 teaspoon |
| Black pepper | 1/2 teaspoon |
| Vegetable oil | 1 tablespoon |
For Garnish
| Ingredient | Amount |
|---|---|
| Sesame seeds (toasted) | 2 tablespoons |
| Green onions (sliced) | 3 stalks |
| Fresh cilantro (optional) | 1/4 cup |
Step-by-Step Instructions
Phase 1: Preparing the Marinade (5 minutes)
Step 1: Grab a medium mixing bowl and add the soy sauce first.
Pour in 1/4 cup of soy sauce as your base. This creates the savory foundation that’ll penetrate the chicken.
Step 2: Grate fresh ginger directly into the bowl using a microplane or fine grater.
You want 2 tablespoons of grated ginger. Fresh ginger is crucial here—the bright, spicy flavor can’t be replicated with dried. Peel the ginger with a spoon edge before grating.
Step 3: Mince 4 garlic cloves finely and add them to the bowl.
The smaller you mince, the more flavor you’ll extract. If you see large chunks, keep chopping. Garlic should almost be a paste.
Step 4: Measure and add 2 tablespoons of sesame oil.
Use toasted sesame oil, not regular. The toasted version has that nutty, rich flavor that makes this dish special.
Step 5: Drizzle in 3 tablespoons of honey and 2 tablespoons of rice vinegar.
The honey balances the salty soy sauce while the vinegar adds brightness. Whisk everything together until the honey completely dissolves into the mixture.
Step 6: Sprinkle in 1/2 teaspoon of red pepper flakes.
This adds gentle heat without overwhelming the dish. Skip this if cooking for kids, or reduce to 1/4 teaspoon for mild heat.
Phase 2: Prepping the Chicken (5 minutes)
Step 7: Pat the chicken thighs completely dry with paper towels.
This is critical. Wet chicken won’t brown properly, and you’ll miss out on that gorgeous caramelization. Press firmly with the towels to remove all surface moisture.
Step 8: Season both sides of each thigh with salt and black pepper.
Use 1 teaspoon salt and 1/2 teaspoon pepper total. The seasoning helps create a flavorful crust and enhances the marinade.
Step 9: Place chicken thighs in a large zip-top bag or shallow dish.
A zip-top bag works best because you can massage the marinade into every crevice. If using a dish, make sure it’s not too large or the marinade won’t coat properly.
Step 10: Pour the marinade over the chicken.
Reserve 2 tablespoons of marinade in a small bowl for basting later. Never reuse marinade that’s touched raw chicken without cooking it first.
Step 11: Massage the marinade into the chicken for 30 seconds.
Work it under the skin where possible. This ensures maximum flavor penetration. If time allows, refrigerate for 2-4 hours, but 15 minutes at room temperature works too.
Phase 3: Cooking the Chicken (25 minutes)
Step 12: Preheat your oven to 400°F.
Position the rack in the middle of the oven. This temperature is hot enough to crisp the skin while cooking the meat through without drying it out.
Step 13: Heat a large oven-safe skillet over medium-high heat.
Cast iron works beautifully here, but any oven-safe skillet will do. Let it heat for 2-3 minutes until very hot. You should feel strong heat when you hold your hand 6 inches above it.
Step 14: Add 1 tablespoon of vegetable oil and swirl to coat the pan.
The oil should shimmer immediately. If it smokes, your heat is too high—reduce it slightly. Vegetable oil has a high smoke point, perfect for searing.
Step 15: Remove chicken from marinade and shake off excess.
Let the extra marinade drip back into the bag. Too much liquid in the pan will cause steaming instead of searing.
Step 16: Place chicken thighs skin-side down in the hot skillet.
You should hear an immediate sizzle. Don’t move them. Arrange them so they’re not touching—this ensures even browning. Work in batches if your pan isn’t large enough.
Step 17: Sear for 5-6 minutes without touching.
Resist the urge to peek or move them. The skin needs uninterrupted contact with heat to crisp up. You’ll see the edges turning golden brown.
Step 18: Flip the chicken thighs using tongs.
The skin should be deep golden brown and release easily from the pan. If it sticks, give it another minute. Similar to how honey soy glazed chicken thighs develop their signature caramelization, these need that perfect sear.
Step 19: Brush the reserved marinade over the seared skin side.
This adds an extra layer of flavor and helps create that sticky glaze. Use a silicone brush to apply evenly.
Step 20: Transfer the entire skillet to the preheated oven.
Use oven mitts—the handle is scorching hot. Place on the middle rack for even heat distribution.
Step 21: Roast for 18-20 minutes until the internal temperature reaches 175°F.
Use an instant-read thermometer inserted into the thickest part without touching bone. Dark meat is best at 175°F—it stays juicy and the collagen breaks down properly.
Step 22: Remove from oven and let rest for 5 minutes.
Resting allows juices to redistribute throughout the meat. Cover loosely with foil. The temperature will continue rising to about 180°F during this time.
Phase 4: Finishing Touches (2 minutes)
Step 23: Transfer chicken to a serving platter.
Use tongs to avoid tearing the crispy skin. Arrange them attractively with the best-looking sides facing up.
Step 24: Sprinkle toasted sesame seeds evenly over the chicken.
The nutty crunch adds textural contrast. Toast raw sesame seeds in a dry pan for 2-3 minutes over medium heat until golden and fragrant.
Step 25: Scatter sliced green onions and fresh cilantro on top.
Slice green onions on a diagonal for visual appeal. The fresh herbs add brightness that balances the rich, savory glaze.
Chef’s Notes
The Skin Secret: Keep the skin on for sesame ginger chicken thighs that stay moist. The fat renders out during cooking, keeping the meat juicy while crisping up beautifully.
Marinade Magic: For deeper flavor, marinate overnight. The ginger and garlic will penetrate more deeply, creating more complex taste. Just bring to room temperature 20 minutes before cooking.
Bone-In Benefits: Bone-in thighs take longer but deliver superior flavor and moisture. The bones conduct heat more slowly, preventing overcooking while adding richness to the meat.
Pan Selection: A cast iron skillet retains heat best, creating that restaurant-quality sear. If you don’t have one, a heavy stainless steel pan is your next best option.
Nutrition Per Serving
| Nutrient | Amount |
|---|---|
| Calories | 445 |
| Protein | 38g |
| Carbohydrates | 14g |
| Fat | 26g |
| Fiber | 0g |
| Sugar | 12g |
| Sodium | 890mg |
Delicious Variations
Spicy Korean-Style: Add 1 tablespoon of gochujang (Korean chili paste) to the marinade for fiery heat and umami depth. Reduce honey to 2 tablespoons to balance the spice.
Citrus Twist: Replace rice vinegar with fresh lime juice and add 1 teaspoon of lime zest. The bright citrus cuts through the richness beautifully.
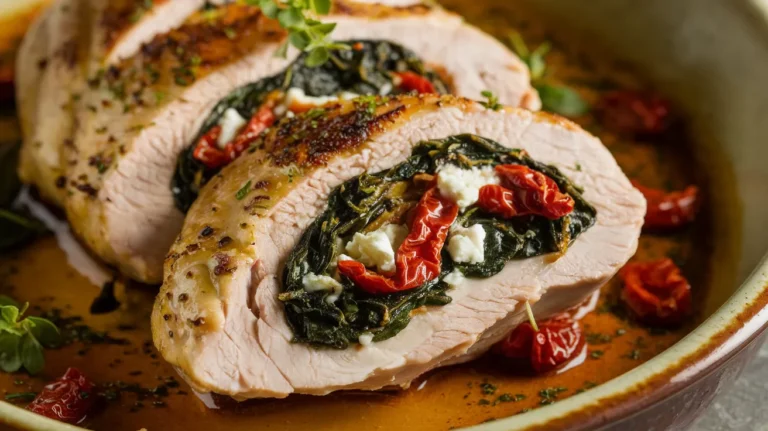
Teriyaki Fusion: Swap honey for brown sugar and add 1 tablespoon of mirin. This creates a thicker, sweeter glaze similar to teriyaki. If you enjoy creamy sauces, try pairing these techniques with chicken thighs with creamy spinach sauce for a different flavor profile.
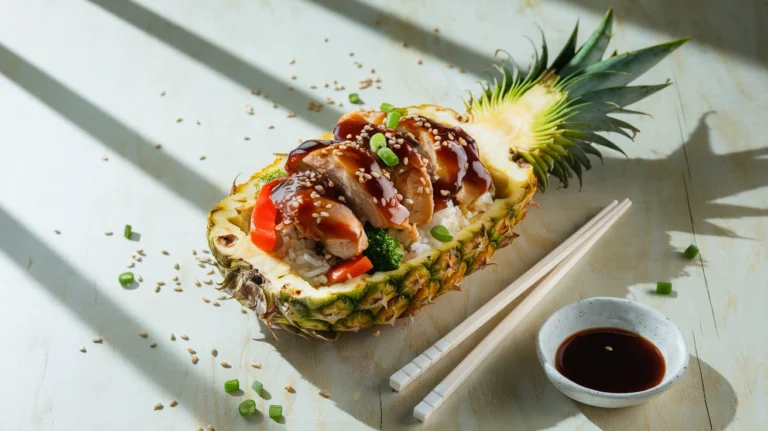
Pineapple Ginger: Add 1/4 cup of pineapple juice to the marinade and serve with grilled pineapple chunks. The tropical sweetness complements the ginger perfectly.
Storage & Reheating
Refrigerator Storage: Store cooled chicken in an airtight container for up to 4 days. Keep the skin side up to maintain some crispness.
Freezing Instructions: Freeze in freezer-safe bags for up to 3 months. Remove as much air as possible to prevent freezer burn. Thaw overnight in the refrigerator.
Reheating for Crispy Skin: Place chicken on a wire rack over a baking sheet. Reheat at 350°F for 12-15 minutes until heated through. The wire rack prevents the bottom from getting soggy.
Quick Microwave Method: Microwave on 70% power in 1-minute intervals. Place a damp paper towel over the chicken to retain moisture. The skin won’t be crispy, but the meat stays tender.
Meal Prep Tip: Cook a double batch and slice leftovers for salads, grain bowls, or sandwiches throughout the week.
Troubleshooting Common Problems
Problem: Chicken is dry and overcooked Solution: You likely cooked past 175°F internal temperature. Invest in an instant-read thermometer and start checking at the 15-minute mark. Dark meat is forgiving, but it does have limits. Next time, remove at 170°F and let it coast to 175°F during resting.
Problem: Skin is rubbery instead of crispy Solution: The chicken wasn’t dry enough before cooking, or your pan wasn’t hot enough. Always pat completely dry and preheat your skillet until it’s smoking slightly. Don’t overcrowd the pan—this creates steam that prevents crisping.
Problem: Marinade burned in the oven Solution: Too much marinade was left on the chicken, or your oven runs hot. Shake off excess marinade before searing. If your oven tends to run hot, reduce temperature to 375°F and add 3-5 minutes to cooking time.
Problem: Chicken stuck to the pan Solution: You moved it too soon. Chicken releases naturally when properly seared. Let it cook undisturbed for the full 5-6 minutes. Also ensure your pan is properly preheated and well-oiled.
Problem: Flavor is too salty Solution: The soy sauce concentration was too high for your taste. Use low-sodium soy sauce next time, or reduce to 3 tablespoons and add 1 tablespoon water. Skip the additional salt seasoning before cooking.
Equipment Essentials
- Large oven-safe skillet (10-12 inch cast iron or stainless steel)
- Instant-read thermometer (for perfect doneness every time)
- Mixing bowl (medium size for marinade)
- Whisk (for combining marinade ingredients)
- Tongs (for flipping chicken safely)
- Microplane or fine grater (essential for fresh ginger)
- Sharp chef’s knife (for mincing garlic and slicing garnishes)
- Cutting board (preferably separate for raw chicken)
- Measuring cups and spoons
- Oven mitts (heavy-duty for hot skillet)
Shopping List
Meat Counter
- Bone-in, skin-on chicken thighs (8 pieces)
Produce Section
- Fresh ginger root (1 large knob)
- Garlic (1 bulb)
- Green onions (1 bunch)
- Fresh cilantro (1 bunch, optional)
Condiments & Sauces Aisle
- Soy sauce
- Sesame oil (toasted)
- Honey
- Rice vinegar
- Vegetable oil
Spices & Seasonings
- Red pepper flakes
- Salt
- Black pepper
International/Asian Section
- Sesame seeds (white or mixed)
Success Secrets
1. Temperature is Everything: Always use an instant-read thermometer. Guessing doneness leads to dry chicken. Insert the probe into the thickest part without touching bone for accurate readings.
2. Don’t Skip the Sear: That initial high-heat sear locks in juices and creates the flavorful crust. This step can’t be replicated in the oven alone. The Maillard reaction needs direct, intense heat.
3. Fresh Ginger Makes the Difference: Dried ginger powder lacks the bright, zingy flavor of fresh. It’s worth the extra prep. Store unused ginger in the freezer and grate it frozen for easier handling.
4. Let It Rest: Those 5 minutes of resting aren’t optional. Cutting immediately causes all the juices to run out onto the plate. Patience here means tender, juicy chicken.
5. Make Extra Marinade: This marinade is so versatile, make a double batch and keep it in the fridge for up to a week. Use it on salmon, pork chops, or tossed with vegetables before roasting.
Ready to elevate your weeknight dinners? These sesame ginger chicken thighs prove that restaurant-quality food doesn’t require restaurant-level effort. The combination of savory, sweet, and spicy flavors will have your family requesting this recipe on repeat!