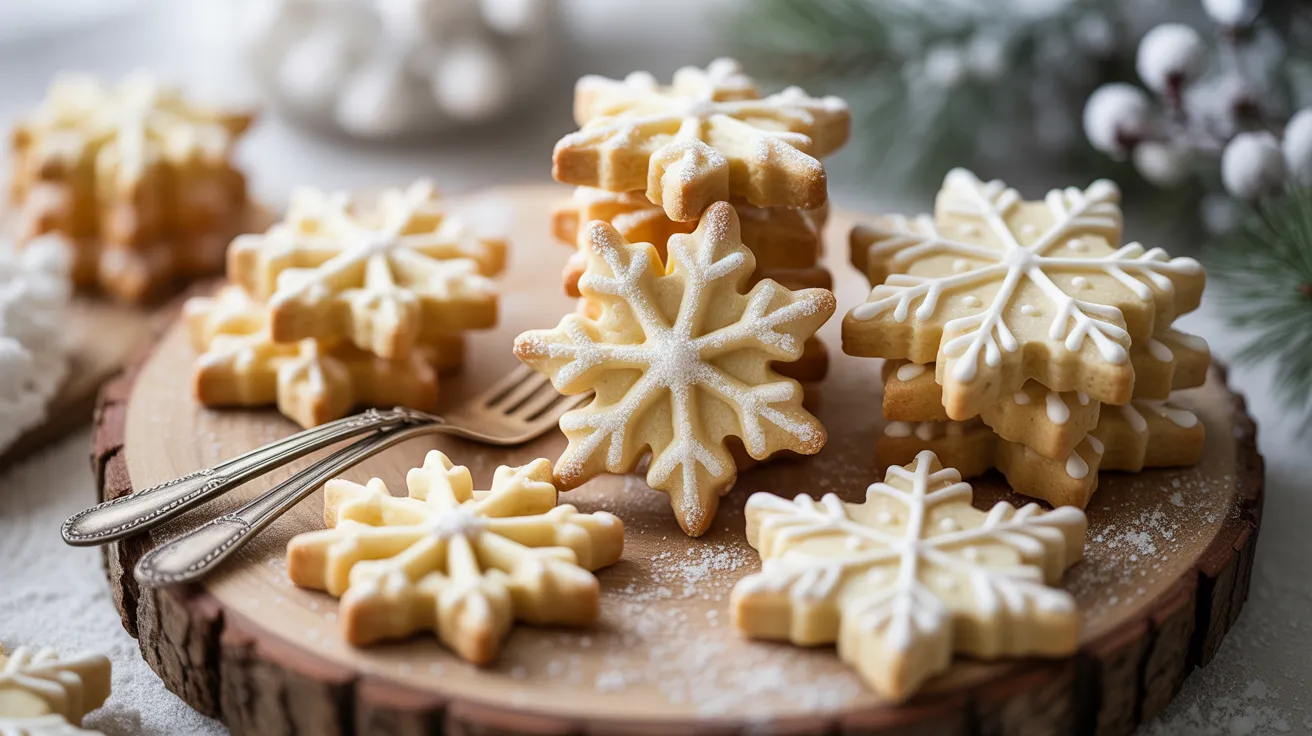
These delicate snowflake shortbread cookies are the perfect winter treat with their buttery texture and beautiful design. I’ll show you how to make these stunning cookies that look like they fell straight from a winter wonderland, complete with simple decorating techniques that even beginners can master. Whether you’re planning a holiday cookie exchange or just want to fill your home with the aroma of freshly baked snowflake shortbread, this recipe delivers bakery-quality results every single time.
SERVES: 4 | PREP: 25 MIN | COOK: 15 MIN | TOTAL: 40 MIN
Ingredients
Base Dough
| Ingredient | Amount |
|---|---|
| Unsalted butter, softened | 1 cup (2 sticks) |
| Powdered sugar | ½ cup |
| Vanilla extract | 1 teaspoon |
| All-purpose flour | 2 cups |
| Salt | ¼ teaspoon |
Decoration
| Ingredient | Amount |
|---|---|
| Powdered sugar (for dusting) | 2 tablespoons |
| White sanding sugar | 3 tablespoons |
| Silver edible glitter (optional) | 1 teaspoon |
Step-by-Step Instructions
Phase 1: Preparing the Dough (10 minutes)
Step 1: Place your softened butter in a large mixing bowl and beat it with a hand mixer on medium speed for 2 minutes until it becomes light and fluffy. You’ll know it’s ready when the color lightens slightly and it looks almost whipped. This step incorporates air into the butter, which creates that melt-in-your-mouth texture that makes snowflake shortbread so special.
Step 2: Add the ½ cup powdered sugar to the beaten butter and continue mixing for another 90 seconds. The mixture should look creamy and smooth without any visible sugar granules. Scrape down the sides of the bowl halfway through to ensure everything incorporates evenly.
Step 3: Pour in the vanilla extract and mix for 15 seconds just until combined. The vanilla adds warmth to balance the buttery richness of these cookies.
Step 4: In a separate bowl, whisk together the 2 cups all-purpose flour and ¼ teaspoon salt. This pre-mixing ensures the salt distributes evenly throughout your dough rather than creating salty pockets in some cookies.
Step 5: Add the flour mixture to the butter mixture in three separate additions, mixing on low speed after each addition for 20-30 seconds. Stop mixing as soon as you no longer see dry flour streaks. Overmixing at this stage develops gluten, which makes your cookies tough instead of tender.
Phase 2: Chilling and Rolling (15 minutes + chill time)
Step 6: Turn the dough out onto a clean work surface and gently knead it 3-4 times just until it comes together into a smooth ball. If the dough feels sticky, that’s normal—resist the urge to add more flour.
Step 7: Flatten the dough into a 1-inch thick disc and wrap it tightly in plastic wrap. Refrigerate for 15 minutes exactly. This brief chill firms up the butter just enough to make rolling easier while keeping the dough pliable. Too long in the fridge and you’ll struggle to roll it out.
Step 8: After chilling, place the dough between two sheets of parchment paper and roll it out to ¼-inch thickness. Use even pressure and work from the center outward to maintain consistent thickness. Uneven thickness means some cookies will burn while others stay underbaked.
Phase 3: Cutting and Decorating (8 minutes)
Step 9: Use a 3-inch snowflake cookie cutter to cut out shapes, pressing straight down without twisting. Twisting the cutter seals the edges and prevents the cookies from spreading properly. You should get approximately 16 cookies from this batch, which serves 4 people perfectly at 4 cookies each.
Step 10: Carefully transfer the cutout shapes to a parchment-lined baking sheet, spacing them 2 inches apart. Use a thin metal spatula to lift them—these cookies are delicate before baking.
Step 11: If you’re using white sanding sugar or edible glitter, sprinkle it over the cookies now before baking. Press it gently into the surface with your fingertip so it adheres. This step is optional but creates that magical sparkle that makes these cookies look like real snowflakes.
Step 12: Gather the dough scraps, press them together gently (don’t knead), and re-roll once to cut more shapes. Re-rolling more than once makes the dough tough.
Phase 4: Baking (15 minutes)
Step 13: Place the baking sheet in a preheated 325°F oven and bake for 12-15 minutes. These cookies are done when the edges just barely start to turn golden. The centers should still look pale—they’ll continue cooking from residual heat after you remove them.
Step 14: Watch carefully during the last 3 minutes of baking. Shortbread goes from perfectly done to overdone very quickly. Set a timer and don’t walk away from the kitchen.
Step 15: Remove the baking sheet from the oven and let the cookies cool on the pan for 5 minutes. They’re extremely fragile when hot and will break if you try to move them too soon.
Step 16: After 5 minutes, use a spatula to transfer the snowflake shortbread to a wire cooling rack. Let them cool completely for 15 minutes before dusting with additional powdered sugar if desired.
Chef’s Notes
Butter temperature matters tremendously. Your butter should be soft enough to leave a fingerprint when pressed but not so soft it’s greasy or melting. Leave it at room temperature for 45-60 minutes before starting. This affects how your snowflake shortbread spreads and maintains its shape.
European-style butter elevates these cookies. The higher fat content (82% vs. 80% in regular butter) creates an even more tender, flavorful cookie. It’s worth the splurge for special occasions.
Parchment paper is non-negotiable. Greasing the pan or using cooking spray changes how the cookies spread and can leave a greasy residue on the bottom. Always use parchment paper for the cleanest results.
Cold hands help when handling dough. If your kitchen is warm, run your hands under cold water and dry them before working with the dough. Warm hands melt the butter and make the dough sticky and difficult to work with.
Nutrition Information (Per Serving of 4 Cookies)
- Calories: 520
- Protein: 5g
- Carbohydrates: 58g
- Fat: 30g
- Saturated Fat: 19g
- Fiber: 1g
- Sugar: 18g
- Sodium: 180mg
Creative Variations
Almond Snowflake Shortbread: Replace the vanilla extract with 1 teaspoon almond extract and add ¼ cup finely ground almonds to the flour mixture. The nutty flavor pairs beautifully with the butter. For more flavored shortbread inspiration, check out my peppermint shortbread which uses a similar technique with seasonal flavoring.
Lemon Snowflake Shortbread: Add 2 teaspoons lemon zest and 1 tablespoon fresh lemon juice to the dough. Reduce the vanilla to ½ teaspoon. The citrus brightness cuts through the richness perfectly for a sophisticated flavor.
Chocolate-Dipped Snowflakes: After the cookies cool completely, melt 4 ounces white chocolate and dip half of each cookie into it. Place on parchment paper and sprinkle with crushed candy canes while the chocolate is still wet. Let set for 20 minutes before serving.
Lavender Snowflake Shortbread: Add 1 tablespoon culinary lavender to the dough along with the flour. The floral notes create an elegant cookie that’s perfect for afternoon tea. If you enjoy floral flavors, my rose shortbread offers another delicate option with similar buttery texture.
Storage & Reheating
Room Temperature Storage: Store your snowflake shortbread in an airtight container at room temperature for up to 2 weeks. Place parchment paper between layers to prevent sticking. The cookies actually improve after 24 hours as the flavors meld together.
Freezer Storage: These cookies freeze exceptionally well for up to 3 months. Freeze them in a single layer on a baking sheet first, then transfer to a freezer bag. This prevents them from sticking together. Thaw at room temperature for 30 minutes before serving.
Dough Storage: You can refrigerate the dough for up to 5 days or freeze it for up to 3 months. Wrap it tightly in plastic wrap and then aluminum foil. Thaw frozen dough in the refrigerator overnight before rolling and cutting.
Gifting Storage: For gift-giving, place cookies in cellophane bags tied with ribbon and store in a cool, dry place for up to 1 week. Don’t refrigerate packaged cookies as condensation will make them soggy.
Troubleshooting Common Problems
Problem 1: Cookies spread too much during baking Your butter was likely too soft or the dough wasn’t chilled long enough. Make sure to refrigerate the dough for the full 15 minutes and check that your oven temperature is accurate with an oven thermometer. If your kitchen is very warm, chill the cut cookies on the baking sheet for 10 minutes before baking.
Problem 2: Cookies are too hard or crunchy You overbaked them or added too much flour. Shortbread should be tender and crumbly, not crispy. Remove them from the oven when the edges are just starting to color and the centers are still pale. Also, measure flour by spooning it into the measuring cup and leveling off—never scoop directly from the bag.
Problem 3: Dough is too crumbly and won’t hold together Your butter might have been too cold when you started, or you undermixed the dough. The dough should be cohesive when you press it together. If it’s crumbly, add 1 tablespoon of cold water and knead gently until it comes together.
Problem 4: Cookies lost their shape during baking The dough was too warm when it went into the oven, or your oven temperature was too low. Always chill cut cookies if they feel soft, and preheat your oven for a full 20 minutes before baking. An oven thermometer helps ensure accuracy.
Problem 5: Cookies are breaking when I transfer them You’re trying to move them while they’re still too hot. Let cookies cool on the baking sheet for the full 5 minutes before transferring. Use a thin metal spatula and slide it completely under each cookie before lifting.
Equipment Essentials
- Stand mixer or hand mixer – For creaming butter and sugar efficiently
- Large mixing bowl – At least 3-quart capacity for easy mixing
- Measuring cups and spoons – For precise ingredient measurements
- Rolling pin – To roll dough to even thickness
- Parchment paper – Essential for non-stick baking surface
- 3-inch snowflake cookie cutter – Creates the signature shape
- Baking sheet – Heavy-duty sheet prevents burning
- Wire cooling rack – Allows air circulation for even cooling
- Thin metal spatula – For transferring delicate cookies
- Plastic wrap – To wrap dough during chilling
- Oven thermometer – Ensures accurate baking temperature
Shopping List
Dairy Section
- Unsalted butter (2 sticks)
Baking Aisle
- Powdered sugar
- All-purpose flour
- Vanilla extract
- White sanding sugar (optional)
- Edible glitter (optional)
Spices & Seasonings
- Salt
Success Secrets
1. Room temperature butter is your friend. Set your butter out 45-60 minutes before baking. It should be soft enough to leave an indentation when pressed but still hold its shape. This single step dramatically impacts the texture of your snowflake shortbread.
2. Don’t skip the parchment paper. It’s the difference between cookies that release perfectly and cookies that stick and break. Parchment also promotes even browning and makes cleanup effortless.
3. Measure flour correctly every time. Spoon flour into your measuring cup and level it off with a knife. Scooping directly from the bag packs in up to 25% more flour, which makes cookies dry and tough instead of tender.
4. Watch the oven like a hawk during the last few minutes. Shortbread bakes quickly and the window between perfect and overbaked is narrow. Set a timer for 12 minutes and check every minute after that.
5. Let cookies cool completely before storing. Warm cookies create condensation in containers, which makes them soggy. Wait the full 15 minutes for them to cool on the rack before storing in an airtight container.
These snowflake shortbread cookies bring winter magic to your kitchen with minimal effort and maximum impact. The delicate, buttery texture combined with their stunning appearance makes them perfect for holiday gatherings, cookie swaps, or simply enjoying with afternoon tea. I love how these cookies look impressive but use simple ingredients you probably already have in your pantry.