Key Takeaways:
- Ready in under 3 hours with just 30 minutes active time
- Budget-friendly meal that costs under $2 per serving
- Makes 4 generous portions of protein-rich comfort food
- Freezer-friendly for quick future meals
Why You Need This Soup Beans Recipe
Ever stood in your kitchen, staring at a bag of dried beans, wondering how to transform them into something delicious? You’re not alone. Dried beans often sit forgotten in pantries because many of us aren’t sure how to cook them properly.
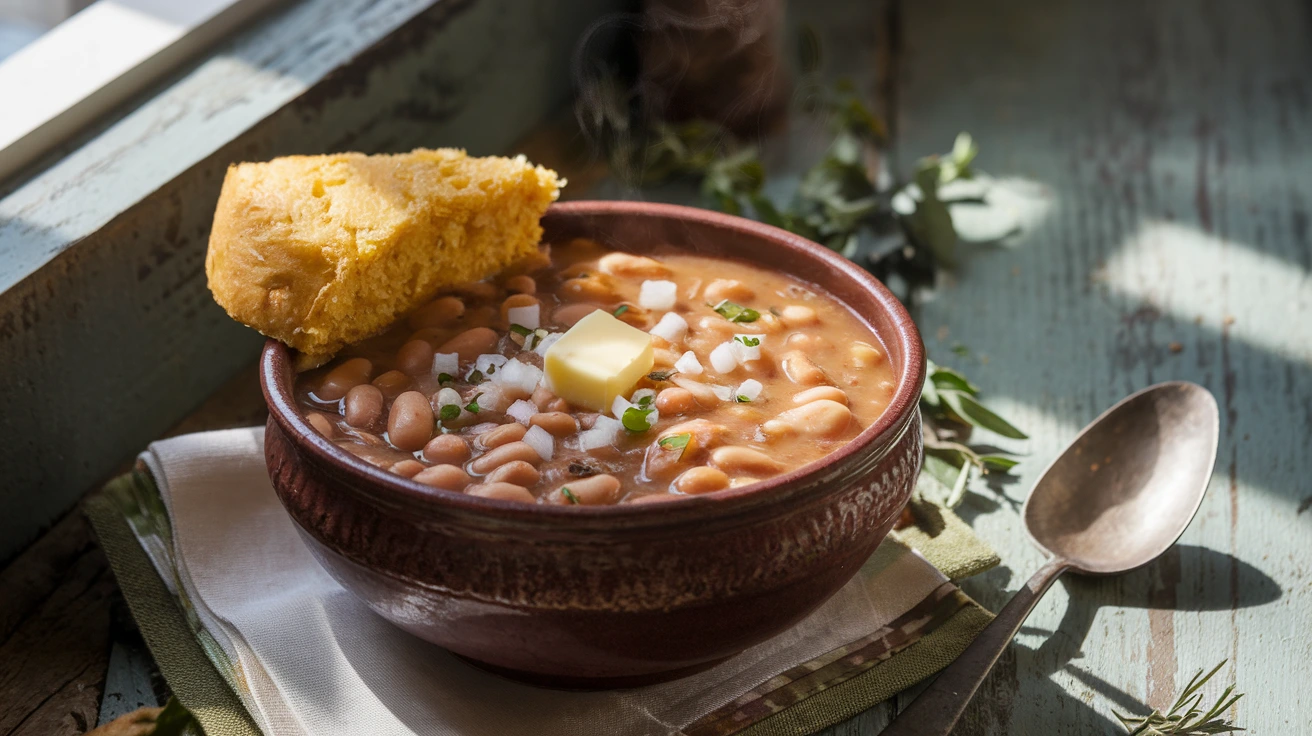
This Soup Beans recipe solves that problem. Originating from Appalachian kitchens, Soup Beans bring rich, hearty comfort to any table. The recipe transforms humble pinto beans into a meal that’s both satisfying and economical—perfect for feeding a family of four without stretching your budget.
Unlike canned beans that can taste flat, these homemade Soup Beans develop deep flavor through slow simmering. The result? A rich, creamy bean dish with a flavorful broth that’s perfect for dipping cornbread or spooning over rice.
If you’ve enjoyed my potato soup recipe, you’ll appreciate the similar comforting quality of this traditional bean dish.
Nutrition Information
| Nutrient | Amount Per Serving |
|---|---|
| Calories | 285 |
| Protein | 15g |
| Carbohydrates | 45g |
| Fiber | 15g |
| Fat | 4g |
| Sodium | 590mg |
| Iron | 20% DV |
| Potassium | 15% DV |
Based on recipe as written, without optional toppings
Time Requirements
| Type | Duration |
|---|---|
| Prep Time | 15 minutes |
| Cook Time | 2-3 hours |
| Total Time | About 3 hours |
Kitchen Tools
| Tool | Purpose |
|---|---|
| Large heavy pot (4-6 quart) | Main cooking vessel |
| Colander | Rinsing beans |
| Measuring cups | Precise liquid measurement |
| Measuring spoons | Accurate seasoning |
| Wooden spoon | Stirring without scratching pot |
| Ladle | Serving |
| Kitchen timer | Tracking cooking intervals |
| Cutting board | Preparing vegetables |
| Sharp knife | Chopping ingredients |
Ingredients
| Ingredient | Amount | Purpose |
|---|---|---|
| Dried pinto beans | 1 pound | Main ingredient |
| Water | 8 cups | Cooking liquid |
| Onion | 1 large | Flavor base |
| Garlic | 2 cloves | Aromatic flavor |
| Olive oil or bacon fat | 2 tablespoons | Sautéing base |
| Salt | 2 teaspoons | Seasoning |
| Black pepper | 1 teaspoon | Seasoning |
| Bay leaf | 1 | Flavor enhancer |
| Dried thyme | 1/4 teaspoon | Herb flavor |
| Ham hock (optional) | 1 | Smoky flavor |
Optional Toppings
- Fresh diced onions
- Hot sauce
- Cornbread
- Fresh herbs (parsley, chives)
Step-by-Step Instructions
Preparation Phase (30 minutes)
- Setting Up Your Work Area (5 minutes):
- Clear a clean workspace on your counter
- Place all ingredients within easy reach
- Set colander in sink
- Place a light-colored baking sheet or cutting board for bean sorting
- Measure all ingredients before starting
- Fill a small bowl with water to moisten fingertips for easier bean handling
- Sorting the Beans (10 minutes):
- Why this matters: Removing debris prevents unpleasant surprises
- Pour about 1/4 of the beans onto your sorting surface
- Spread them into a single layer
- Look carefully for:
- Small stones (they look shiny compared to beans)
- Broken or split beans
- Shriveled or discolored beans
- Any non-bean material
- Move good beans to one side
- Discard anything suspicious
- Repeat with remaining beans in small batches
- Beginner warning: Never skip this step, even with “pre-cleaned” beans
- Cleaning the Beans (5 minutes):
- Transfer sorted beans to colander
- Rinse under cool running water
- Use hands to gently stir while rinsing
- Continue until water runs completely clear
- Shake colander to remove excess water
- Quick-Soaking Process (1 hour total, 10 minutes active):
- Transfer cleaned beans to cooking pot
- Add enough cool water to cover beans by 2 inches (about 6-8 cups)
- Place pot on stove and turn heat to high
- Bring to a rolling boil (about 8-10 minutes)
- Once boiling vigorously, set timer for 2 minutes exactly
- After 2 minutes, turn off heat completely
- Remove pot from hot burner
- Cover with lid
- Let stand undisturbed for 1 hour
- Set a timer so you don’t forget
- After soaking, drain beans in colander
- Rinse beans once more with cool water
- Leave in colander while preparing aromatics
Cooking Phase (2-3 hours)
- Preparing Aromatics (10 minutes):
- Place clean pot back on stove
- Add 2 tablespoons oil or bacon fat
- Heat over medium heat
- While oil heats, prepare vegetables:
- Onion prep:
- Cut onion in half from root to tip
- Peel off papery skin
- Place flat side down for stability
- Make several lengthwise cuts
- Cut across these cuts to create dice
- Garlic prep:
- Remove papery skin
- Crush clove with flat side of knife
- Mince finely with sharp knife
- Onion prep:
- Test if oil is ready by adding one piece of onion
- It should sizzle gently, not aggressively
- Add all diced onions to pot
- Stir to coat evenly with oil
- Cook 5-7 minutes, stirring every minute
- Onions should become soft and translucent
- Visual cue: They should not brown significantly
- Add minced garlic
- Stir constantly for 30 seconds
- Beginner warning: Garlic burns easily and becomes bitter
- Watch carefully and keep moving in the pan
- Adding Beans and Liquid (5 minutes):
- Add soaked, rinsed beans to pot with aromatics
- Pour in exactly 8 cups fresh water
- Use measuring cup for accuracy
- Too little water = tough beans
- Too much = diluted flavor
- If using ham hock:
- Add it now
- Nestle it down into beans
- Turn heat to high
- Bring mixture to full boil
- Takes about 5 minutes
- Stay nearby to monitor
- Once boiling, reduce heat immediately
- Turn to lowest setting that maintains gentle simmer
- Visual cue: You should see small bubbles breaking surface occasionally
- Avoid rapid boiling which can split bean skins
- Seasoning and Simmering (2-3 hours):
- Add seasonings:
- 2 teaspoons salt
- 1 teaspoon black pepper
- 1 bay leaf
- 1/4 teaspoon dried thyme
- Stir gently but thoroughly
- Partially cover pot with lid
- Leave about 1-inch gap for steam to escape
- This helps thicken the broth naturally
- Set timer for 2 hours
- Check and stir every 30 minutes:
- Gently stir from bottom to prevent sticking
- Check liquid level
- Beans should remain covered by liquid
- If needed, add hot water:
- Heat water in kettle first if possible
- Add 1/2 cup at a time
- Stir gently after each addition
- Testing doneness at 2-hour mark:
- Remove 3 beans with spoon
- Let cool slightly
- Test by eating one
- They should be completely tender
- Visual/texture cue: No chalky center, skin should be intact but tender
- Taste test: Should be creamy, not grainy
- If not tender, continue cooking:
- Check every 15 minutes
- May need up to 1 additional hour
- High altitude may require longer cooking
- Flavor development note: The longer they cook (once tender), the more the flavors meld
- Add seasonings:
- Final Steps (15 minutes):
- When beans are perfectly tender:
- Remove bay leaf (it’s inedible)
- Remove ham hock if used
- Optional: shred any meat and return to pot
- Taste broth
- Adjust seasonings if needed:
- Add salt 1/4 teaspoon at a time
- Add pepper 1/8 teaspoon at a time
- Stir and taste between additions
- Thickening option:
- For creamier texture, mash about 1 cup of beans
- Use potato masher or back of spoon
- Stir mashed beans back into pot
- Turn off heat
- Let rest 10 minutes before serving
- Liquid will thicken slightly
- Flavors will continue developing
- Stir gently before serving
- When beans are perfectly tender:
Serving Instructions (5 minutes):
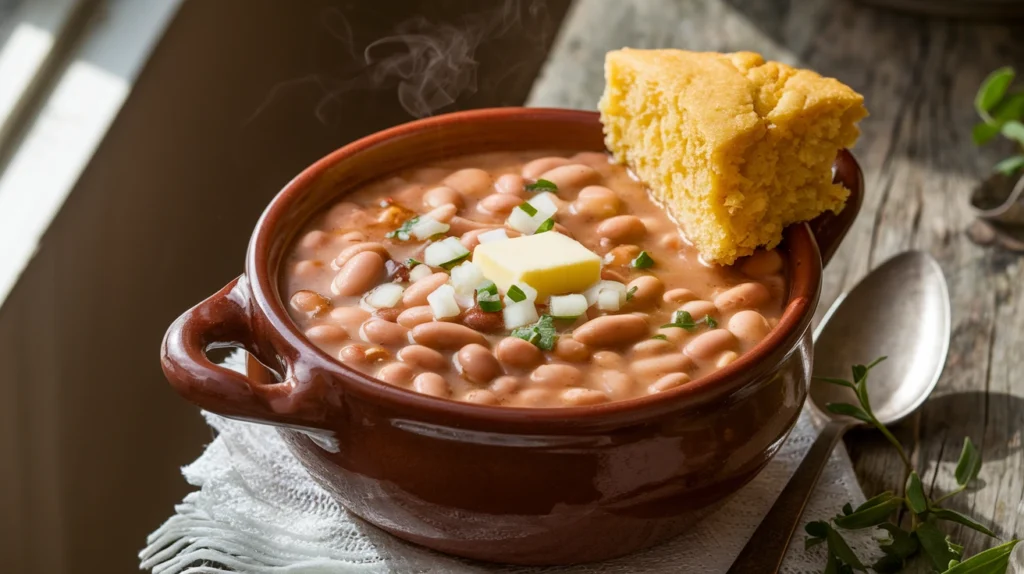
- Ladle Soup Beans into bowls
- Fill each bowl about 2/3 full (about 1 1/2 cups per serving)
- Add desired toppings:
- Fresh diced onions add nice crunch
- Hot sauce for spice lovers
- Fresh herbs for color and flavor
- Serve immediately while hot
- Serving suggestion: A slice of cornbread on the side is traditional
- If you like variety in your meal planning, these beans make a perfect companion to my chicken tortilla soup for a soup-themed dinner party.
Troubleshooting Guide
Beans Still Hard After Hours of Cooking:
- Possible causes:
- Beans are old (over 1 year)
- Hard water minerals
- High altitude
- Acidic ingredients added too early
- Solutions:
- Continue cooking longer
- Add 1/4 teaspoon baking soda
- Never add acidic ingredients until beans are tender
Soup Too Watery:
- Possible causes:
- Not enough cooking time
- Too much added water
- Solutions:
- Remove lid completely
- Increase heat to medium-low
- Simmer 15-30 minutes more
- Mash some beans against side of pot to release starch
Soup Too Thick:
- Solution:
- Add hot water 1/4 cup at a time
- Stir well between additions
- Adjust seasonings if needed after thinning
Beans Lack Flavor:
- Solutions:
- Add more salt 1/4 teaspoon at a time
- Add 1/2 teaspoon more black pepper
- Stir in 1/2 teaspoon smoked paprika
- Let sit 30 minutes after seasoning to develop flavor
Variations & Substitutions
Bean Varieties:
- Great Northern beans: milder, creamier texture
- Navy beans: smaller, quicker cooking
- Black beans: earthier flavor, different color
Protein Options:
- Smoked turkey wing instead of ham hock
- Bacon ends (add 1/4 cup diced)
- Vegetarian: omit meat, add 1 teaspoon smoked paprika
Added Vegetables:
- Add 2 diced carrots with onions
- Add 2 ribs diced celery with onions
- Stir in 2 cups chopped greens during last 15 minutes
Flavor Boosters:
- 1 tablespoon tomato paste added with aromatics
- 1/2 teaspoon cayenne for heat
- 1 teaspoon oregano for herb flavor
- 2 tablespoons apple cider vinegar stirred in at the end
For those looking to incorporate more beans into their diet, check out my soup diet guide which includes several bean-based options.
Storage & Reheating
Refrigerator Storage:
- Cool completely before refrigerating
- Store in airtight container
- Keeps 5 days in refrigerator
- Will thicken significantly when cold
Freezer Storage:
- Portion into freezer containers
- Leave 1/2 inch headspace for expansion
- Freeze up to 3 months
- Label with date and contents
Reheating from Refrigerated:
- Stovetop: Place in pot with 2 tablespoons water
- Heat on medium-low, stirring occasionally
- Add more water if too thick
Reheating from Frozen:
- Thaw overnight in refrigerator if possible
- Reheat gently on stovetop
- Add 1/4 cup water
- Stir frequently
- Bring to full boil for at least 1 minute
Safety Notes & Tips
Bean Safety:
- Never eat raw or undercooked beans
- Must be fully softened and cooked
- Always boil for minimum recommended time
Food Safety:
- Refrigerate leftovers within 2 hours
- Heat thoroughly when reheating (165°F)
- If beans smell sour, discard immediately
- When freezing, cool quickly before placing in freezer
Kitchen Safety:
- Use pot holders when handling hot pot
- Keep pot handle turned inward on stove
- Be careful of steam when removing lid
- Use caution when testing hot beans
Pro Tips:
- Fresh beans cook faster than old ones
- Low and slow is the secret to creamy beans
- Gentle simmer prevents bean skins from splitting
- Salt after cooking for softer beans
- Stir from bottom to prevent sticking and burning
- Let rest before serving for thicker broth
- Beans absorb flavor over time—even better the next day
Dietary Notes
- Gluten-free: Recipe as written (check broths if substituting water)
- Vegetarian: Omit ham hock
- Vegan: Use olive oil instead of bacon fat, omit ham hock
- Low-fat: Use olive oil, omit ham hock
