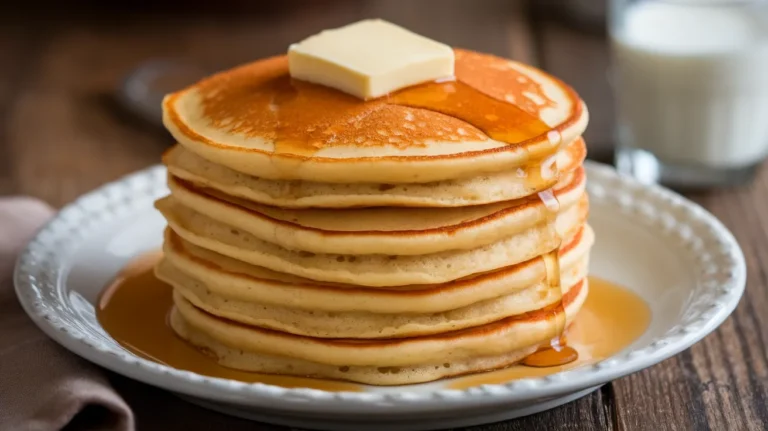
These fluffy sourdough pancakes transform your discard into golden breakfast perfection. With their signature tang and tender crumb, these sourdough pancakes rival any diner stack while giving your starter discard delicious purpose. Perfect for lazy weekend mornings when you want something special.
SERVES: 4 | PREP: 10 MIN | COOK: 20 MIN | TOTAL: 30 MIN
Ingredients
Wet Ingredients
| Ingredient | Amount |
|---|---|
| Sourdough starter discard | 1 cup (unfed) |
| Whole milk | ¾ cup |
| Large eggs | 2 |
| Melted butter | 3 tablespoons |
| Vanilla extract | 1 teaspoon |
Dry Ingredients
| Ingredient | Amount |
|---|---|
| All-purpose flour | 1 cup |
| Granulated sugar | 2 tablespoons |
| Baking powder | 1 teaspoon |
| Baking soda | ½ teaspoon |
| Salt | ½ teaspoon |
For Cooking
| Ingredient | Amount |
|---|---|
| Butter or oil | For griddle |
Step-by-Step Instructions
Phase 1: Preparing the Wet Mixture (5 minutes)
Step 1: Take your sourdough starter discard from the refrigerator.
Let it sit on the counter for about 5 minutes to take the chill off. Cold starter won’t mix as smoothly. You want discard that’s at least a day old—the tangier, the better for that signature sourdough flavor.
Step 2: Grab a large mixing bowl and add your sourdough discard.
Use a whisk to break up any thick clumps. Your discard should look smooth, not chunky. This step matters because lumpy starter creates uneven pancakes.
Step 3: Pour in the milk and crack in both eggs.
Whisk everything together until you see a uniform tan color with no streaks of white egg. The mixture should look slightly foamy on top—that’s perfect.
Step 4: Melt your butter in the microwave for 20-30 seconds.
Let it cool for one minute before adding. Hot butter will cook the eggs prematurely. Pour in the cooled melted butter and vanilla extract. Whisk until everything looks silky.
Phase 2: Combining Dry Ingredients (2 minutes)
Step 5: In a separate medium bowl, add your flour.
Use a fork to fluff it up before measuring. Packed flour makes dense pancakes. Add the sugar, baking powder, baking soda, and salt right on top.
Step 6: Whisk all the dry ingredients together for 30 seconds.
You’re looking for an even, uniform color with no white streaks of flour or pockets of baking powder. This distributes the leavening agents evenly so every pancake rises perfectly.
Phase 3: Creating the Batter (3 minutes)
Step 7: Pour your dry mixture into the wet ingredients all at once.
Switch to a rubber spatula now. Fold gently using a motion like you’re scooping from the bottom and turning over the top.
Step 8: Mix until you see just a few small flour streaks remaining.
Stop immediately when about 90% combined. Your batter should look lumpy and thick—this is exactly right. Overmixing creates tough, rubbery pancakes because it develops too much gluten.
Step 9: Let the batter rest for 5 minutes on the counter.
During this time, the flour hydrates and the baking powder activates. You’ll notice the batter puffs up slightly and becomes even thicker. This rest period creates fluffier pancakes.
Phase 4: Cooking the Pancakes (20 minutes)
Step 10: Heat a large non-stick griddle or skillet over medium heat.
Test the temperature by sprinkling a few water drops on the surface. They should sizzle and dance but not evaporate instantly. If they disappear in one second, your heat is too high.
Step 11: Add a small pat of butter to the griddle.
Swirl it around to coat the surface. The butter should foam gently but not brown. Wipe away excess with a paper towel, leaving just a thin, shiny coating.
Step 12: Use a ¼ cup measuring cup to scoop batter.
Pour it onto the griddle, holding the cup about 2 inches above the surface. The batter should spread into a circle about 4 inches wide. Don’t spread it with the cup—let gravity do the work.
Step 13: Watch for bubbles to appear across the entire surface.
This takes about 2-3 minutes. When you see bubbles forming around the edges and in the center, and the edges look slightly dry and set, it’s time to flip.
Step 14: Slide your spatula completely under the pancake in one smooth motion.
Flip quickly and confidently. The cooked side should be deep golden brown with even color. If it’s pale, your heat is too low. If it’s dark brown or spotted, reduce the heat slightly.
Step 15: Cook the second side for 1½-2 minutes.
This side cooks faster because the pan is hotter now. The pancake should puff up noticeably. Press gently in the center—it should spring back when done.
Step 16: Transfer finished pancakes to a plate in a 200°F oven.
This keeps earlier batches warm while you finish cooking. Place a sheet of parchment between layers to prevent sticking.
Step 17: Repeat with remaining batter, adding butter between batches.
You should get 12-14 pancakes total. Stir the batter gently every few pancakes—the thicker sourdough mixture tends to settle at the bottom.
Chef’s Notes
Temperature Control is Everything
Medium heat works for most stoves, but watch your first pancake carefully. It’s your test run. If it cooks too fast or burns before bubbles form, reduce heat. If it takes more than 4 minutes to show bubbles, increase slightly. These sourdough pancakes need steady, gentle heat.
Discard Age Matters
Week-old discard from your refrigerator creates the tangiest sourdough pancakes. Fresh, recently-fed starter works too but produces milder flavor. Never use starter that smells like nail polish remover—that means it’s gone bad.
Batter Consistency Trick
Your batter should pour slowly and hold its shape on the griddle. If it spreads too thin and runs everywhere, add 2 tablespoons more flour. If it’s so thick you can’t pour it, add milk one tablespoon at a time.
Make-Ahead Magic
Mix your wet and dry ingredients separately the night before. Store both covered in the refrigerator. In the morning, combine them and you’ll have fresh sourdough pancakes in minutes. Don’t mix the full batter ahead—it deflates.
Nutrition Information (Per Serving of 3 Pancakes)
- Calories: 385
- Protein: 12g
- Carbohydrates: 48g
- Fat: 15g
- Fiber: 2g
- Sugar: 8g
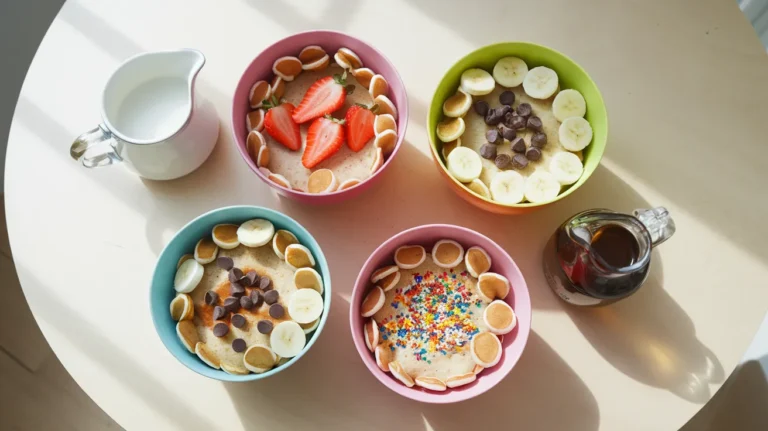
Creative Variations
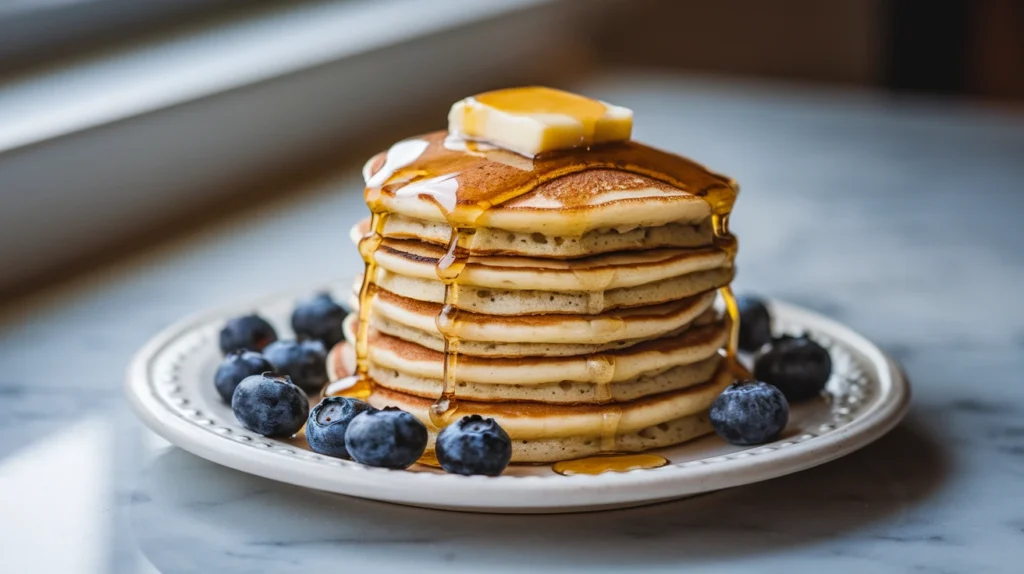
Blueberry Sourdough Pancakes
Fold ¾ cup fresh or frozen blueberries into the batter after mixing. Don’t stir too much or you’ll break the berries and turn everything purple. The sweet berries balance the tang beautifully. For more berry pancake inspiration, try these lemon pancakes with blueberry sauce for a citrus twist.
Chocolate Chip Sourdough Pancakes
Add ½ cup mini chocolate chips to the batter. Press 5-6 additional chips into the top of each pancake right after pouring it on the griddle. They’ll melt into pockets of gooey chocolate.
Whole Grain Sourdough Pancakes
Replace half the all-purpose flour with whole wheat flour. Add an extra tablespoon of milk because whole wheat absorbs more liquid. You’ll get nuttier flavor and extra fiber.
Protein-Packed Pancakes
Substitute ½ cup of the flour with vanilla protein powder. Add an extra egg for moisture. If you enjoy high-protein breakfast options, check out these cottage cheese pancakes for another nutritious morning choice.
Storage & Reheating
Refrigerator Storage
Stack cooled pancakes with parchment paper between each one. Store in an airtight container for up to 5 days. The sourdough tang actually deepens slightly over time.
Freezer Storage
Freeze individual pancakes on a baking sheet for 2 hours, then transfer to a freezer bag. They’ll keep for 3 months. No need to thaw before reheating.
Reheating Methods
Toaster works best for crispy edges. Pop frozen pancakes directly into the toaster on medium setting for 2-3 minutes. For softer texture, microwave 3-4 pancakes on a plate for 45-60 seconds. Oven method: arrange on a baking sheet and heat at 350°F for 8-10 minutes.
Troubleshooting Common Problems
Problem: Dense, Heavy Pancakes
You overmixed the batter or your baking powder is old. Baking powder loses strength after 6 months. Test it by adding ½ teaspoon to hot water—it should fizz vigorously. Mix your batter only until barely combined next time.
Problem: Flat Pancakes That Don’t Rise
Your baking soda and baking powder combo creates the rise. If your starter is very fresh and not acidic enough, the baking soda has nothing to react with. Use older, tangier discard. Also check that your griddle isn’t too hot—high heat sets the exterior before the interior can rise.
Problem: Burnt Outside, Raw Inside
Your heat is definitely too high. Reduce to medium-low and give each side an extra 30 seconds. Sourdough pancakes need lower heat than regular pancakes because the starter sugars caramelize faster.
Problem: Pancakes Stick to the Griddle
Even non-stick pans need fat. Add more butter between batches. If butter burns immediately, your pan is too hot. Let it cool for 2 minutes off the heat, wipe clean, and start again with lower temperature.
Problem: Rubbery Texture
Overmixing develops gluten, creating chewy, tough pancakes. The batter should look lumpy with visible flour streaks. Also, if you let the batter sit longer than 10 minutes before cooking, the gluten relaxes and toughens. Cook within 10 minutes of mixing.
Equipment Essentials
- Large mixing bowl – For wet ingredients
- Medium mixing bowl – For dry ingredients
- Whisk – Combines ingredients smoothly
- Rubber spatula – Gentle folding prevents overmixing
- Non-stick griddle or large skillet – Even heat distribution
- ¼ cup measuring cup – Consistent pancake sizes
- Thin metal spatula – Easy flipping
- Instant-read thermometer – Optional but helpful for checking griddle temp (350°F is ideal)
Shopping List by Store Section
Dairy Aisle
- Whole milk
- Butter
- Eggs
Baking Aisle
- All-purpose flour
- Granulated sugar
- Baking powder
- Baking soda
- Salt
- Vanilla extract
From Your Kitchen
- Sourdough starter discard
Success Secrets
1. Use Room Temperature Ingredients
Cold eggs and milk from the fridge create lumpy batter and slow down the chemical reactions that make pancakes fluffy. Set everything out 20 minutes before you start.
2. Don’t Press Down While Cooking
Resist the urge to flatten pancakes with your spatula. This squeezes out all the air bubbles you worked to create. Let them cook undisturbed.
3. Flip Only Once
Multiple flips create tough, dense pancakes. Wait for those bubbles across the surface, flip once, and leave it alone. Trust the process.
4. Adjust Sweetness to Your Taste
The recipe’s 2 tablespoons of sugar balances the sourdough tang for most people. If you like sweeter pancakes, increase to 3 tablespoons. For more tang, drop to 1 tablespoon.
5. Stir Discard Before Measuring
Starter separates in the fridge with liquid on top and thick paste below. Stir thoroughly before measuring your cup to get consistent results every time you make these sourdough pancakes.