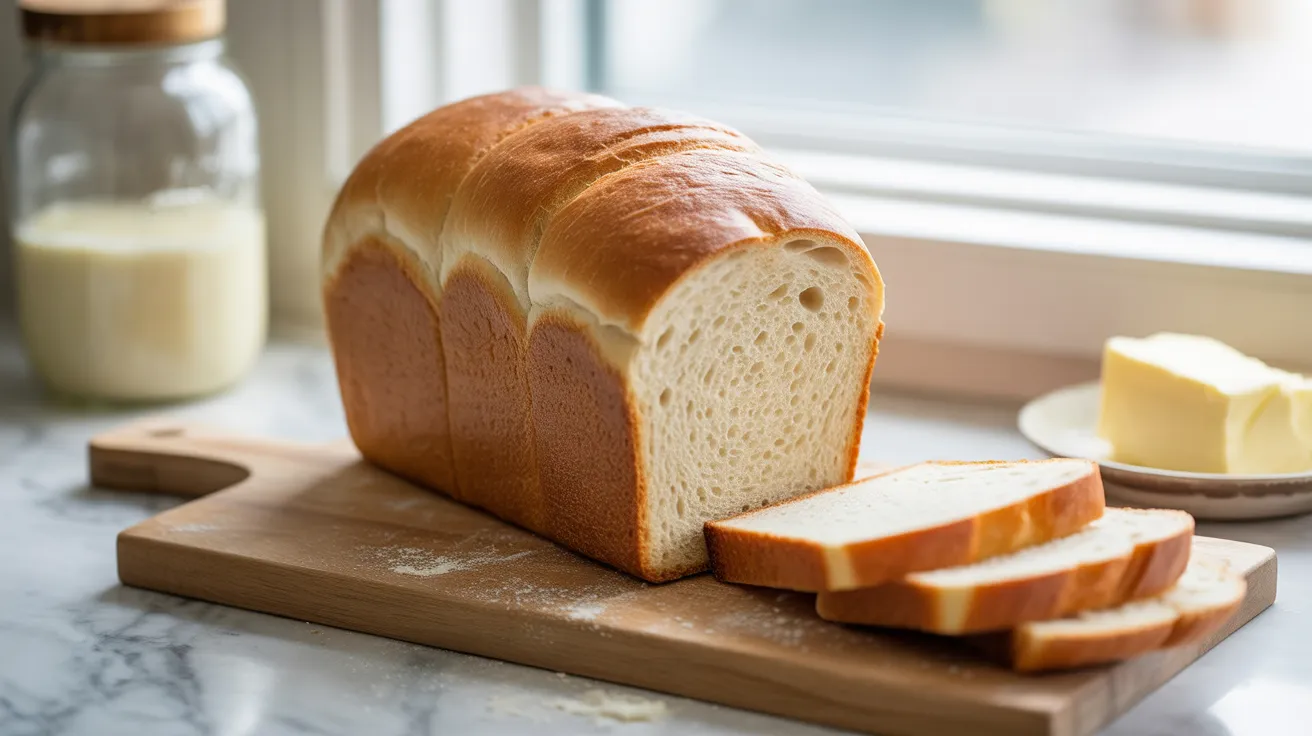
This sourdough sandwich loaf transforms your active starter into soft, tender slices perfect for morning toast and afternoon sandwiches. I’ve spent years perfecting this recipe to give you the tangy sourdough flavor you love with the pillowy texture your family craves.
SERVES: 4 | PREP: 30 MIN | COOK: 40 MIN | TOTAL: 14 HRS (including rise time)
Ingredients
Sourdough Starter Mix
| Ingredient | Amount |
|---|---|
| Active sourdough starter | 1 cup (200g) |
| Warm water | 1 cup (240ml) |
| Honey | 2 tablespoons |
Dry Ingredients
| Ingredient | Amount |
|---|---|
| Bread flour | 3½ cups (420g) |
| Salt | 2 teaspoons |
Fat Component
| Ingredient | Amount |
|---|---|
| Softened butter | 3 tablespoons |
For Pan Preparation
| Ingredient | Amount |
|---|---|
| Butter or oil | 1 tablespoon |
Step-by-Step Instructions
Phase 1: Starter Activation (Evening – 15 minutes)
Step 1: Feed Your Starter
Start by feeding your sourdough starter 4-6 hours before making your dough. Mix equal parts starter, flour, and water (I use 100g each). You’ll know it’s ready when it doubles in size and shows lots of bubbles on top. The surface should look domed and slightly jiggly when you tap the jar.
Step 2: Combine Wet Ingredients
In a large mixing bowl, whisk together 1 cup active starter, 1 cup warm water (around 95-100°F), and 2 tablespoons honey. The honey feeds the yeast and helps create that soft texture we want. The mixture should look frothy and smell pleasantly tangy.
Step 3: Add Flour
Pour in 3½ cups bread flour all at once. Use a wooden spoon or Danish dough whisk to stir until no dry flour remains. Don’t worry about it looking shaggy and rough—that’s exactly what we want at this stage. The dough will feel stiff and sticky.
Step 4: First Rest (Autolyse)
Cover the bowl with a damp kitchen towel and let it rest for 30 minutes. This autolyse period allows the flour to fully hydrate and starts developing gluten naturally. You’ll notice the dough looks smoother after this rest.
Phase 2: Dough Development (Evening – 10 minutes)
Step 5: Add Salt and Butter
Sprinkle 2 teaspoons salt over the dough, then add 3 tablespoons softened butter in small pieces. The butter should be soft enough to leave a fingerprint but not melted. This creates the tender crumb we’re looking for in a sandwich loaf.
Step 6: Mix Until Combined
Use your hands to squeeze and fold the dough, incorporating the salt and butter completely. This takes about 5 minutes of squeezing and folding. The dough will feel greasy at first, but keep working it—the butter will eventually absorb. You’ll know it’s ready when the dough feels smooth and elastic.
Step 7: First Stretch and Fold
With wet hands (to prevent sticking), grab one edge of the dough and stretch it up about 12 inches, then fold it over to the opposite side. Rotate the bowl 90 degrees and repeat. Do this 4 times total, making one complete rotation. Cover and rest for 30 minutes.
Step 8: Second Stretch and Fold
Repeat the stretching and folding process from Step 7. You’ll notice the dough feels stronger and more elastic now. This builds the gluten structure that gives your sourdough sandwich loaf its beautiful rise. Cover again.
Phase 3: Bulk Fermentation (Overnight – 8-12 hours)
Step 9: Overnight Rise
Leave the covered bowl at room temperature (68-72°F) for 8-12 hours or overnight. The dough should increase by about 50-75% in size—not quite doubled like traditional yeast bread. You’ll see bubbles forming on the surface and sides. If your kitchen is warmer than 72°F, start checking at 6 hours.
Step 10: Check Fermentation
Your dough is ready when it’s puffy, shows clear air bubbles, and jiggles slightly when you shake the bowl. Press a fingertip gently into the dough—it should spring back slowly, leaving a small indent. This tells you the gluten is developed and the fermentation is just right.
Phase 4: Shaping (Morning – 10 minutes)
Step 11: Prepare Your Pan
Generously butter a 9×5-inch loaf pan, making sure to get the corners and edges. I like to use 1 tablespoon butter, spreading it with a paper towel to coat every surface. This prevents sticking and creates a beautiful golden crust.
Step 12: Turn Out and Pre-Shape
Turn your dough onto a lightly floured work surface. Gently press it into a rough rectangle, releasing large air bubbles but keeping most of the smaller ones. Pat it into a rectangle about 8 inches wide and 12 inches long. The dough should feel soft and pillowy.
Step 13: Shape the Loaf
Starting from the short end, roll the dough tightly like a jelly roll, tucking and pulling slightly with each turn. Pinch the seam closed along the bottom and tuck the ends under. Place seam-side down in your prepared pan. The dough should fill about two-thirds of the pan.
Phase 5: Final Proof (Morning/Afternoon – 3-5 hours)
Step 14: Second Rise
Cover the pan loosely with a damp towel and let it rise at room temperature (68-72°F) until the dough crowns about 1 inch above the rim of the pan. This typically takes 3-5 hours but watch the dough, not the clock. In a warm kitchen, it might only take 2-3 hours. The dough should look puffy and feel light when you gently touch it.
Step 15: Preheat Your Oven
About 30 minutes before baking, preheat your oven to 375°F. Place the rack in the center position. Your sourdough sandwich loaf needs steady, moderate heat to bake evenly without burning the crust.
Phase 6: Baking (40 minutes)
Step 16: Score the Top (Optional)
Using a sharp knife or bread lame, make one shallow slash lengthwise down the center of the loaf, about ¼ inch deep. This isn’t required for sandwich bread like it is for a classic artisan boule, but it does help control the rise and creates an attractive look.
Step 17: Bake
Bake for 35-40 minutes until deeply golden brown on top. The internal temperature should reach 190-200°F when you insert an instant-read thermometer in the center. The loaf should sound hollow when you tap the bottom. Don’t underbake—the center needs to be fully cooked for proper texture.
Step 18: Cool Completely
Remove from the oven and let sit in the pan for 5 minutes, then turn out onto a wire rack. Let cool completely for at least 2 hours before slicing. I know this is hard, but cutting into warm bread releases steam and creates a gummy texture. Your patience will be rewarded with perfect slices.
Chef’s Notes
Starter Strength Matters: Your sourdough sandwich loaf quality depends entirely on using a vigorous, active starter. Feed it and wait for the peak—when it’s domed and bubbly. Using starter past its peak (when it’s starting to collapse) will give you dense, heavy bread.
Temperature Control: Room temperature significantly affects rise times. In winter, I place my dough near (not on) a heating vent. In summer, I reduce bulk fermentation to 6-8 hours. Track your actual room temperature and adjust timing accordingly.
The Butter Makes It Special: That 3 tablespoons butter creates the tender, pull-apart texture that makes this different from crusty artisan bread. Don’t skip it or substitute oil—butter gives you that soft, sandwich-friendly crumb.
Flour Power: Bread flour’s higher protein content (12-14%) builds the strong gluten network needed to support this enriched dough. All-purpose flour will work but gives you a slightly denser loaf with less rise.
Nutrition Information (Per Serving – 2 Slices)
Calories: 245
Protein: 8g
Carbohydrates: 44g
Fat: 4.5g
Fiber: 2g
Sodium: 295mg
Sugar: 4g
Creative Variations
Whole Wheat Sourdough Sandwich Loaf
Replace 1 cup of bread flour with whole wheat flour for added nutrition and a nutty flavor. You may need to add 2-3 tablespoons more water since whole wheat absorbs more liquid. The texture will be slightly denser but still beautifully soft.
Seeded Sandwich Bread
Fold in ¼ cup mixed seeds (sunflower, flax, sesame) during the final stretch and fold in Step 8. Brush the top with water and sprinkle with 2 tablespoons seeds before baking for extra crunch and visual appeal.
Cinnamon Raisin Sourdough
Add 1 tablespoon cinnamon to the dry ingredients and fold in ¾ cup raisins during Step 8. This creates incredible morning toast that rivals any bakery version. The technique is similar to making sourdough focaccia, where you fold in additions during the dough development stage.
Herbed Sandwich Loaf
Mix 2 tablespoons dried Italian herbs (or ¼ cup fresh herbs) into the dough during Step 6. This makes phenomenal bread for grilled cheese or tomato sandwiches. You can also add 2 cloves minced garlic for extra flavor.
Storage & Reheating
Room Temperature Storage: Keep your sourdough sandwich loaf in a bread box or paper bag at room temperature for 3-4 days. Avoid plastic bags for storage—they trap moisture and make the crust soft and leathery.
Freezing Instructions: Slice the completely cooled loaf and place parchment paper between slices. Wrap tightly in plastic wrap, then aluminum foil. Freeze for up to 3 months. Pull out individual slices and toast directly from frozen—they taste freshly baked.
Refreshing Day-Old Bread: Lightly mist the crust with water and warm in a 300°F oven for 5-7 minutes. This revives the crust and softens the crumb beautifully.
Making Ahead: You can refrigerate the shaped loaf (after Step 13) overnight instead of the final room temperature proof. Pull it out in the morning, let it warm up for 30 minutes, then continue with the final rise. This gives you more flexibility in your schedule.
Troubleshooting Your Sourdough Sandwich Loaf
Problem 1: Dense, Heavy Loaf
Causes: Weak or inactive starter, under-fermented dough, or not enough gluten development.
Solutions: Make sure your starter doubles within 4-6 hours of feeding and shows lots of activity. Give your bulk fermentation enough time—the dough should be noticeably puffy and 50-75% larger. Don’t skip the stretch and folds in Steps 7-8; they build essential structure. Check your room temperature—below 68°F significantly slows fermentation.
Problem 2: Loaf Didn’t Rise Much in the Oven
Causes: Over-proofed dough, oven temperature too low, or starter wasn’t active enough.
Solutions: Watch for the dough crowning just 1 inch above the pan rim, not more. Over-proofed dough has exhausted its food supply and won’t rise in the oven. Use an oven thermometer to verify your oven hits 375°F—many ovens run 25 degrees cooler than the dial shows. Make sure your starter was fed and at peak activity when you mixed the dough.
Problem 3: Gummy or Wet Center
Causes: Not baked long enough, cut while still warm, or too much hydration in the dough.
Solutions: Bake until the internal temperature reaches 195-200°F minimum. A golden crust doesn’t always mean the center is done. Let the loaf cool completely—at least 2 hours—before slicing. The interior continues cooking and setting as it cools. If your dough felt very wet during mixing, reduce water by 2 tablespoons next time.
Problem 4: Crust Too Dark or Burnt
Causes: Oven temperature too high, baking too long, or too much honey.
Solutions: Reduce oven temperature to 350°F and bake longer at the lower temperature. The honey in this recipe adds color—if your loaf browns too quickly, tent it loosely with aluminum foil after 25 minutes of baking. Check your oven with a thermometer as it may be running hot.
Problem 5: Loaf Collapsed or Has Large Holes
Causes: Over-fermentation, dough too wet, or rough handling during shaping.
Solutions: Reduce bulk fermentation time by 1-2 hours if you see signs of over-fermentation (very loose, almost liquidy dough). Large irregular holes mean trapped air—gently press out big bubbles during shaping in Step 12, but keep the smaller ones. Handle your shaped dough gently when placing it in the pan to maintain the structure you built.
Equipment Essentials

9×5-inch Loaf Pan: This standard size gives you proper sandwich-sized slices. Avoid larger pans or your loaf will be flat and wide.
Kitchen Scale: Measuring by weight (grams) ensures consistent results every time. Volume measurements can vary significantly.
Large Mixing Bowl: You need room for the dough to expand during bulk fermentation. Use at least a 4-quart bowl.
Damp Kitchen Towel: Prevents a skin from forming on your dough during rises. Keep it damp but not dripping wet.
Instant-Read Thermometer: Takes the guesswork out of doneness. The center should read 195-200°F when fully baked.
Danish Dough Whisk (Optional): Makes mixing the initial dough much easier than a spoon, but a sturdy wooden spoon works fine.
Wire Cooling Rack: Essential for proper cooling. Setting the loaf on a solid surface traps steam and creates a soggy bottom.
Shopping List
Baking Aisle
- Bread flour (2 lb bag)
- Active sourdough starter (or starter ingredients if making your own)
- Honey
Refrigerated Section
- Butter (salted or unsalted)
Spices & Seasonings
- Salt (kosher or sea salt)
Optional Add-Ins
- Whole wheat flour
- Seeds (sunflower, flax, sesame)
- Raisins
- Dried herbs
- Cinnamon
Success Secrets
1. Temperature is Everything
Keep your water at 95-100°F when mixing—too hot kills the starter, too cold slows everything down. Use an instant-read thermometer until you can judge by feel. Your dough should feel slightly warm to the touch throughout fermentation.
2. Watch the Dough, Not the Clock
Fermentation times are guidelines, not rules. A 72°F kitchen ferments faster than a 65°F one. Learn to read your dough’s visual cues—puffy appearance, bubbles on the surface, jiggly texture when you shake the bowl.
3. Master the Windowpane Test
After your second stretch and fold, pinch off a small piece of dough. Gently stretch it between your fingers. If it stretches thin enough to see light through without tearing, your gluten is well-developed. If it tears immediately, do another stretch and fold session.
4. The Crown Test for Final Proof
Your sourdough sandwich loaf is ready to bake when the dough crowns about 1 inch above the pan rim and a gentle poke leaves an indent that slowly springs back halfway. If it springs back immediately, it needs more time. If the indent stays, you’ve proofed too long—bake it right away.
5. Cool Before Slicing (Really!)
This is the hardest rule to follow but the most important. Cutting warm bread releases steam that should be setting the crumb structure. Wait those 2 hours for slices that hold together perfectly instead of squishing and tearing. I set a timer so I’m not tempted to cut early.
This sourdough sandwich loaf recipe gives you bakery-quality bread with the perfect balance of tangy sourdough flavor and soft, tender texture. The long fermentation develops incredible taste while keeping the crumb light and pillowy. Once you nail the timing and temperature for your kitchen, you’ll be making this recipe weekly. The aroma of fresh-baked sourdough bread filling your home never gets old.