Key Takeaways:
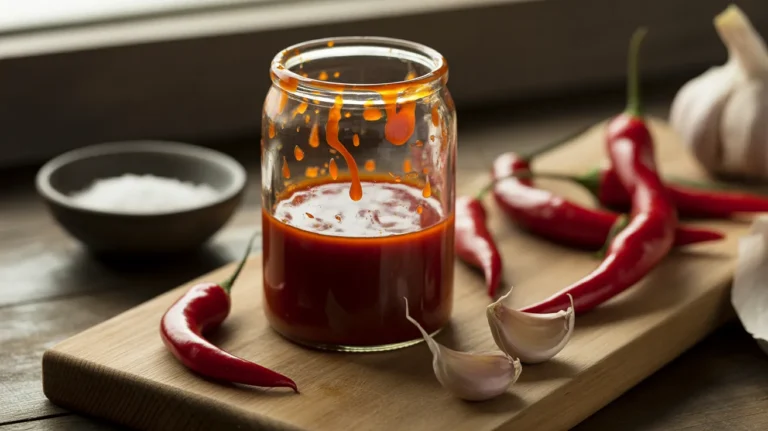
- Make authentic Thai sweet chili sauce with just 7 simple ingredients
- Ready in 10 minutes with no artificial colors or preservatives
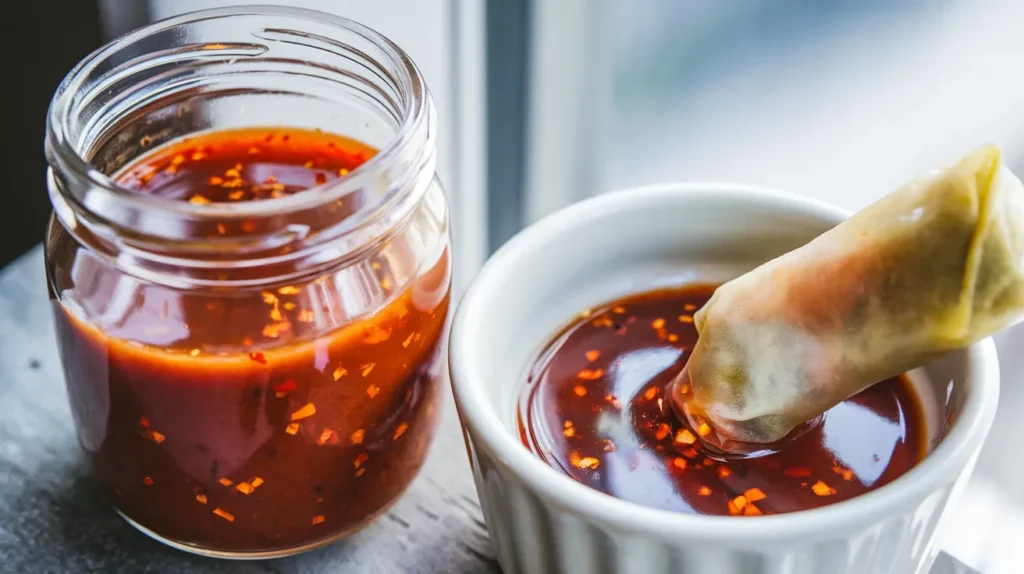
- Perfect for dipping spring rolls, chicken wings, or as a stir fry sauce
- Stores for up to 3 weeks in the refrigerator
Why Make Your Own Sweet Chili Sauce?
Ever grabbed a bottle of sweet chili sauce at the store and noticed the long list of ingredients you can’t pronounce? I’ve been there too.
Making your own sweet chili sauce takes just 10 minutes. You’ll get that perfect balance of sweet and spicy without any artificial ingredients. It’s one of my favorite Asian-inspired sauces to make from scratch because it’s so simple yet impressive.
This recipe makes enough sauce for 4 people and works with everything from spring rolls to grilled chicken.
Nutrition Facts (Per 2 Tablespoon Serving)
| Nutrient | Amount | % Daily Value |
|---|---|---|
| Calories | 45 | – |
| Total Fat | 0g | 0% |
| Sodium | 145mg | 6% |
| Total Carbs | 11g | 4% |
| Sugars | 9g | – |
| Protein | 0g | 0% |
Equipment & Ingredients
Kitchen Tools
| Tool | Purpose |
|---|---|
| Small saucepan | For cooking the sauce |
| Whisk | For mixing ingredients |
| Measuring cups and spoons | For accurate measurements |
| Small bowl | For cornstarch slurry |
| Glass jar with lid | For storage |
Ingredients
| Ingredient | Measurement | Notes |
|---|---|---|
| Rice vinegar | 1/2 cup | Plain, not seasoned |
| Water | 1/2 cup | |
| Granulated sugar | 1/2 cup | |
| Red chili flakes | 2 tablespoons | Adjust for spice level |
| Minced garlic | 2 teaspoons | Fresh, not powdered |
| Salt | 1/2 teaspoon | |
| Cornstarch | 1 tablespoon | |
| Cold water | 2 tablespoons | For cornstarch slurry |
Substitution Options
- Sugar: Replace with 1/3 cup honey or maple syrup
- Rice vinegar: White vinegar works but add 1 teaspoon of sugar
- Red chili flakes: Use 2-3 minced fresh red chilies with seeds
- Garlic: 1/2 teaspoon garlic powder can replace fresh
Step-by-Step Instructions
Preparation Phase (5 minutes)
- Set up your workspace:
- Clear counter space for all your ingredients and tools
- Place your saucepan on the stove but don’t turn on the heat yet
- Have a heat-resistant spoon rest nearby
- Keep a kitchen timer within reach
- Gather and organize all ingredients:
- Take out all ingredients and arrange them in order of use
- This is called “mise en place” and helps prevent mistakes
- Place the rice vinegar, water, and sugar together (they go in first)
- Group the chili flakes, garlic, and salt together (they go in second)
- Keep cornstarch and cold water separate (they go in last)
- Measure ingredients precisely:
- For liquids (rice vinegar and water): Use a liquid measuring cup, place on flat surface, and read at eye level
- For sugar: Use a dry measuring cup, overfill slightly, then level off with the back of a knife
- For chili flakes, garlic, and salt: Use measuring spoons, overfill slightly, then level off
- WARNING: Too much chili can make sauce too spicy – be exact with this measurement for your first batch
- Prepare the garlic:
- If using fresh garlic: Place garlic clove on cutting board
- Lay flat side of knife on clove and press firmly to crush it
- Remove papery skin which will now come off easily
- Mince into very tiny pieces (about 1mm or smaller)
- TIP: Smaller garlic pieces distribute flavor better and won’t burn easily
- Make the cornstarch slurry:
- Add exactly 1 tablespoon cornstarch to a small bowl
- Add 2 tablespoons of cold water (must be cold, not warm)
- Mix immediately with a small whisk or fork until completely smooth
- Check for lumps by lifting the spoon and watching how it drips
- It should look like thin, white milk with no visible lumps
- IMPORTANT: Set aside but remember to stir again right before using, as cornstarch settles quickly
Cooking Phase (5 minutes)
- Combine base ingredients:
- Place your saucepan on the stove
- Pour in 1/2 cup rice vinegar
- Add 1/2 cup water
- Add 1/2 cup granulated sugar
- TIP: Pour liquids slowly to avoid splashing
- Begin heating the mixture:
- Turn heat to medium-high (about 7 on a dial that goes to 10)
- Stir ingredients together with a whisk
- Continue stirring frequently to help sugar dissolve
- WATCH FOR: Sugar granules disappearing completely
- This should take approximately 2 minutes
- Add the flavoring ingredients:
- Once sugar is fully dissolved, add 2 tablespoons red chili flakes
- Add 2 teaspoons minced garlic
- Add 1/2 teaspoon salt
- Stir to combine everything
- NOTE: Add chili flakes gradually if you’re sensitive to spice – start with 1 tablespoon, taste later, and add more if needed
- Bring mixture to a full boil:
- Continue heating on medium-high
- Stir occasionally to prevent sticking
- A full boil means you see large bubbles across the entire surface
- CAUTION: Watch carefully as mixture can bubble up suddenly
- This should take approximately 2-3 minutes from adding flavorings
- Prepare to add cornstarch slurry:
- Pick up your cornstarch slurry bowl with one hand
- Stir it again with a fork or small whisk (it settles and separates quickly)
- Make sure it’s fully mixed and looks uniformly milky
- Hold whisk in your other hand, ready to stir the sauce constantly
- Add cornstarch slurry and thicken:
- When sauce is at a full boil, slowly pour in cornstarch slurry in a thin stream
- While pouring, whisk sauce constantly and vigorously
- Continue whisking for 60 seconds (time it exactly)
- WHAT’S HAPPENING: Sauce will change from watery to thicker and slightly translucent
- WHY WHISK: Prevents lumps from forming and ensures even thickening
- Test sauce thickness:
- Dip a clean spoon into the sauce
- Run your finger along the back of the spoon (careful, it’s hot!)
- If your finger leaves a clear path that doesn’t immediately fill in, the sauce is ready
- If sauce runs back together immediately, cook for 30 more seconds and test again
- Remove from heat:
- Turn off stove completely
- Move saucepan to a cool burner or heat-resistant surface
- Give sauce one final stir
- NOTE: Sauce will continue to thicken as it cools, so don’t panic if it seems slightly thin
Cooling Phase (10-20 minutes)
- Initial cooling:
- Leave sauce in the saucepan uncovered
- Let stand for 5 minutes to release excess heat
- During this time, prepare your storage container:
- Wash glass jar and lid with hot, soapy water
- Rinse thoroughly
- Dry completely with clean towel
- Check consistency and flavor:
- After 5 minutes, the sauce should be cool enough to taste safely
- Dip a clean teaspoon into sauce and taste a small amount
- TOO THIN? Return to heat for 1 minute
- TOO THICK? Add 1 tablespoon water while still warm and stir
- NOT SPICY ENOUGH? Add more chili flakes (1/2 tablespoon), stir, and wait 5 minutes before tasting again
- TOO SPICY? Add 1 tablespoon more sugar and 1 tablespoon water, heat briefly to dissolve
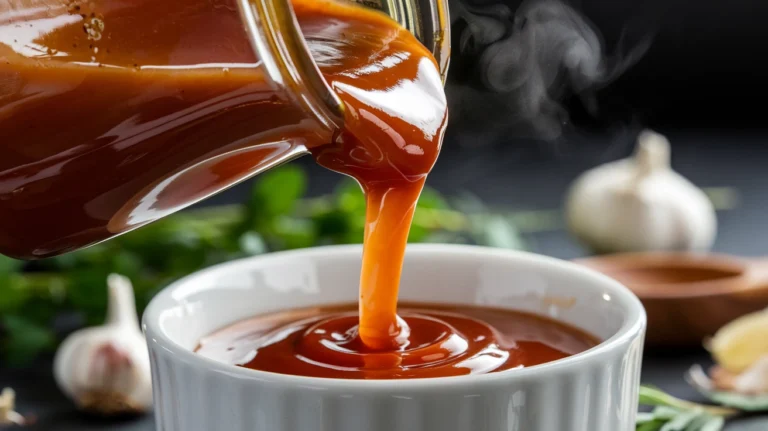
- Transfer to storage container:
- Use a funnel if available to prevent spills
- Pour sauce carefully into clean glass jar
- Leave 1/2 inch space at top
- Wipe any drips from rim with clean paper towel
- TIP: A wide-mouth jar makes it easier to pour without spills
- Complete cooling:
- Leave jar uncovered on counter until completely cool to touch
- This may take an additional 10-15 minutes
- WHY WAIT: Trapping heat can create condensation and affect preservation
- Seal and label:
- Once completely cool, close lid tightly
- Label jar with date made
- Store in refrigerator
Troubleshooting
Sauce too thin?
- Return to heat and simmer for 1-2 more minutes
- If still too thin, make another small batch of cornstarch slurry (1 teaspoon cornstarch + 1 tablespoon water) and add while boiling
Sauce too thick?
- Add 1-2 tablespoons of water while sauce is still warm
- Stir until desired consistency is reached
Not spicy enough?
- Add more red chili flakes while sauce is still warm
- Let sit for 10 minutes to release heat before tasting again
Too spicy?
- Add 1 tablespoon more sugar and 1 tablespoon water
- Heat briefly to dissolve additions
Sauce looks cloudy?
- This is normal if it’s still warm
- It will become more translucent as it cools
Cornstarch lumps in sauce?
- Pour sauce through a fine-mesh strainer
- Next time, ensure cornstarch is fully dissolved in cold water before adding
Garlic burned?
- If you see dark brown bits, strain sauce through fine sieve
- Next time, ensure garlic pieces are very small and don’t cook on too high heat
Variations & Substitutions
Sweet Chili Garlic Sauce
- Add 1 additional tablespoon of minced garlic
- 1 teaspoon grated ginger for umami flavor
Sweet Chili Lime Sauce
- Add 1 tablespoon lime juice after removing from heat
- Stir in 1/2 teaspoon lime zest
Sweet Chili Fish Sauce (Traditional Thai Style)
- Add 1 teaspoon fish sauce for authentic flavor
- Reduce salt to 1/4 teaspoon
Vegan Sweet Chili Sauce
- Ensure your sugar is vegan (no bone char filtering)
- Add 1/2 teaspoon soy sauce for umami flavor
- For an even more complex flavor profile, add a few drops of hoisin sauce for depth
Storage & Reheating
Refrigerator Storage:
- Store in a clean glass jar with tight-fitting lid
- Keeps for up to 3 weeks in refrigerator
- Sauce may separate slightly – shake well before using
- SAFETY TIP: Never double-dip when using sauce – pour what you need into a separate bowl
Freezing Option:
- Pour into ice cube trays for portion control
- Once frozen, transfer cubes to freezer bags
- Label with date and contents
- Thaw individual portions as needed
- Use within 3 months
Reheating:
- Not necessary – sauce is typically used cold or room temperature
- If desired, warm gently in microwave for 10-15 seconds
- CAUTION: Do not microwave in plastic containers
Safety Notes & Tips
Food Safety:
- Always use clean utensils when dipping into stored sauce
- If sauce changes color significantly or smells off, discard it
- Never return used sauce to storage container
- If sauce develops mold or fermentation bubbles, discard immediately
Beginner Tips:
- Watch the sauce carefully once boiling – it can bubble over quickly
- When adding cornstarch slurry, pour slowly while whisking to avoid lumps
- Taste sauce after cooling slightly – flavors develop and intensify as it cools
- For consistent results, use measuring tools rather than eyeballing ingredients
Serving Ideas:
- Perfect dipping sauce for crispy spring rolls
- Brush onto grilled chicken in the last minute of cooking
- Drizzle over rice bowls for a flavor boost
- Mix with a little oil for an easy salad dressing
Now you have the perfect homemade sweet chili sauce without any artificial ingredients! The balance of sweet, tangy, and spicy flavors makes this versatile sauce a kitchen staple you’ll use again and again.
Prep Time: 5 minutes | Cook Time: 5 minutes | Total Time: 10 minutes (plus cooling)
Makes approximately 1 cup of sauce (enough for 4 servings)
Dietary Notes: Gluten-Free, Vegan (with vegan sugar), Dairy-Free
Recipe cost: Approximately $2 for full batch