Key Takeaways:
- Make authentic teriyaki sauce with just 7 simple pantry ingredients
- Perfect sweet-salty balance without store-bought sauce preservatives
- Thickens naturally while cooking – no cornstarch needed!
- Versatile sauce works for chicken, salmon, tofu, or as a dipping sauce
Why Make Your Own Teriyaki Sauce?
Ever tasted store-bought teriyaki sauce and felt something was missing? That’s because it is!
Most bottled sauces lack the depth and balance of homemade teriyaki sauce. The good news? You can make a better version in just 15 minutes with ingredients you probably already have.
This teriyaki sauce recipe delivers that perfect savory-sweet flavor that makes Japanese cooking so irresistible. The word teriyaki refers to a cooking technique where foods are glazed with a sweet soy sauce mixture, creating that beautiful shine we all love. It’s one of my favorite Best Asian Sauces for Cooking to make at home.
Nutrition Comparison
| Nutrient (per 2 Tbsp) | Homemade Teriyaki | Store-Bought |
|---|---|---|
| Calories | 45 | 35-90 |
| Sodium | 690mg | 730-900mg |
| Sugar | 7g | 6-12g |
| Preservatives | None | Several |
| Cost per cup | $1.20 | $3.99-$5.99 |
Equipment & Ingredients
Kitchen Tools Needed
| Tool | Purpose |
|---|---|
| Small saucepan | For cooking the sauce |
| Measuring cups/spoons | For accurate measurements |
| Whisk | For mixing ingredients |
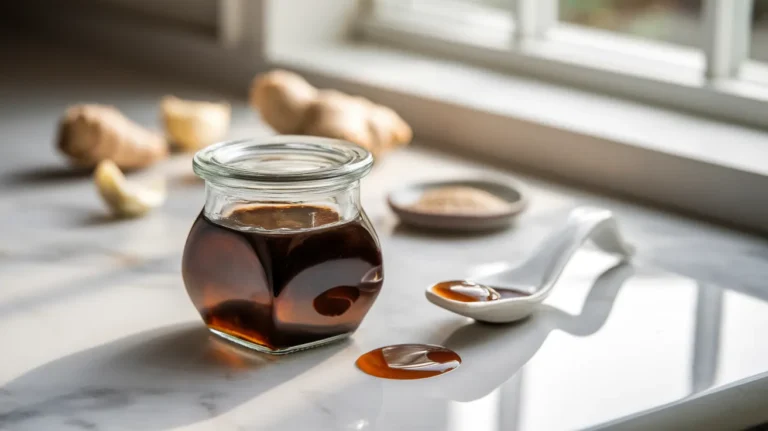
| Glass jar with lid | For storage |
Ingredients (Serves 4)
| Ingredient | Measurement | Purpose |
|---|---|---|
| Soy sauce | 1/2 cup | Base flavor |
| Water | 1/4 cup | Dilutes saltiness |
| Brown sugar | 1/4 cup, packed | Sweetness & thickness |
| Honey | 2 tablespoons | Adds smoothness |
| Rice vinegar | 1 tablespoon | Bright, tangy notes |
| Fresh ginger | 1 teaspoon, grated | Aromatic kick |
| Garlic | 2 cloves, minced | Savory depth |
| Sesame oil | 1/2 teaspoon (optional) | Nutty finish |
Substitution Options
- Low-sodium soy sauce: Reduces sodium content by about 40%
- Coconut sugar: Substitute for brown sugar (1:1 ratio)
- Apple cider vinegar: Can replace rice vinegar in a pinch
- Mirin: For a more authentic flavor, replace 1 tablespoon water with mirin sauce
- Powdered ginger: Use 1/4 teaspoon if fresh isn’t available
- Garlic powder: 1/4 teaspoon equals 1 clove fresh garlic
Step-by-Step Instructions
Preparation Phase (5 minutes)
- Clear your workspace
- Wipe down your counter and make sure you have enough space
- Wash your hands thoroughly with soap and water
- Have a kitchen towel or paper towels nearby for spills
- Gather all ingredients and tools
- Place all ingredients on your counter
- Take out measuring cups and spoons
- Find a small saucepan (1-2 quart size is perfect)
- Locate a whisk or wooden spoon for stirring
- Have a clean glass jar with lid ready for storage
- Set a timer or keep an eye on the clock
- Measure liquid ingredients
- Find your measuring cups
- For soy sauce: Fill the 1/2 cup measure exactly to the line (125ml)
- For water: Fill the 1/4 cup measure exactly to the line (60ml)
- For rice vinegar: Use a measuring spoon to measure 1 tablespoon
- Place each measured liquid in separate small bowls if possible
- BEGINNER TIP: Measure over the sink to avoid countertop spills
- Measure dry and sweet ingredients
- For brown sugar: Use a 1/4 cup measure and pack it firmly (press it down)
- For honey: Use a measuring spoon to measure 2 tablespoons
- BEGINNER TIP: Spray the measuring spoon with a tiny bit of cooking spray before measuring honey – it will slide off easily!
- Prepare your aromatics
- For ginger:
- Take a small piece of fresh ginger (about 1 inch)
- Use a spoon to scrape off the brown skin
- Use a microplane grater or the smallest holes on a box grater
- Grate until you have 1 teaspoon of finely grated ginger
- BEGINNER TIP: Keep fresh ginger in the freezer – it grates easily when frozen and lasts longer!
- For garlic:
- Take 2 garlic cloves
- Place the flat side of a knife on each clove and press firmly with your palm to crush it
- The skin should now be easy to remove
- Mince the garlic with a knife by cutting it into tiny pieces (about the size of grains of rice)
- BEGINNER TIP: A garlic press makes this step even easier if you have one!
- For ginger:
Cooking Phase (10 minutes)
- Combine liquid ingredients in saucepan
- Place your saucepan on the counter (not on the stove yet)
- Pour in the measured soy sauce
- Add the water
- Add the rice vinegar
- Gently stir with your whisk or spoon
- BEGINNER TIP: Always combine ingredients before turning on the heat!
- Add sweeteners
- Add the brown sugar to the liquid mixture
- Pour in the honey
- Stir thoroughly until the sugar begins to dissolve
- It’s normal for the sugar not to completely dissolve yet
- BEGINNER TIP: The sugar will fully dissolve as the mixture heats up
- Add aromatics
- Add the grated ginger to the mixture
- Add the minced garlic
- Stir everything together until well combined
- The mixture will look dark brown with small pieces of garlic and ginger
- BEGINNER TIP: Resist the urge to taste the raw mixture – it contains raw garlic!
- Position your saucepan on the stove
- Place the saucepan on a burner that matches its size
- Make sure the handle is turned inward (not sticking out over the edge of the stove)
- Have your whisk or spoon ready for stirring
- BEGINNER TIP: Turn the saucepan handle away from the front of the stove to prevent accidents
- Begin cooking process
- Turn the heat to medium-high (around 7-8 on most stove dials)
- Stay by the stove – don’t walk away
- Stir occasionally (every 30 seconds) to prevent sticking
- BEGINNER TIP: If you have an electric stove, it may take a minute to heat up
- Watch for boiling
- The mixture will start to bubble around the edges first
- Small bubbles will appear and increase
- When bubbles form across the entire surface, it’s boiling
- This should take about 3-4 minutes
- BEGINNER WARNING: Be careful of steam and splatters!
- Reduce heat and simmer
- Once boiling, immediately reduce heat to medium-low (around 3-4 on most stove dials)
- The mixture should now be at a gentle simmer (small bubbles, not rapidly boiling)
- If it’s still boiling vigorously, lower the heat further
- BEGINNER TIP: A simmer looks like small bubbles breaking the surface occasionally, not a rolling boil
- Maintain the simmer
- Simmer for 5-7 minutes, stirring every minute
- Use your whisk or spoon to stir from the bottom up
- Watch as the mixture gradually thickens
- BEGINNER TIP: Set a timer for 5 minutes so you don’t lose track
- Check for proper thickness
- After 5 minutes, dip your spoon into the sauce
- Lift it out and look at the back of the spoon
- The sauce should coat the spoon (like thin maple syrup)
- Run your finger across the back of the spoon (be careful – it’s hot!)
- If your finger leaves a clear path that doesn’t immediately fill in, it’s ready
- If still too thin, simmer for 1-2 more minutes
- BEGINNER TIP: The sauce will thicken more as it cools, so don’t overcook it!
- Finish with sesame oil (optional)
- Turn off the heat completely
- If using sesame oil, measure 1/2 teaspoon
- Add it to the sauce and stir gently
- BEGINNER TIP: Sesame oil is potent – a little goes a long way!
Cooling & Storage (5 minutes)
- Allow initial cooling
- Remove the saucepan from the hot burner (place on an unused burner)
- Let the sauce cool in the pan for 5 minutes
- Stir occasionally to release heat
- BEGINNER TIP: Never pour hot liquids into glass containers – they can crack!
- Transfer to storage container
- Once the sauce has cooled for 5 minutes (still warm but not hot)
- Place your glass jar on the counter
- Use a funnel if you have one, or pour carefully
- Fill the jar leaving 1/2 inch space at the top
- BEGINNER TIP: Pour slowly and use a silicon spatula to scrape out all the sauce
- Cool completely before refrigerating
- Leave the jar uncovered at room temperature
- Allow it to cool completely (about 30 minutes)
- The jar should no longer feel warm to the touch
- BEGINNER TIP: Don’t place the warm jar directly in the refrigerator – allow it to cool first
- Seal and label
- Once completely cool, put the lid on tightly
- Label with “Teriyaki Sauce” and today’s date
- Store in refrigerator
- BEGINNER TIP: Use masking tape and a marker for an easy, removable label

Troubleshooting
| Problem | Cause | Solution |
|---|---|---|
| Too salty | Too much soy sauce | Add 1-2 tablespoons water and 1 teaspoon honey |
| Too sweet | Too much sugar/honey | Add 1 teaspoon rice vinegar or a splash of lemon juice |
| Too thin | Not cooked long enough | Return to heat, simmer 2-3 minutes longer |
| Too thick | Overcooked | Whisk in 1 tablespoon water while warm |
| Burnt taste | Heat too high | Start fresh – burnt sauce can’t be fixed |
| Lumpy | Sugar not dissolved | Warm and whisk vigorously |
Variations & Substitutions
Spicy Teriyaki
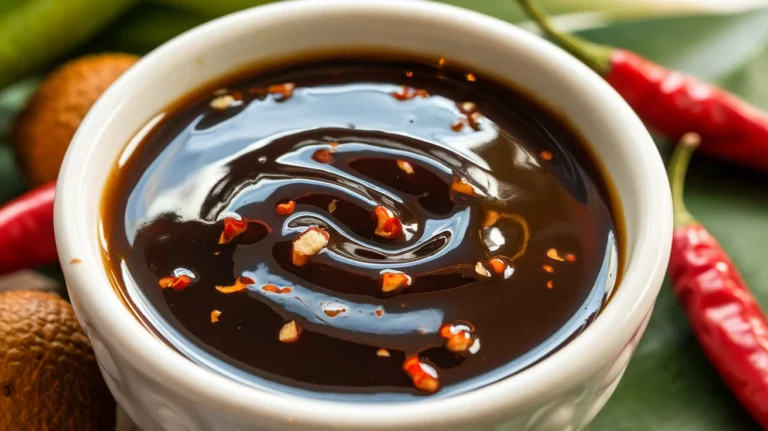
Add 1 teaspoon of sriracha or 1/4 teaspoon red pepper flakes for heat.
Pineapple Teriyaki
Add 2 tablespoons pineapple juice and reduce water by same amount for tropical flavor.
Umami-Rich Teriyaki
For an incredible depth of flavor, add 1 tablespoon of mouthwatering miso black garlic sauce to the finished teriyaki.
Gluten-Free Version
Use tamari or coconut aminos instead of soy sauce.
Lower Sugar Option
Reduce sugar to 2 tablespoons and use 1 tablespoon honey.
Storage & Reheating
Refrigerator Storage:
- Keep in sealed glass container
- Lasts 1-2 weeks when refrigerated
- Shake or stir before using if separated
Freezing Option:
- Freeze in ice cube trays for portion control
- Transfer frozen cubes to freezer bag
- Good for up to 3 months
- Thaw overnight in refrigerator
Reheating:
- Small portions: microwave 15-20 seconds
- Larger amounts: warm in saucepan over low heat
- Add 1 teaspoon water if too thick after storage
Safety Notes & Tips
- Sodium awareness: This sauce is high in sodium – use sparingly if watching salt intake
- Allergen info: Contains soy; optional sesame oil adds sesame allergen
- Sticky spills: Clean any spills immediately as sauce becomes sticky when dry
- Shelf life: Always check for off smells or mold before using stored sauce
- Best uses: Perfect for teriyaki chicken, salmon, tofu, or as a dipping sauce
Pro Tip: For an easy dinner, brush this sauce on salmon fillets and bake at 400°F for 12-15 minutes for delicious teriyaki salmon. For a Japanese restaurant experience at home, try pairing it with my homemade unagi sauce for a two-sauce combination that’s amazing on grilled fish or rice bowls.
Prep Time: 5 minutes | Cook Time: 10 minutes | Total Time: 15 minutes
Makes approximately 1 cup of teriyaki sauce (perfect for 4 servings)
This easy teriyaki sauce recipe transforms simple ingredients into a flavor-packed Japanese sauce that beats anything from a bottle. Use it tonight to elevate your chicken, beef, or vegetables!


