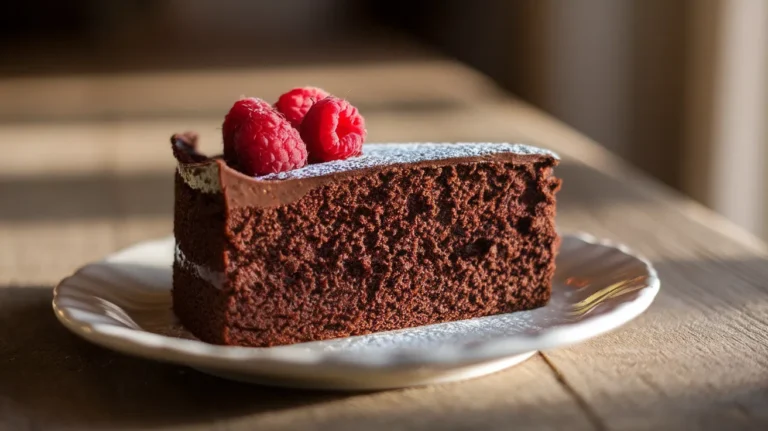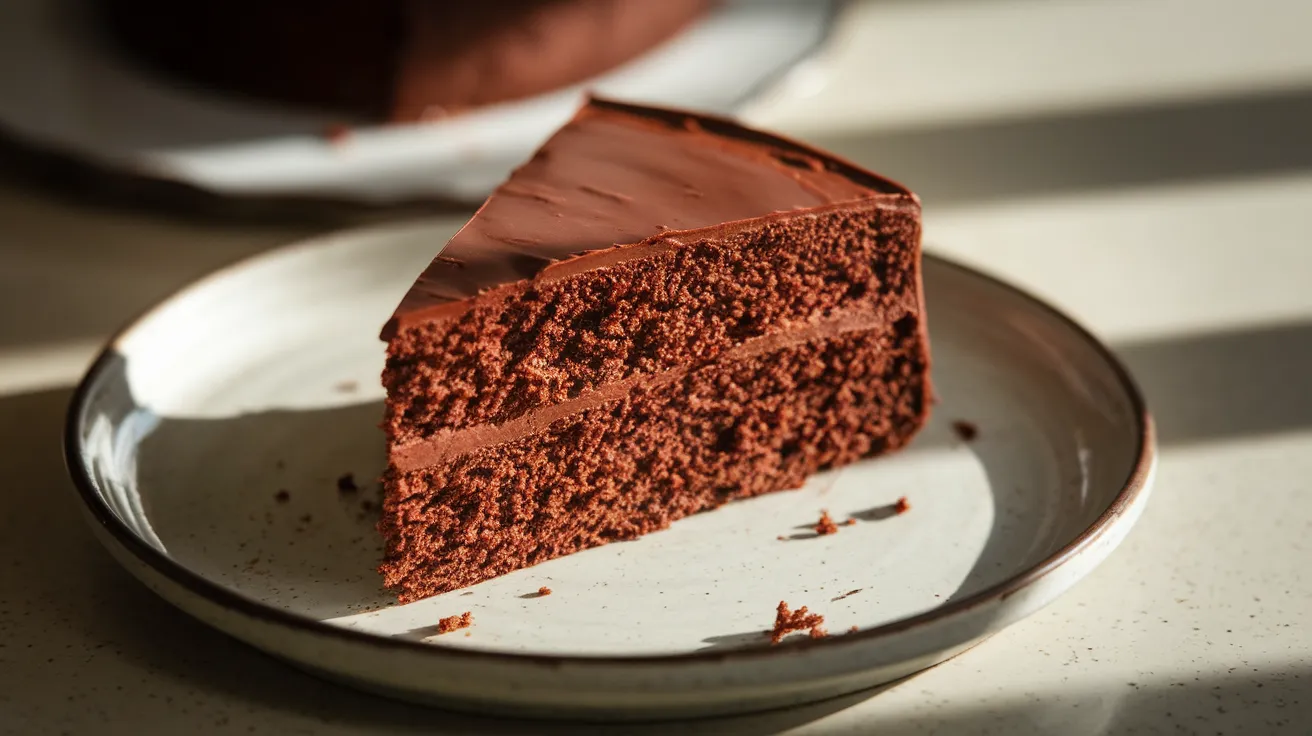
This incredible vegan cake delivers all the rich, moist texture you crave without any dairy or eggs. Perfect for celebrations or weeknight treats, this vegan cake recipe creates a tender crumb that even non-vegans will love. Ready in under an hour with simple pantry ingredients, this vegan cake proves plant-based baking can be absolutely delicious.
SERVES: 4 | PREP: 20 MIN | COOK: 25 MIN | TOTAL: 45 MIN
Vegan Cake Ingredients
Dry Ingredients
| Ingredient | Amount |
|---|---|
| All-purpose flour | 1½ cups |
| Granulated sugar | ¾ cup |
| Unsweetened cocoa powder | ¼ cup |
| Baking soda | 1 teaspoon |
| Salt | ½ teaspoon |
Wet Ingredients
| Ingredient | Amount |
|---|---|
| Non-dairy milk (almond or oat) | 1 cup |
| Vegetable oil | ⅓ cup |
| Apple cider vinegar | 1 tablespoon |
| Vanilla extract | 1 teaspoon |
| Hot coffee or water | ½ cup |
Detailed Step-by-Step Vegan Cake Instructions
Phase 1: Kitchen Setup and Preparation (8 minutes)
1. Preheat Your Oven Properly Set your oven to 350°F (175°C) and wait for the full preheat cycle to complete – usually 10-15 minutes. Don’t skip this step! An oven that’s not fully heated will cause uneven baking. You’ll know it’s ready when the preheat indicator light turns off or beeps. This temperature is crucial for your vegan cake to rise properly without drying out.
2. Prepare Your Cake Pan Like a Pro Take your 8-inch round cake pan and coat every surface with vegetable oil or vegan butter. Use a pastry brush or paper towel to spread it evenly, paying special attention to the corners where the bottom meets the sides – this is where cakes stick most often. Sprinkle about 2 tablespoons of flour into the greased pan, then tilt and rotate the pan so flour coats all surfaces. Turn the pan upside down over your sink and tap firmly to remove excess flour. You should see a thin, even coating of flour on all surfaces.
3. Create the Perfect Parchment Paper Liner Place your cake pan on parchment paper and trace around the bottom with a pencil. Cut the circle about ¼ inch inside your traced line – this ensures it fits perfectly without bunching up. Press the parchment circle into the bottom of your prepared pan, smoothing out any air bubbles with your hands. This double protection (grease + flour + parchment) guarantees your vegan cake will release perfectly every time.
4. Set Up Your Workspace Clear a large area on your counter and gather all ingredients within arm’s reach. Get out two large mixing bowls, measuring cups, measuring spoons, a whisk, and a wooden spoon. Having everything ready prevents mistakes and ensures smooth mixing. Place a kitchen towel under your main mixing bowl to prevent it from sliding around during mixing.
Phase 2: Creating the Perfect Dry Mix (5 minutes)
5. Measure Flour Correctly for Best Texture This step is crucial for your vegan cake texture! Never scoop flour directly with your measuring cup – this packs it down and adds up to 30% more flour than needed, creating a dense, heavy cake. Instead, use a spoon to gently scoop flour from the container into your measuring cup until it’s overflowing. Use the back of a knife to level it off, letting excess fall back into the container. Repeat this process until you have exactly 1½ cups.
6. Combine All Dry Ingredients Thoroughly In your largest mixing bowl, add the measured flour, ¾ cup sugar, ¼ cup cocoa powder, 1 teaspoon baking soda, and ½ teaspoon salt. Using a wire whisk, stir these ingredients together for at least 30 seconds. This whisking serves three purposes: it breaks up any lumps in the cocoa powder, evenly distributes the baking soda (your leavening agent), and incorporates air for a lighter texture.
7. Create the Essential Mixing Well Using a large spoon, push the dry ingredients toward the edges of the bowl, creating a deep well or crater in the center. This well should be about 4 inches wide at the bottom. This classic baking technique helps wet and dry ingredients combine evenly without creating tough gluten strands that would make your vegan cake chewy instead of tender.
Phase 3: Preparing the Vegan Wet Ingredients (7 minutes)
8. Create Vegan “Buttermilk” for Extra Tenderness In your second mixing bowl, pour 1 cup of non-dairy milk. Add 1 tablespoon of apple cider vinegar directly to the milk. You’ll immediately see the milk start to curdle and thicken slightly – this is exactly what you want! Let this mixture sit for exactly 2 minutes. This reaction creates an acidic environment that tenderizes the flour proteins and activates the baking soda, giving your vegan cake a light, fluffy texture similar to traditional buttermilk cakes.
9. Add Oil and Vanilla with Proper Technique After the 2-minute wait, add ⅓ cup vegetable oil and 1 teaspoon vanilla extract to your milk mixture. Whisk these together vigorously for 30 seconds until the mixture looks smooth and well combined. The oil might seem like it’s not mixing in completely – this is normal. Keep whisking until you don’t see large oil droplets floating on top.
10. Incorporate the Hot Liquid Secret Ingredient Here’s where your vegan cake gets its incredible moisture! Brew ½ cup of hot coffee or simply boil ½ cup of water. The liquid should be steaming hot but not bubbling vigorously. Slowly pour this hot liquid into your wet ingredient mixture while whisking constantly. The hot liquid serves two purposes: it “blooms” the cocoa powder, intensifying the chocolate flavor, and creates steam during baking for extra moisture. Don’t worry if you don’t taste coffee in the final cake – it simply enhances the chocolate.
Phase 4: The Critical Mixing Phase (4 minutes)
11. Combine Wet and Dry Ingredients with Care Pour your wet ingredient mixture directly into the well you created in the dry ingredients. Don’t dump it all at once – pour it in a steady stream into the center of the well. This prevents flour from flying everywhere and helps control the mixing process.
12. Master the Gentle Folding Technique Using a wooden spoon or large rubber spatula, start mixing from the very center of the well, gradually incorporating the flour from the edges. Use a folding motion: cut down through the center, scrape across the bottom, and fold up and over. Rotate the bowl a quarter turn and repeat. This technique prevents overmixing, which would create tough gluten strands.
13. Recognize Perfect Vegan Cake Batter Stop mixing the moment you can’t see any dry flour streaks – this usually takes 15-20 gentle folds. Your batter will look much thinner than traditional cake batter, almost like thick pancake batter. This thin consistency is perfect! It’s what creates the incredibly moist texture that makes this vegan cake so special. Don’t be tempted to add more flour – trust the process.
14. Remove Air Bubbles for Even Texture Give the bowl 2-3 sharp taps on your counter to bring large air bubbles to the surface and pop them. You might see a few bubbles rise and burst – this prevents large holes in your finished cake.
Phase 5: Baking Your Perfect Vegan Cake (25 minutes)
15. Pour Batter with Professional Technique Pour the batter into your prepared pan, starting from the outside edge and spiraling inward. This method helps distribute the batter evenly without creating air pockets. Use a rubber spatula to scrape every bit of batter from the bowl – waste nothing! Gently shake the pan side to side (not up and down) to level the batter, then tap it twice on the counter to release any remaining air bubbles.
16. Position in Oven for Even Baking Place your vegan cake on the center rack of your preheated oven. This position ensures even heat circulation around the entire pan. Avoid opening the oven door for the first 20 minutes – the temperature drop can cause your cake to collapse or bake unevenly.
17. Monitor Baking Progress Like a Pro Set your timer for 22 minutes. At this point, you can check your cake’s progress. Look through the oven window first – the cake should be starting to pull slightly away from the pan edges, and the surface should look set (not wet or shiny). The center might still look slightly soft – this is normal.
18. Test for Perfect Doneness Insert a toothpick or cake tester into the very center of your vegan cake. It should come out with just a few moist crumbs clinging to it – never completely clean (which means overbaked) or with wet batter (underbaked). If needed, bake for 2-3 more minutes and test again. The total baking time should be 22-25 minutes.
Phase 6: Cooling for Best Results (25 minutes)
19. Cool in Pan First Remove your vegan cake from the oven and place the pan on a wire cooling rack. Let it cool in the pan for exactly 10 minutes – no more, no less. This time allows the cake structure to set up enough for removal without breaking, but prevents it from cooling completely and sticking to the pan.
20. Turn Out Your Cake Perfectly Run a thin knife around the edges of the pan to loosen any spots that might be sticking. Place your wire cooling rack upside down on top of the cake pan. In one swift motion, flip both the pan and rack together. The cake should drop gently onto the rack. Carefully lift off the pan and peel away the parchment paper while the cake is still slightly warm.
21. Complete the Cooling Process Let your vegan cake cool completely on the wire rack for at least 15 more minutes before frosting or serving. This complete cooling prevents frosting from melting and allows the cake’s texture to fully set. A properly cooled cake will slice cleanly and maintain its shape.
Professional Chef’s Notes for Vegan Cake Success
• Milk choice impacts flavor: Oat milk creates extra richness and subtle sweetness, while almond milk keeps the vegan cake lighter with neutral flavor. Avoid canned coconut milk as it can overpower the chocolate taste.
• Coffee enhances chocolate: Even if you don’t drink coffee, adding it to your vegan cake batter enhances chocolate flavor without creating coffee taste. The hot liquid blooms the cocoa powder for deeper flavor.
• Flour measuring is critical: Spoon flour into measuring cups rather than scooping directly from the container. Packed flour creates dense, heavy vegan cake texture instead of the light, tender crumb we want.
• Visual doneness cues: Your vegan cake is perfectly baked when edges slightly pull from pan sides, the center springs back when gently pressed, and a toothpick comes out with moist crumbs attached.
Nutrition Information (Per Serving)
- Calories: 285
- Protein: 4g
- Carbohydrates: 52g
- Fat: 8g
- Fiber: 3g
Creative Vegan Cake Variations
Classic Vanilla Vegan Cake
Skip the cocoa powder and add an extra ¼ cup flour. Increase vanilla to 2 teaspoons for bold vanilla flavor that pairs perfectly with fresh berries.
Zesty Lemon Vegan Cake
Replace vanilla with lemon extract and add 2 tablespoons fresh lemon zest. This bright vegan cake variation pairs beautifully with our vegan cheesecake for elegant layered desserts.
Warm Spiced Vegan Cake
Add 1 teaspoon cinnamon, ½ teaspoon nutmeg, and ¼ teaspoon cloves for cozy autumn flavors in your vegan cake.
Mixed Berry Vegan Cake
Fold in ½ cup fresh or frozen berries just before baking. Toss berries in 1 tablespoon flour first to prevent sinking. Serve with our vegan chocolate chip cookies for complete dessert spreads.
Storage & Reheating Your Vegan Cake
Room Temperature: Store your vegan cake covered for up to 3 days. Use a cake dome or loosely cover with plastic wrap to maintain moisture without making the surface soggy.
Refrigerated: Properly wrapped vegan cake keeps for 5 days when refrigerated. Bring to room temperature 30 minutes before serving for best texture and flavor.
Freezing: Wrap unfrosted vegan cake tightly in plastic wrap, then aluminum foil. Freezes for up to 3 months. Thaw overnight at room temperature before serving.
Reheating: Microwave individual vegan cake slices for 10-15 seconds to restore just-baked warmth and enhance the moist texture.
Troubleshooting Common Vegan Cake Issues
Dense, Heavy Texture
Problem: Overmixed batter or incorrectly measured flour creating tough vegan cake. Solution: Mix just until combined and spoon flour lightly into measuring cups. Overmixing develops gluten, making cake chewy.
Dry, Crumbly Cake
Problem: Overbaked vegan cake or insufficient liquid ingredients. Solution: Check oven temperature with thermometer. Test doneness at 22 minutes to prevent overbaking your vegan cake.
Sunken Center
Problem: Oven temperature too high or underbaked center in your vegan cake. Solution: Reduce temperature by 25°F and extend baking time by 3-5 minutes for even cooking.
Cake Sticks to Pan
Problem: Insufficient greasing preventing clean vegan cake removal. Solution: Grease thoroughly with oil AND flour, plus parchment paper. Turn out after exactly 10 minutes cooling time.
Bitter Aftertaste
Problem: Too much baking soda or expired ingredients affecting vegan cake flavor. Solution: Measure baking soda carefully with proper measuring spoons. Check expiration dates on all ingredients, especially baking soda and cocoa powder.
Essential Vegan Cake Equipment
- 8-inch round cake pan (metal works best for even heating)
- Large mixing bowls (at least 2 for separating wet and dry ingredients)
- Wire whisk (for smooth, lump-free mixing)
- Measuring cups and spoons (separate sets for dry and liquid ingredients)
- Wire cooling rack (prevents soggy cake bottoms)
- Rubber spatula (for gentle folding technique)
Complete Shopping List for Vegan Cake
Baking Aisle
- All-purpose flour
- Granulated sugar
- Unsweetened cocoa powder
- Baking soda
- Vanilla extract
Pantry/Oil Section
- Vegetable oil
- Apple cider vinegar
- Salt
Refrigerated Section
- Non-dairy milk (almond or oat)
Beverage Aisle
- Coffee (for hot liquid enhancement)
Top 5 Vegan Cake Success Secrets
1. Room temperature ingredients blend more easily creating smoother vegan cake batter. Remove non-dairy milk from refrigerator 30 minutes before baking.
2. Never skip the vinegar and milk reaction – it activates baking soda for proper rise and creates the tender crumb structure that makes vegan cake so appealing.
3. Embrace thin batter consistency. Thin batter equals incredibly moist vegan cake. Resist adding more flour if mixture seems too liquid – trust the recipe.
4. Use the toothpick test correctly but look for moist crumbs, not completely clean. A completely clean toothpick means your vegan cake is overbaked and will be dry.
5. Patience with cooling pays off. Cool your vegan cake completely before cutting. Warm cake falls apart easily, while properly cooled cake slices cleanly and maintains beautiful shape for presentation.