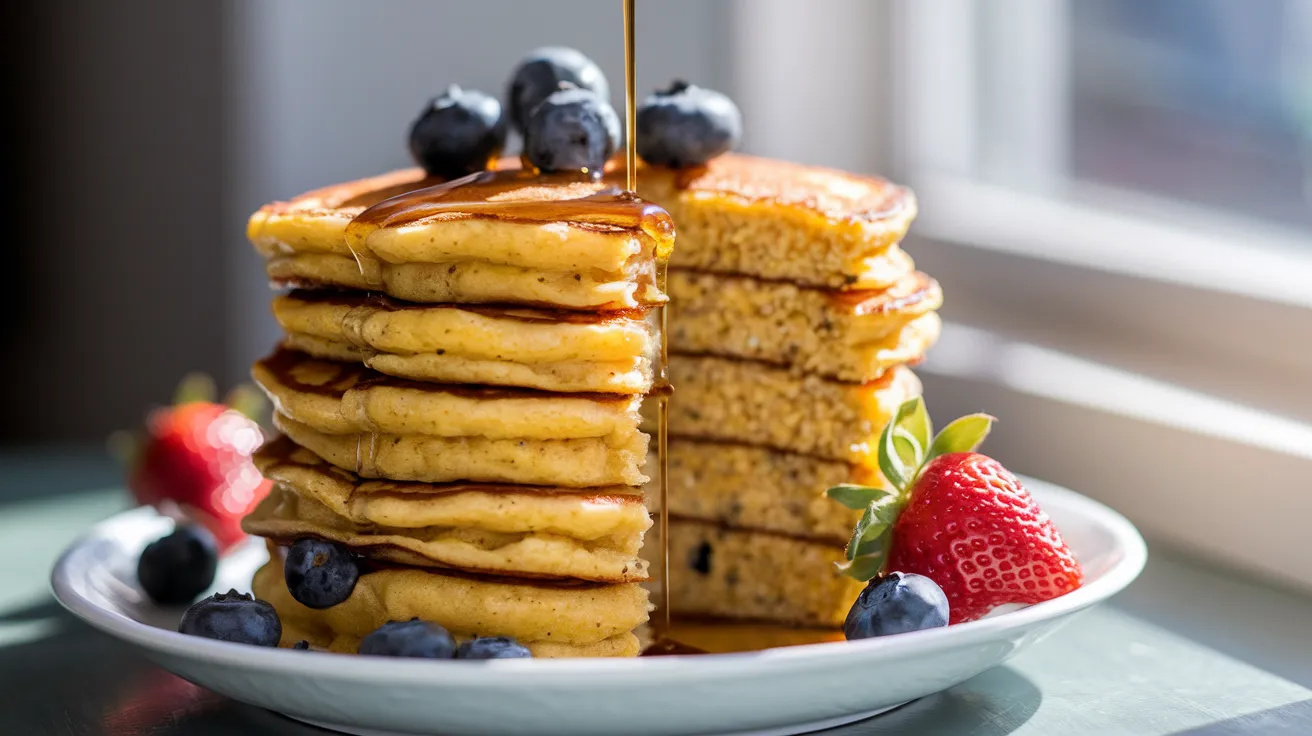
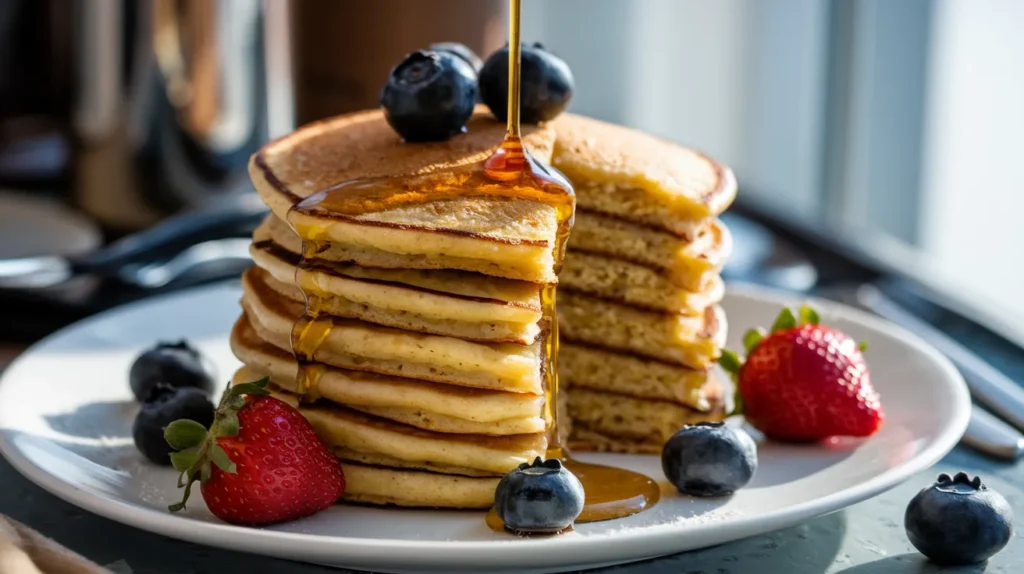
These golden, crispy-edged vegan cornmeal pancakes deliver the perfect balance of sweet corn flavor and fluffy texture without a single egg or drop of dairy. Whether you’re plant-based or just looking to shake up breakfast, this foolproof recipe creates stacks that rival any diner classic—ready in under 30 minutes with ingredients you probably already have.
SERVES: 4 | PREP: 10 MIN | COOK: 15 MIN | TOTAL: 25 MIN
Why This Vegan Cornmeal Pancakes Recipe Works
Most pancake recipes rely on eggs for structure and buttermilk for tang. Not these. Ground flaxseed creates the perfect binder while apple cider vinegar curdles the plant milk, mimicking that classic buttermilk chemistry. The cornmeal adds a subtle crunch and nutty sweetness that makes every bite interesting.
The secret? Letting your batter rest. Those 5 minutes allow the cornmeal to absorb liquid, preventing gummy centers. You’ll get pancakes with crispy edges and tender middles—exactly what you want.
Ingredients
Dry Ingredients
| Ingredient | Amount |
|---|---|
| All-purpose flour | 1 cup |
| Cornmeal (fine or medium grind) | ½ cup |
| Granulated sugar | 2 tablespoons |
| Baking powder | 2 teaspoons |
| Baking soda | ½ teaspoon |
| Salt | ¼ teaspoon |
Wet Ingredients
| Ingredient | Amount |
|---|---|
| Unsweetened almond milk (or any plant milk) | 1¼ cups |
| Apple cider vinegar | 1 tablespoon |
| Ground flaxseed | 2 tablespoons |
| Warm water | 5 tablespoons |
| Vegetable oil | 3 tablespoons |
| Vanilla extract | 1 teaspoon |
For Cooking
| Ingredient | Amount |
|---|---|
| Coconut oil or vegan butter | As needed for griddle |
Step-by-Step Instructions
Phase 1: Prepare Your Egg Replacer (5 minutes resting time)
Step 1: Mix your ground flaxseed with the warm water in a small bowl. Stir vigorously with a fork until combined—it’ll look watery at first, and that’s fine. Set this aside for 5 minutes while you prep everything else. Why this matters: The flaxseed absorbs water and turns gelatinous, creating the exact binding properties eggs normally provide. Without this rest time, your pancakes won’t hold together properly.
Phase 2: Create Your Vegan “Buttermilk” (2 minutes)
Step 2: Pour the almond milk into a measuring cup or medium bowl. Add the apple cider vinegar directly into the milk and give it a quick stir. Let this sit for 2-3 minutes—you’ll notice it getting slightly thicker and curdled. The science: This acid-milk reaction creates tang and activates the baking soda for extra fluffiness. Don’t skip this step or your pancakes will taste flat.
Phase 3: Mix Your Dry Ingredients (2 minutes)
Step 3: Grab a large mixing bowl and whisk together the flour, cornmeal, sugar, baking powder, baking soda, and salt. Whisk for about 30 seconds to ensure everything’s evenly distributed—you don’t want pockets of baking powder creating uneven rise. Break up any cornmeal clumps with the back of your whisk. Pro tip: If your cornmeal feels coarse, you can pulse it in a blender for 10 seconds to make it finer, which creates smoother pancakes.
Phase 4: Combine Wet Ingredients (1 minute)
Step 4: Check your flax mixture—it should look thick and egg-like now. Add the vegetable oil and vanilla extract to your curdled plant milk, then pour in the flax mixture. Whisk these together until you have a uniform liquid with small flax specks throughout. The oil might want to separate, so whisk until it’s mostly incorporated.
Phase 5: Create the Batter (3 minutes + 5 minutes rest)
Step 5: Pour your wet ingredients into the bowl of dry ingredients. Using a spatula or wooden spoon, fold the mixture together with 15-20 gentle strokes. Stop when you still see a few flour streaks—the batter should look lumpy and rough. Critical mistake to avoid: Overmixing develops gluten, making your pancakes tough and dense instead of fluffy. Lumps are your friend here.
Step 6: Let the batter rest on your counter for 5 minutes. Cover it loosely with a kitchen towel. During this time, the cornmeal absorbs moisture, the baking powder starts working, and the flour hydrates. You’ll see the batter thicken slightly and become more cohesive. If you’re working with pancakes with cassava flour, you’ll notice similar resting benefits for optimal texture.
Phase 6: Heat Your Cooking Surface (3 minutes)
Step 7: Place a nonstick griddle or large skillet over medium heat (about 350°F if using an electric griddle). Add a small amount of coconut oil or vegan butter—about ½ teaspoon. Let the pan heat for 2-3 minutes until the oil shimmers but doesn’t smoke. Temperature test: Flick a tiny drop of water onto the surface. It should sizzle and evaporate within 2 seconds. Too fast? Lower the heat. Too slow? Give it more time.
Phase 7: Cook First Side (2-3 minutes per batch)
Step 8: Using a ¼-cup measuring cup, scoop batter and pour it onto the hot griddle, holding the cup about 2 inches above the surface. Don’t spread the batter—let it naturally form a circle about 4 inches wide. You should fit 3-4 pancakes depending on your pan size. Leave at least 2 inches between each pancake so they don’t merge.
Step 9: Watch for the bubble magic. After about 2 minutes, you’ll see small bubbles forming across the entire surface. Wait until the bubbles around the edges start to pop and leave small holes that don’t fill back in. The edges should look dry and slightly matte, not wet and shiny. Visual cue: The underside should be golden brown when you peek. If you flip too early, the pancake will tear and stay gooey inside.
Phase 8: Flip and Finish (1-2 minutes)
Step 10: Slide your spatula completely under one pancake in a single confident motion. Flip it quickly and let it drop gently onto the griddle. The second side cooks faster—only 60-90 seconds. You’re just setting the batter and creating light browning. Safety note: The steam release when flipping can splatter. Keep your face back and flip away from yourself.
Step 11: Check doneness by pressing the center gently with your fingertip. It should spring back immediately, not leave an indentation. If it feels squishy, give it another 30 seconds. Transfer finished pancakes to a plate and cover loosely with foil to keep warm.
Phase 9: Continue Batching (10-12 minutes total)
Step 12: Between batches, check your heat. If pancakes are browning too fast (under 90 seconds per side), reduce to medium-low. If they’re taking over 3 minutes, increase slightly. Add a tiny bit more oil before each batch—just enough to lightly coat the surface. Stir your batter gently before each scoop, as the cornmeal settles to the bottom.
Chef’s Notes
Cornmeal texture matters. Fine-ground cornmeal creates smoother vegan cornmeal pancakes, while medium-grind adds more texture and crunch. Avoid coarse-ground polenta unless you like seriously textured pancakes.
Plant milk flexibility. Any unsweetened variety works—soy creates the richest flavor, oat adds natural sweetness, and cashew makes them extra tender. Just avoid vanilla-flavored versions, which make the batter too sweet.
The flax substitution. You can use 2 tablespoons of chia seeds instead of flax. The texture difference is minimal, though chia creates slightly speckled pancakes. Both work equally well as binders in vegan cornmeal pancakes.
Altitude adjustments. Above 3,500 feet? Reduce baking powder to 1½ teaspoons and add 2 tablespoons more plant milk. High altitude makes pancakes rise faster and dry out quicker.
Nutrition Facts (Per Serving)
Calories: 285
Protein: 5g
Carbohydrates: 42g
Fat: 11g
Fiber: 3g
Sugar: 7g
Sodium: 380mg
Creative Variations
Blueberry Cornmeal Pancakes: Fold ¾ cup fresh or frozen blueberries into the rested batter. Frozen berries work better—they don’t bleed as much. Add ½ teaspoon lemon zest to the wet ingredients for brightness.
Savory Herb Version: Omit the sugar and vanilla. Add 2 tablespoons chopped fresh chives, 1 teaspoon dried thyme, and ¼ teaspoon black pepper to the dry ingredients. Serve with vegan butter and a pinch of sea salt. These pair beautifully with soups or chilies.
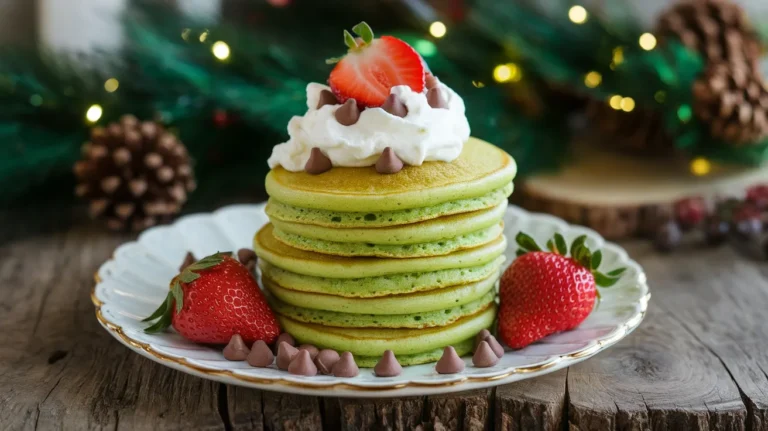
Chocolate Chip Twist: Mix ⅓ cup vegan chocolate chips into the batter after resting. For something similar to classic favorites, check out these Bisquick pancakes that also accommodate dairy-free chocolate chips beautifully.
Maple Pecan Pancakes: Replace 2 tablespoons of plant milk with pure maple syrup in the wet ingredients. Fold in ⅓ cup chopped pecans after the batter rests. Toast the pecans first for 5 minutes at 350°F for deeper flavor.
Storage & Reheating
Refrigerator: Stack cooled pancakes with parchment paper between each one. Store in an airtight container for up to 4 days. The cornmeal actually improves slightly after a day—it softens and the flavors meld.
Freezer: Flash-freeze pancakes in a single layer on a baking sheet for 1 hour, then transfer to a freezer bag. They’ll keep for 3 months. No need for parchment paper when frozen—they won’t stick.
Reheating from refrigerated: Microwave for 30-40 seconds per pancake, or toast in a 350°F oven for 5-7 minutes until warmed through. The oven method restores crispiness better.
Reheating from frozen: Pop frozen pancakes directly in a toaster on medium setting for 2 cycles, or microwave for 60-90 seconds, flipping halfway. For best results, let them thaw in the fridge overnight before reheating.
Troubleshooting Common Problems
Problem: Pancakes are dense and heavy
Solution: You overmixed the batter. Remember—lumps are good! Mix only until the flour disappears (about 15-20 strokes). Also check your baking powder—if it’s older than 6 months, it loses potency. Test it by adding ½ teaspoon to hot water; it should bubble vigorously.
Problem: They’re falling apart when you flip
Solution: Your flax eggs didn’t set properly. Make sure you used warm water (not cold) and let the mixture sit for the full 5 minutes until it’s gel-like. Also, wait for those surface bubbles to pop before flipping—flipping too early means the structure hasn’t set.
Problem: Burnt outside, raw inside
Solution: Heat’s too high. Lower to medium or medium-low. Vegan cornmeal pancakes need gentle, steady heat to cook through without scorching. Your first batch is always a test—adjust temperature based on results. Each stove is different.
Problem: Pancakes are spreading too thin
Solution: Your batter’s too runny. Let it rest longer—up to 10 minutes. The cornmeal needs time to absorb liquid. If it’s still thin, whisk in flour 1 tablespoon at a time until it reaches thick, pourable consistency like honey.
Problem: Bitter or soapy aftertaste
Solution: Too much baking powder or baking soda. Measure carefully with proper measuring spoons, and level them off with a knife edge. Also, mix your batter more thoroughly in step 5—unmixed pockets of leavening create bitter spots.
Equipment Essentials
- Large mixing bowl (at least 3-quart capacity)
- Medium mixing bowl for wet ingredients
- Whisk for dry ingredients
- Measuring cups and spoons (dry and liquid measures)
- ¼-cup measuring cup or ice cream scoop for portioning
- Nonstick griddle or large skillet (10-12 inches)
- Wide spatula with thin edge for easy flipping
- Small bowl for flax eggs
- Kitchen towel for covering batter
Equipment alternatives: Don’t have a griddle? A well-seasoned cast iron skillet works beautifully. No whisk? A fork works fine for mixing dry ingredients.
Shopping List
Baking Aisle
- All-purpose flour
- Cornmeal (fine or medium grind)
- Granulated sugar
- Baking powder
- Baking soda
- Salt
- Vanilla extract
Health Food Section
- Ground flaxseed
- Vegetable oil
- Coconut oil or vegan butter
Refrigerated Section
- Unsweetened almond milk (or preferred plant milk)
Condiments
- Apple cider vinegar
Success Secrets
1. Temperature consistency wins. The difference between mediocre and amazing vegan cornmeal pancakes is heat control. Medium heat (350°F) throughout cooking creates even browning and thorough cooking. Resist the urge to crank the heat—patience pays off.
2. Fresh leavening is non-negotiable. Baking powder and baking soda lose effectiveness after 6 months. Write the opening date on the containers. To test baking powder: mix ½ teaspoon with hot water (it should fizz vigorously). For baking soda: mix ¼ teaspoon with vinegar (should bubble immediately).
3. Don’t crowd the pan. Three to four pancakes maximum per batch allows proper heat circulation and easy flipping. Cramming more means uneven cooking and difficult maneuvering. Work in batches and keep finished pancakes warm in a 200°F oven.
4. The first pancake is your test run. Professional chefs call it the “sacrifice pancake.” Use it to gauge heat, batter consistency, and timing. Adjust before making the rest of your batch. Don’t get discouraged if it’s imperfect—that’s exactly what it’s for.
5. Serve immediately for best texture. These vegan cornmeal pancakes are at their absolute peak within 5 minutes of cooking—crispy edges, fluffy centers, and maximum corn flavor. If making ahead, undercook slightly (by 15-20 seconds per side) so reheating doesn’t dry them out.
Enjoy your stack of golden, crispy-edged vegan cornmeal pancakes! These beauties prove you don’t need eggs or dairy for breakfast perfection. The cornmeal adds that special something that’ll have everyone asking for seconds.