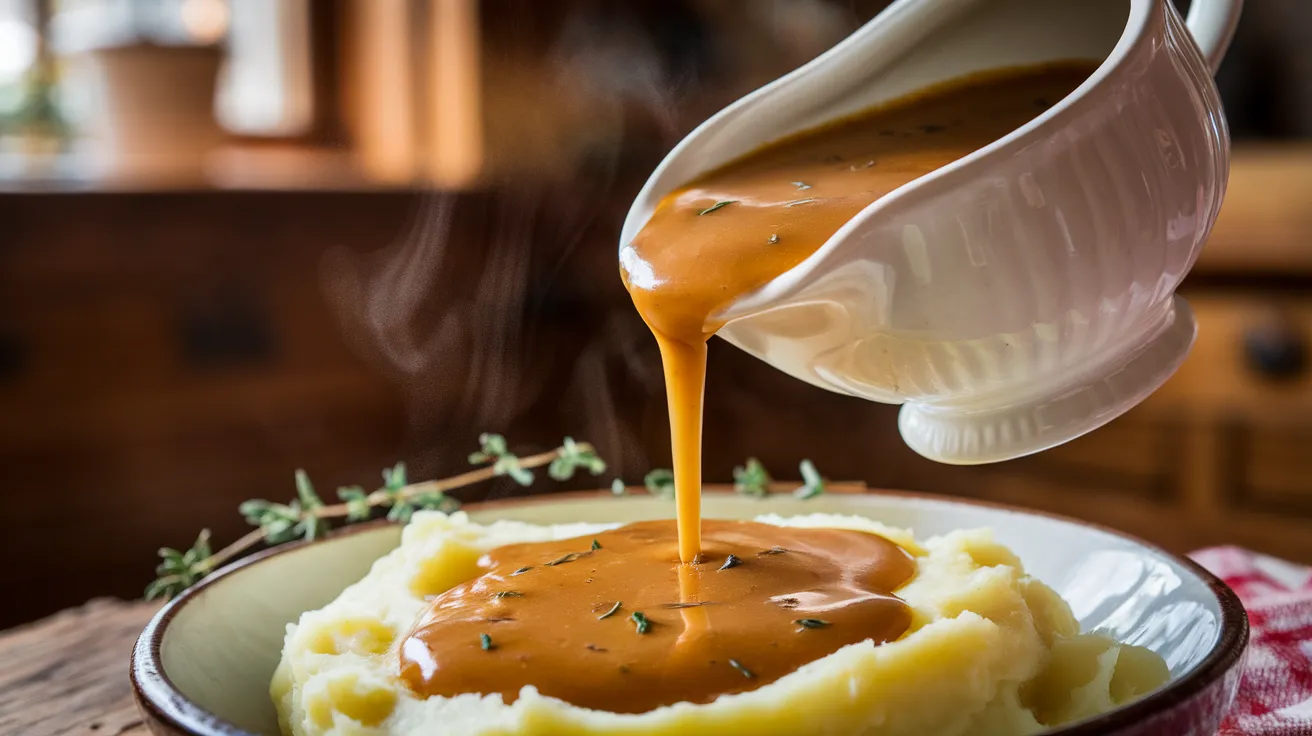
This vegan gravy transforms simple plant-based ingredients into a luxuriously creamy sauce that’s impossible to distinguish from traditional gravy. Perfect for holiday dinners or weeknight comfort meals, this vegan gravy delivers all the savory depth you crave without any animal products. Even meat-eaters won’t believe this incredibly flavorful gravy contains zero dairy or animal stock.
SERVES: 4 | PREP: 20 MIN | COOK: 25 MIN | TOTAL: 45 MIN
Ingredients
Base Ingredients
| Ingredient | Amount |
|---|---|
| Vegetable broth (low-sodium) | 3 cups |
| All-purpose flour | 1/4 cup |
| Nutritional yeast | 3 tablespoons |
| Soy sauce (low-sodium) | 2 tablespoons |
| Olive oil | 3 tablespoons |
Aromatics & Seasonings
| Ingredient | Amount |
|---|---|
| Yellow onion (finely diced) | 1 medium |
| Fresh garlic (minced) | 4 cloves |
| Fresh thyme (chopped) | 2 teaspoons |
| Bay leaves | 2 whole |
| Black pepper (freshly ground) | 1/2 teaspoon |
| Salt | 1/2 teaspoon |
Flavor Enhancers
| Ingredient | Amount |
|---|---|
| Mushroom powder | 1 tablespoon |
| Tomato paste | 1 teaspoon |
| Fresh sage (chopped) | 1 tablespoon |
Detailed Step-by-Step Vegan Gravy Instructions
Phase 1: Preparing Your Ingredients and Equipment (5 minutes)
1. Set up your workspace completely before you begin cooking. Measure all ingredients into separate small bowls – this is called “mise en place” and prevents mistakes. Place your vegetable broth in a measuring cup nearby, have your whisk ready, and keep a wooden spoon within reach. Beginners often rush this step, but proper preparation makes the cooking process much smoother and more enjoyable.
2. Dice your onion into uniform 1/4-inch pieces. Use a sharp knife and cut slowly for safety. First, cut the onion in half from root to tip, peel off the papery skin, then make horizontal cuts (don’t cut all the way through the root), followed by vertical cuts. Finally, slice across to create small, even dice. Uniform pieces cook evenly, preventing some bits from burning while others stay raw.
3. Mince garlic using the flat side of your knife. Crush each clove with the flat side of your chef’s knife to loosen the skin, then peel and finely chop. For beginners, aim for pieces smaller than rice grains. If you’re nervous about knife skills, use a garlic press instead – just remember to remove any large pieces that don’t go through the press.
Phase 2: Building the Aromatic Foundation (8 minutes)
4. Heat olive oil in your heavy-bottomed saucepan over medium heat for 60-90 seconds. You’ll know it’s ready when the oil shimmers and moves easily when you tilt the pan slightly. If you don’t have a heavy-bottomed pan, use your thickest saucepan and reduce heat to medium-low to prevent scorching. The oil should never smoke – if it does, remove from heat and let it cool slightly.
5. Add diced onion and listen for a gentle sizzling sound. This sizzle tells you the temperature is correct. Stir the onions every 60-90 seconds with your wooden spoon, scraping up any bits that stick to the bottom. Cook for 4-5 minutes total until the onions turn translucent and golden around the edges. They should smell sweet and aromatic, not sharp or pungent.
6. Create an aromatic herb mixture by adding garlic, thyme, and sage all at once. Stir constantly for exactly 60 seconds – set a timer if needed. The garlic should smell fragrant but not brown. If you see the garlic turning golden, immediately reduce your heat. Burned garlic tastes bitter and will ruin your vegan gravy, so watch carefully during this crucial step.
7. Stir in tomato paste and mushroom powder, cooking for exactly 30 seconds. The tomato paste will darken slightly and become more aromatic – this concentrates its flavor. The mushroom powder adds incredible umami depth that makes this vegan gravy taste rich and meaty. Keep stirring constantly during this brief cooking time to prevent anything from sticking or burning.
Phase 3: Creating the Perfect Roux (6 minutes)
8. Sprinkle flour evenly over the aromatic mixture, then immediately begin whisking. Don’t let the flour sit without stirring or it will form lumps. Use confident, circular motions with your whisk, making sure to reach into the corners of the pan. The mixture will look pasty at first – this is completely normal and expected.
9. Cook the flour mixture (called a roux) for 3-4 minutes, whisking constantly. Watch for a color change from pale yellow to golden brown, similar to peanut butter. You’ll also notice the smell change from raw and floury to nutty and toasted. This step eliminates the raw flour taste and creates the thickening base for your gravy. If your roux browns too quickly, reduce heat slightly.
10. Test your roux by smelling it – it should smell nutty and toasted, never burned. A properly cooked roux is the foundation of smooth, flavorful gravy. If you skip this step or rush it, your vegan gravy will taste like flour and have an unpleasant texture. The roux should bubble gently but never violently – adjust heat as needed.
Phase 4: Gradually Building the Vegan Gravy Base (10 minutes)
11. Begin adding vegetable broth very slowly, starting with just 1/4 cup. Pour the broth in a thin stream while whisking vigorously and continuously. The mixture will bubble and steam dramatically – don’t worry, this is normal. Keep whisking until completely smooth before adding more liquid. This gradual method prevents lumps from forming.
12. Continue adding broth in 1/2 cup increments, whisking after each addition. Wait until each addition is completely incorporated and smooth before adding more. The mixture will seem very thick at first, then gradually become more liquid. If you see any lumps forming, whisk more vigorously until they disappear before proceeding.
13. Add the remaining seasonings: bay leaves, soy sauce, and nutritional yeast. Stir these in gently with a wooden spoon rather than whisking. The nutritional yeast provides that essential cheesy, savory flavor that makes this vegan gravy so satisfying. The soy sauce adds saltiness and umami depth, while bay leaves contribute subtle herbal complexity.
14. Bring the mixture to a gentle simmer over medium-low heat. You’ll see small bubbles consistently breaking the surface, but it shouldn’t be rapidly boiling. Rapid boiling can cause the gravy to break or become grainy. If it starts boiling hard, immediately reduce heat and stir gently to calm it down.
Phase 5: Perfecting Your Vegan Gravy Consistency (8 minutes)
15. Simmer the gravy uncovered for 8-10 minutes, whisking every 2-3 minutes. During this time, the flour will fully cook and the flavors will meld together beautifully. The gravy will gradually thicken to the perfect consistency. If it seems to be thickening too quickly, reduce heat slightly and add a splash more broth.
16. Test the consistency by coating the back of a wooden spoon. Dip a clean wooden spoon into the gravy, then draw your finger across the back. If the line holds without immediately filling in, your gravy is perfectly thickened. If it’s too thin, simmer 2-3 minutes longer. If too thick, whisk in warm broth one tablespoon at a time.
17. Taste your vegan gravy and adjust seasoning carefully. Start with a small spoonful, blow on it to cool, then taste. Add salt in 1/4 teaspoon increments, pepper in pinches, and more soy sauce in 1/2 teaspoon amounts. Remember, you can always add more seasoning, but you can’t take it away. The gravy should taste rich, savory, and well-balanced.
Phase 6: Final Touches and Serving (3 minutes)
18. Remove and discard the bay leaves using a spoon or tongs. Fish around gently until you find both leaves – they’ve done their job of adding subtle flavor. Never leave bay leaves in the finished gravy as they’re not pleasant to bite into and can be a choking hazard.
19. Give your vegan gravy one final whisk to ensure silky smoothness. Use smooth, confident strokes to incorporate any film that may have formed on top. If you notice any small lumps, strain the gravy through a fine-mesh sieve into a clean saucepan, then return to low heat.
20. Make final consistency adjustments if needed. If your gravy has thickened too much during the final steps, whisk in warm vegetable broth one tablespoon at a time until you reach the perfect pourable consistency. Remember, the gravy will continue to thicken slightly as it cools, so aim for just slightly thinner than your desired final texture.
Chef’s Notes for Perfect Vegan Gravy
Perfect Consistency Tip: Your vegan gravy should coat a spoon but still pour easily. It will thicken slightly as it cools, so aim for slightly thinner than your desired final texture.
Mushroom Magic: The mushroom powder is the secret weapon that gives this gravy its meaty, umami-rich flavor that rivals any traditional version.
Make It Richer: For extra depth, sauté 4 ounces of chopped mushrooms with the onions. This adds texture and intensifies the earthy flavor profile.
Herb Flexibility: Fresh herbs make a difference, but dried work too. Use 1/3 the amount of dried herbs and add them with the flour for best results.
Nutrition Per Serving
- Calories: 95
- Protein: 3g
- Carbohydrates: 8g
- Fat: 6g
- Fiber: 2g
- Sodium: 380mg
Delicious Vegan Gravy Variations
Mushroom Lover’s Gravy
Sauté 8 ounces mixed mushrooms until golden before adding flour. Creates an incredibly rich, chunky texture that’s perfect over mashed potatoes. Try this alongside our vegan green bean casserole for the ultimate comfort meal.
Herb Garden Vegan Gravy
Add 1 tablespoon each fresh rosemary and oregano with the thyme. This creates a more complex herbal profile that’s stunning with roasted vegetables.
Smoky Chipotle Gravy
Stir in 1 teaspoon chipotle powder and 1/2 teaspoon smoked paprika with the flour. Perfect for adding southwestern flair to your holiday table.
Wine-Enhanced Gravy
Replace 1/2 cup broth with dry white wine, adding it first to cook off the alcohol. This creates restaurant-quality depth that pairs beautifully with our vegan gluten-free dessert for a complete meal.
Storage & Reheating Your Vegan Gravy
Refrigerator: Store in an airtight container for up to 5 days. The gravy will thicken considerably when cold – this is completely normal.
Freezer: Freeze for up to 3 months in freezer-safe containers. Leave 1 inch of headspace for expansion.
Reheating: Warm over medium-low heat, whisking frequently. Add warm broth 1 tablespoon at a time to restore original consistency. Never reheat on high heat as it can cause separation.
Make-Ahead Tip: This vegan gravy actually improves in flavor overnight. Make it a day ahead and reheat gently before serving.

Troubleshooting Your Vegan Gravy
Problem: Lumpy Gravy
Solution: Strain through a fine-mesh sieve, then return to pan. For future batches, whisk more vigorously when adding liquid and ensure your roux isn’t too hot.
Problem: Too Thin
Solution: Mix 2 tablespoons flour with 3 tablespoons cold water. Whisk this slurry into simmering gravy and cook 2-3 minutes until thickened.
Problem: Too Thick
Solution: Gradually whisk in warm vegetable broth, 1 tablespoon at a time, until desired consistency is reached. Always use warm liquid to prevent shocking the gravy.
Problem: Lacks Flavor
Solution: Add more soy sauce for saltiness, nutritional yeast for richness, or a splash of balsamic vinegar for depth. Taste after each addition.
Problem: Gravy Separates
Solution: Remove from heat and whisk vigorously. If that doesn’t work, blend with an immersion blender for 30 seconds to re-emulsify.
Equipment Essentials
- Heavy-bottomed saucepan (prevents scorching)
- Wire whisk (ensures smooth texture)
- Fine-mesh strainer (backup for lumps)
- Measuring cups and spoons
- Sharp knife and cutting board
- Wooden spoon (for stirring aromatics)
Shopping List
Produce Section
- 1 medium yellow onion
- 1 head fresh garlic
- Fresh thyme bunch
- Fresh sage bunch
Pantry Aisle
- All-purpose flour
- Olive oil
- Bay leaves
- Black peppercorns
- Salt
Health Food Section
- Nutritional yeast
- Mushroom powder
- Low-sodium vegetable broth
- Low-sodium soy sauce
- Tomato paste
Success Secrets for Perfect Vegan Gravy
1. Always cook your roux until it’s golden brown and nutty-smelling. This eliminates any raw flour taste and creates the perfect foundation for your vegan gravy.
2. Add liquid gradually and whisk constantly. Rushing this step is the number one cause of lumpy gravy, so take your time for silky results.
3. Taste and adjust seasoning at the end. The flavors meld during cooking, so final seasoning ensures perfect balance in every spoonful.
4. Keep the heat at medium-low once simmering begins. High heat can cause the gravy to break or develop an unpleasant texture.
5. Make it ahead when possible. This vegan gravy tastes even better the next day as all the flavors have time to marry and develop complexity.