Key Takeaways:
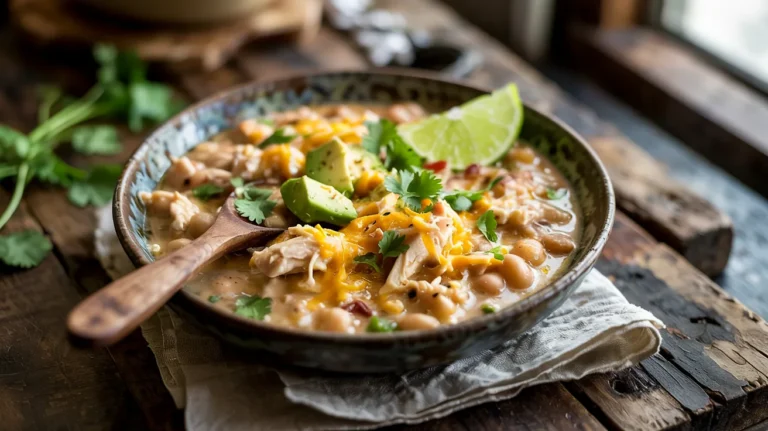
- This White Bean Chicken Chili Recipe creates a creamy, comforting meal in under an hour
- Lighter than traditional beef chili but still packed with protein and flavor
- Make-ahead friendly with simple storage options for busy weeknights
- Perfect serving size for 4 people with easy options to scale up
Prep Time: 10 minutes Cook Time: 35-40 minutes Total Time: 45-50 minutes Servings: 4
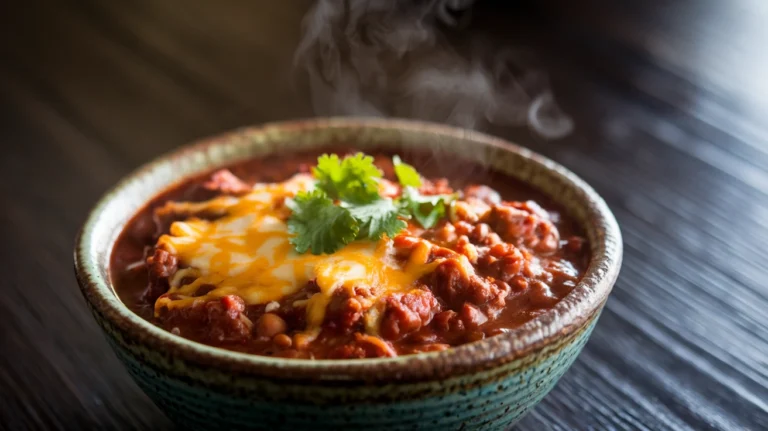
Tired of the same old tomato-based chili? This White Bean Chicken Chili Recipe is about to become your new go-to comfort meal. Unlike traditional beef chili, this lighter version combines tender chicken and creamy beans in a flavorful broth that’s just as satisfying but won’t weigh you down. I’ve perfected this recipe after many test runs, and it hits all the right notes: creamy, savory, with just the right amount of spice. The best part? It’s perfect for beginners and comes together quickly for those busy weeknights when you need dinner on the table fast.
Nutrition Comparison
| Nutrient (per serving) | White Bean Chicken Chili | Traditional Beef Chili |
|---|---|---|
| Calories | 420 | 560 |
| Protein | 35g | 32g |
| Fat | 19g | 28g |
| Carbohydrates | 32g | 40g |
| Fiber | 8g | 9g |
| Sodium | 650mg | 950mg |
What You’ll Need
Ingredients
| Ingredient | Amount |
|---|---|
| Boneless, skinless chicken breasts | 1.5 pounds |
| White cannellini beans | 3 (15 oz) cans |
| Yellow onion | 1 large |
| Poblano peppers | 2 medium |
| Garlic cloves | 4 |
| Low-sodium chicken broth | 4 cups |
| Frozen corn | 1 cup |
| Cream cheese | 8 oz |
| Olive oil | 2 tablespoons |
| Ground cumin | 2 tablespoons |
| Chili powder | 1 tablespoon |
| Dried oregano | 1 teaspoon |
| Salt and pepper | To taste |
Kitchen Equipment
| Tool | Purpose |
|---|---|
| Dutch oven/heavy-bottomed pot | Main cooking vessel |
| Sharp chef’s knife | Prepping vegetables and chicken |
| Cutting board | Safe cutting surface |
| Measuring cups and spoons | Precise measurements |
| Wooden spoon | Stirring without scratching pot |
| Can opener | Opening bean cans |
| Colander | Draining and rinsing beans |
| Ladle | Serving |
If you’re looking for a slow cooker version of white chicken chili, you can adapt this recipe with a few simple modifications.
Step-by-Step Instructions
Preparation Phase (10 minutes):
- Set Up Your Workspace:
- Clear kitchen counter
- Gather all ingredients and tools
- Take cream cheese out of refrigerator to soften
- Pre-measure all spices into a small bowl
- Prepare Your Vegetables:
- Peel onion and cut in half from top to bottom
- Place flat side down and dice into ¼-inch pieces (about 1 cup)
- Cut poblanos in half lengthwise and remove seeds and stems
- Dice poblanos into same size as onions (about ½ cup)
- Peel garlic cloves by pressing with flat side of knife
- Mince garlic finely (about 1 tablespoon)
- Prepare the Beans:
- Open all three cans
- Pour into colander in sink
- Rinse with cold water until foam disappears
- Let drain completely while preparing other ingredients
- Prepare the Chicken:
- Remove chicken from package and trim any excess fat
- Pat dry with paper towels (important for better browning)
- Cut into 1-inch cubes (bite-sized pieces)
- Season lightly with ¼ teaspoon each salt and pepper
Cooking Phase (35-40 minutes):
- Start the Base (5 minutes):
- Place Dutch oven on stove
- Turn heat to medium
- Add 2 tablespoons olive oil
- Wait until oil shimmers (about 30 seconds)
- Add diced onion and poblanos
- TIP: A pinch of salt now helps vegetables release moisture
- Stir every minute with wooden spoon
- Cook 5 minutes until vegetables soften and onions become translucent
- Add Aromatics (2 minutes):
- Add minced garlic
- WARNING: Watch carefully as garlic burns easily
- Stir constantly for 30 seconds until fragrant
- Add measured spices (2 tablespoons cumin, 1 tablespoon chili powder, 1 teaspoon oregano)
- Stir continuously for 1 minute to bloom spices
- TIP: Toasting spices enhances their flavor significantly
- Cook the Chicken (7-8 minutes):
- Add seasoned chicken pieces
- Stir to coat with spice mixture
- Cook, stirring every minute
- Look for chicken to turn from pink to white (about 7 minutes)
- TIP: Cut largest piece in half to check doneness
- Build the Chili (25 minutes):
- Pour in 4 cups chicken broth
- Scrape bottom of pot with wooden spoon to release browned bits
- Add drained beans and 1 cup corn
- Stir gently to combine everything
- Bring to gentle simmer (small bubbles around edge)
- Reduce heat to low
- Cover pot with lid slightly ajar
- Simmer 20 minutes, stirring occasionally
- CHECK: Chicken should reach 165°F on meat thermometer
- Finish the Chili (5 minutes):
- Cut softened cream cheese into 1-inch cubes
- Add cubes to pot
- Stir continuously until completely melted
- MISTAKE TO AVOID: Adding cold cream cheese will cause clumping
- Taste and add salt/pepper as needed
- Start with ½ teaspoon salt, add more if needed
- TIP: Add ¼ teaspoon black pepper for balanced flavor
Serving Phase (5 minutes):
- Let Rest:
- Remove pot from heat
- Let stand 5 minutes (chili will thicken slightly)
- Stir gently once more
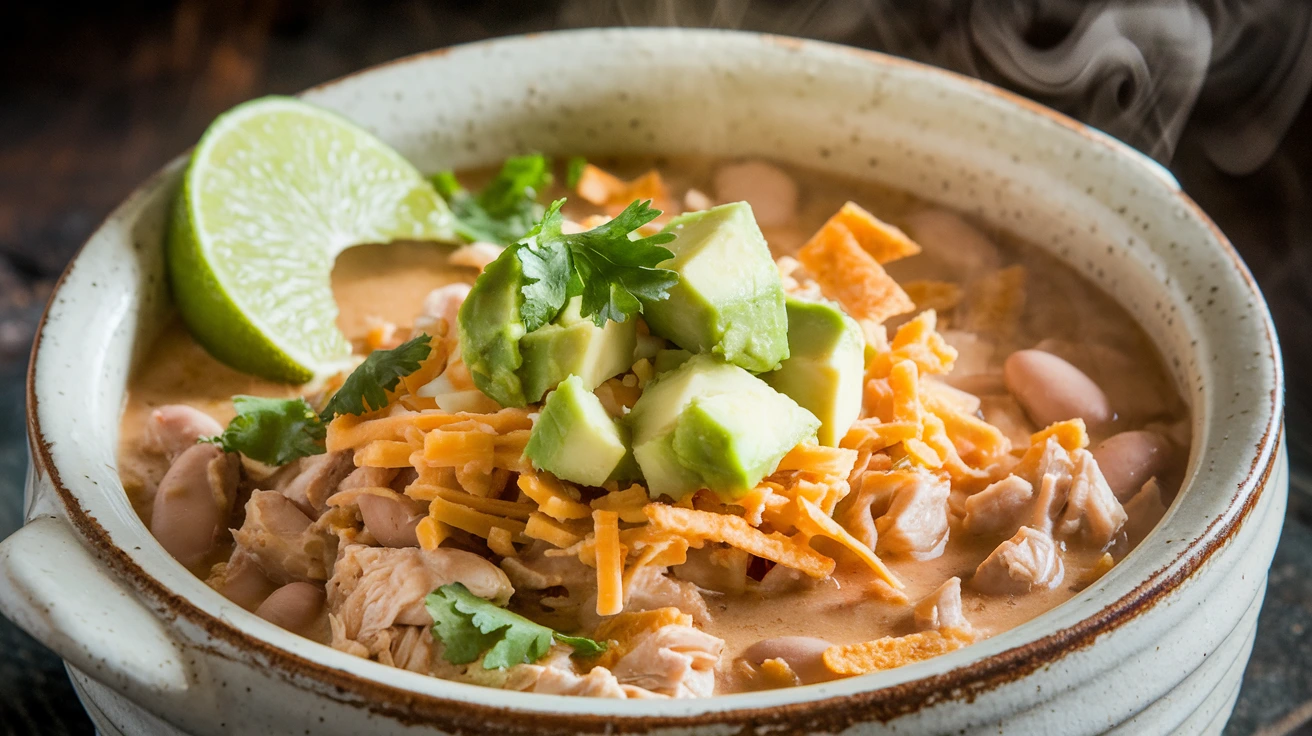
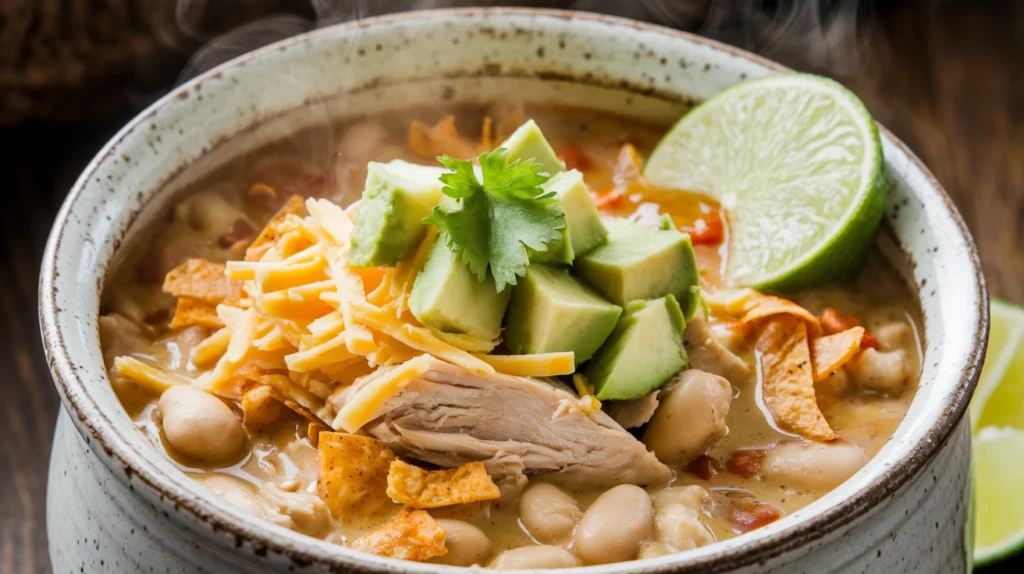
- Prepare Toppings (Optional):
- Shredded Monterey Jack cheese
- Chopped fresh cilantro
- Diced avocado
- Lime wedges
- Tortilla strips
- TIP: For extra crunch, try serving with homemade chili cheese fries on the side
- Serve:
- Ladle chili into bowls (about 1½ cups per serving)
- Leave room at top for toppings
- Let each person add preferred toppings
- Serve immediately while hot
Troubleshooting
- Too thin? Mash ⅓ of beans against pot side before adding cream cheese
- Too thick? Add more broth, ¼ cup at a time, until desired consistency
- Bland flavor? Add ½ teaspoon more cumin and ¼ teaspoon salt
- Too spicy? Stir in extra 2 ounces cream cheese or serve with sour cream
- Beans not tender? Simmer 10-15 minutes longer
Variations & Substitutions
- Protein Options: Swap chicken for 2 cups shredded rotisserie chicken (add in final 10 minutes)
- Bean Varieties: Use navy or great northern beans instead of cannellini
- Heat Level: Replace poblanos with 1 can mild green chiles or add 1 diced jalapeño for more heat
- Dairy-Free: Use 1 cup coconut cream instead of cream cheese
- Extra Veggies: Add 1 diced red bell pepper with onions
- Flavor Boost: Try adding 1 teaspoon sweet chili sauce for depth
Storage & Reheating
- Refrigerator: Store in airtight container up to 3 days
- Freezer: Freeze for up to 3 months (best frozen before adding cream cheese)
- Thawing: Thaw overnight in refrigerator
- Reheating:
- Stovetop: Heat on medium-low, stirring occasionally
- Microwave: Heat in 1-minute intervals, stirring between
- Refresh: Add splash of broth when reheating if too thick
Safety Notes & Tips
- Food Safety: Chicken must reach internal temperature of 165°F
- Dairy Safety: Don’t leave dairy-based chili at room temperature over 2 hours
- Proper Cooling: Allow to cool completely before refrigerating or freezing
- Ingredient Check: Ensure beans are not expired and wash all produce thoroughly
- Allergen Info: Contains dairy; can be modified for dairy-free diets
- Sodium Concerns: Use no-salt-added beans and low-sodium broth to reduce sodium