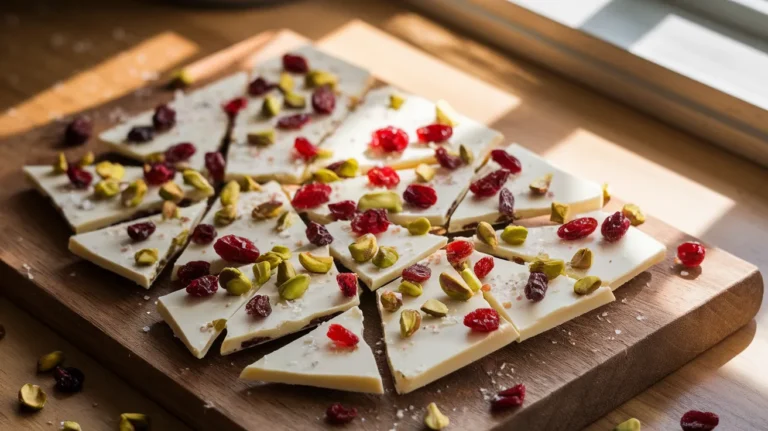
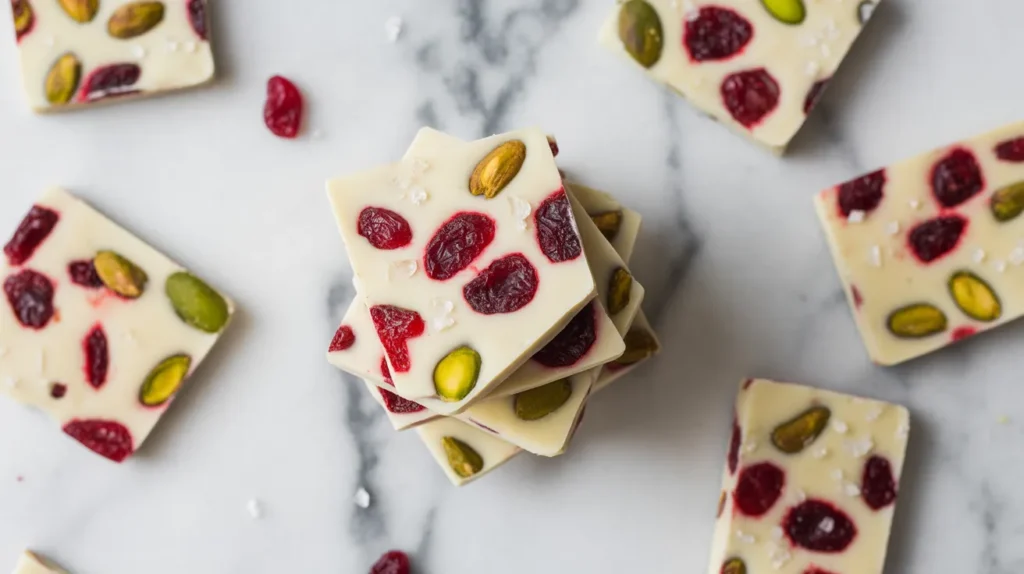
Making white chocolate bark at home is easier than you think. This white chocolate bark transforms simple ingredients into an elegant treat that looks impressive but takes minimal effort, perfect for gift-giving or holiday entertaining.
SERVES: 4 | PREP: 15 MIN | COOK: 5 MIN | TOTAL: 20 MIN (plus 1 hour chilling)
Ingredients
| Category | Ingredient | Amount |
|---|---|---|
| Base | White chocolate chips (high quality) | 12 oz |
| Toppings | Dried cranberries | 1/4 cup |
| Pistachios, chopped | 1/4 cup | |
| Sea salt flakes | 1/4 tsp | |
| Optional | Coconut oil | 1 tsp |
Step-by-Step Instructions
Phase 1: Preparation (5 minutes)
Step 1: Line a 9×13 inch baking sheet with parchment paper, making sure the paper extends over the edges. This creates handles for easy removal later and prevents sticking.
Step 2: Roughly chop your pistachios into small pieces about the size of a pea. Uneven pieces create visual interest and better distribution across the bark.
Step 3: Pat the dried cranberries dry with a paper towel if they feel sticky. Excess moisture can cause chocolate to seize or create an uneven surface.
Step 4: Set all your toppings within arm’s reach of your work area. Once chocolate is melted, you’ll need to work quickly before it begins to set.
Phase 2: Melting the Chocolate (5-7 minutes)
Step 5: Place 10 oz of white chocolate chips in a microwave-safe bowl, reserving 2 oz for tempering. Use glass or ceramic bowls, never plastic, as uneven heating can burn the chocolate.
Step 6: Microwave on 50% power for 30 seconds, then stir. The chocolate won’t look melted yet, but stirring distributes heat evenly and prevents burning.
Step 7: Continue microwaving in 20-second intervals at 50% power, stirring between each interval. Total time should be 2-3 minutes until 80% melted.
Step 8: Remove from microwave when small unmelted chips remain. The residual heat will melt these as you stir, preventing overheating. The chocolate should feel warm but not hot to the touch (around 110°F).
Step 9: Add the reserved 2 oz of chocolate chips to the melted chocolate. Stir continuously for 2-3 minutes until completely smooth. This simple tempering technique gives your white chocolate bark a professional snap and shine.
Step 10: If the chocolate seems too thick, stir in 1 tsp coconut oil to thin it slightly. The bark should pour like thick pancake batter.
Phase 3: Assembly and Setting (2 minutes active, 1 hour passive)
Step 11: Pour the melted chocolate onto your prepared baking sheet. Use a rubber spatula to spread it into a rectangle about 1/4 inch thick. Don’t worry about perfect edges—rustic looks charming.
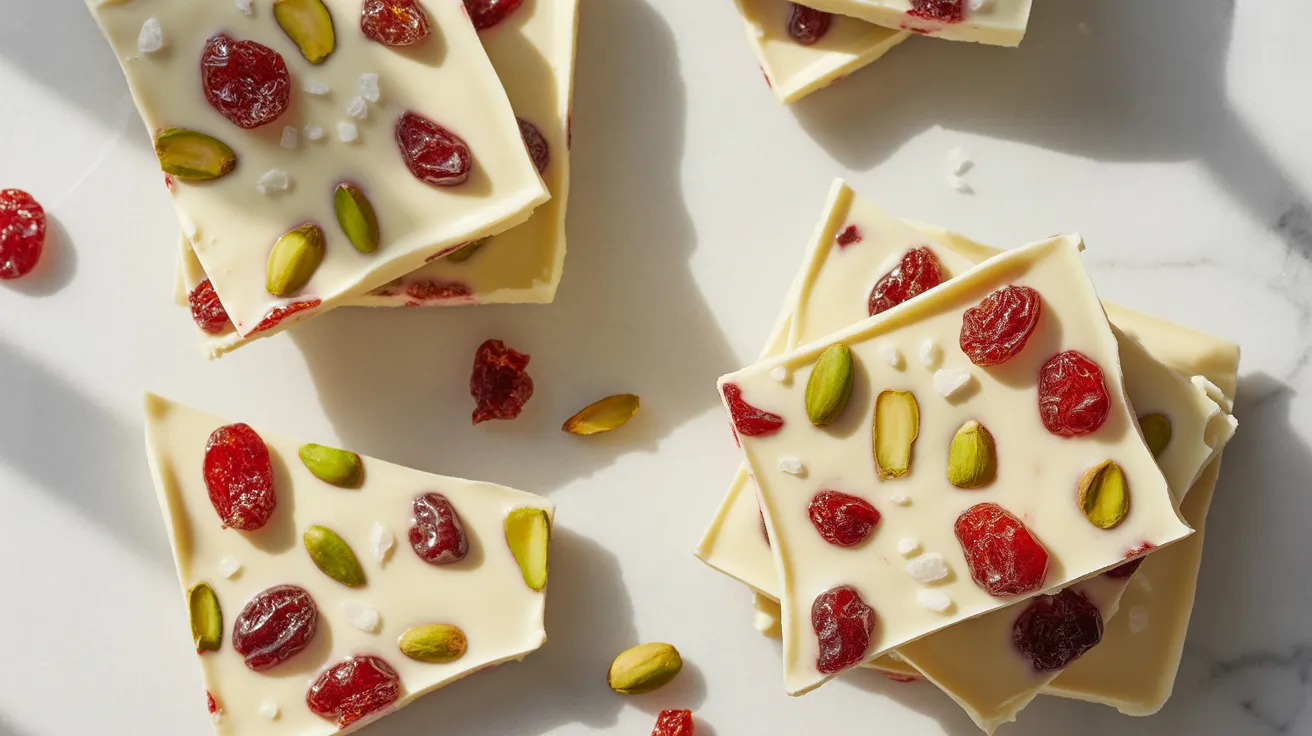
Step 12: Working quickly, sprinkle cranberries evenly across the surface, followed by pistachios. Press toppings gently into the chocolate with your fingertips so they stick when the bark is broken.
Step 13: Finish with a light sprinkle of sea salt flakes across the entire surface. The salt balances the sweetness and adds a gourmet touch.
Step 14: Transfer the baking sheet to your refrigerator and chill for 1 hour until completely firm. Don’t rush this step—partially set chocolate creates a grainy texture instead of a clean snap.
Step 15: Remove from refrigerator and let sit at room temperature for 5 minutes before breaking. This prevents the chocolate from shattering into tiny pieces.
Step 16: Lift the bark using the parchment paper handles. Break into irregular pieces by hand or cut with a sharp knife for uniform rectangles.
Chef’s Notes
Temperature Control: Keep your white chocolate bark between 88-90°F while spreading. Too hot and toppings sink; too cool and the surface looks dull.
Chocolate Quality Matters: Premium white chocolate with cocoa butter as the first ingredient creates superior texture. Avoid “white chips” made with vegetable oils.
Topping Timing: Add mix-ins the moment you finish spreading. Waiting even 30 seconds allows a skin to form that prevents proper adhesion.
Storage Strategy: Keep finished white chocolate bark in an airtight container with parchment between layers. It stays fresh for 2 weeks at room temperature.
Nutrition Information (Per Serving)
- Calories: 285
- Protein: 4g
- Carbohydrates: 32g
- Fat: 16g
- Fiber: 2g
- Sugar: 28g
Creative Variations
Peppermint Bark: Swap cranberries for crushed candy canes and add 1/4 tsp peppermint extract to melted chocolate. This variation rivals any store-bought version.
Triple Berry Bark: Combine dried strawberries, blueberries, and raspberries for a colorful twist. The tart berries complement white chocolate’s sweetness beautifully.
Cookie Crumble Bark: Top with crushed Oreos or graham crackers before chilling. If you love cookies and chocolate together, try this coconut almond cookie bark for another irresistible combination.
Pistachio Cranberry Premium: Double the pistachios and cranberries, then drizzle with dark chocolate after the white chocolate sets. For more pistachio inspiration, check out this pistachio cranberry bark with a festive presentation.
Storage & Reheating
Room Temperature Storage: Keep white chocolate bark in an airtight container lined with parchment paper for up to 2 weeks. Store in a cool, dry place away from direct sunlight.
Refrigerator Storage: Extend freshness to 3-4 weeks by refrigerating in a sealed container. Let pieces sit at room temperature for 5 minutes before serving to restore optimal texture.
Freezer Storage: Freeze for up to 3 months wrapped tightly in plastic wrap, then placed in a freezer bag. Thaw in the refrigerator overnight.
Humidity Warning: Never store white chocolate bark in humid conditions. Moisture causes “sugar bloom”—a grainy white coating that ruins texture.
Troubleshooting Common Problems
Problem: Chocolate seized into a grainy, clumpy mess Your chocolate came into contact with water or steam. Even one drop causes seizing. Start over with dry bowls and utensils. Avoid covering bowls, as condensation forms on lids.
Problem: Toppings won’t stick to the surface You waited too long after spreading the chocolate. The surface developed a skin that prevents adhesion. Next time, have all toppings ready before melting chocolate, and work within 60 seconds of spreading.
Problem: Bark tastes waxy or greasy You used low-quality white chocolate chips made with vegetable oils instead of cocoa butter. Invest in premium brands like Ghirardelli or Lindt for authentic flavor and smooth mouthfeel.
Problem: Surface looks streaky or dull The chocolate cooled too quickly or wasn’t properly tempered. When chocolate cools below 80°F before spreading, it loses its shine. Reheat gently to 88-90°F and spread immediately.
Problem: Bark is too thick and hard to bite You spread the chocolate too thick. Aim for 1/4 inch thickness—about the height of two stacked quarters. Thick bark creates jaw fatigue instead of a pleasant snap.
Equipment Essentials
- 9×13 inch baking sheet (rimmed for stability)
- Parchment paper (never wax paper, which melts)
- Microwave-safe glass bowl (2-quart capacity)
- Rubber spatula (heat-resistant silicone)
- Sharp knife (for chopping pistachios)
- Kitchen thermometer (optional but helpful)
Shopping List
Baking Aisle:
- White chocolate chips (12 oz)
- Parchment paper
Dried Fruit Section:
- Dried cranberries (1/4 cup)
Nuts/Snacks:
- Pistachios, shelled (1/4 cup)
Spice Aisle:
- Sea salt flakes
Optional:
- Coconut oil
Success Secrets
1. Quality First: Premium white chocolate with cocoa butter as the primary ingredient makes the difference between waxy disappointment and silky perfection. Read ingredient labels carefully.
2. Patience Pays: Let your white chocolate bark chill for the full hour. Impatience creates soft, bendy bark instead of crisp, snappy pieces that break cleanly.
3. Temperature Watch: Overheated chocolate above 120°F separates and becomes grainy. Stop microwaving when small chunks remain—they’ll melt from residual heat as you stir.
4. Prep Everything: Have your baking sheet lined, toppings measured, and workspace clear before melting chocolate. You’ll have only 2-3 minutes of working time once chocolate reaches the right consistency.
5. Dry Ingredients: Moisture is white chocolate’s enemy. Ensure all bowls, utensils, and toppings are completely dry. Even humid air on a rainy day can affect results—run your air conditioner or wait for drier weather.