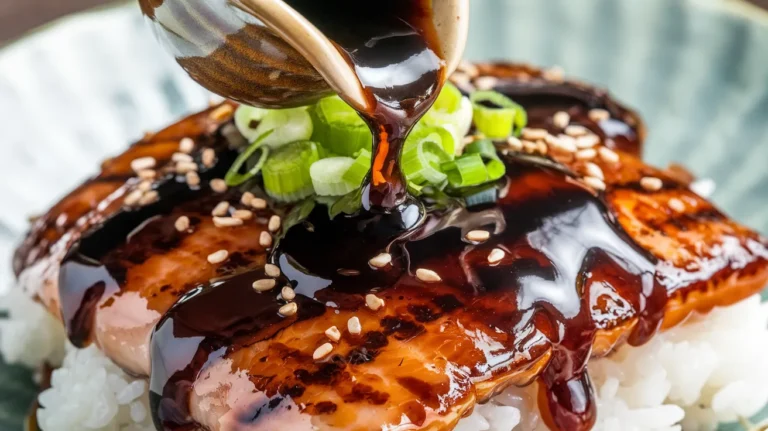
This authentic yakitori sauce transforms ordinary grilled chicken into restaurant-quality Japanese street food with its perfect balance of sweet and savory flavors. Our homemade yakitori sauce combines traditional ingredients like soy sauce, mirin, and sugar to create that signature glossy glaze that caramelizes beautifully on the grill. Master this essential Japanese sauce and bring the authentic flavors of Tokyo’s bustling yakitori stands straight to your backyard barbecue.
Recipe Info Bar
SERVES: 4 | PREP: 5 MIN | COOK: 15 MIN | TOTAL: 20 MIN
Essential Yakitori Sauce Ingredients
Base Sauce Components
| Ingredient | Amount | Notes |
|---|---|---|
| Soy sauce (low sodium) | ½ cup | Use Japanese soy sauce for best flavor |
| Mirin | ¼ cup | Japanese sweet rice wine – essential |
| Granulated sugar | 3 tablespoons | Creates the signature glossy finish |
| Sake | 2 tablespoons | Adds depth (can substitute with water) |
Aromatics & Flavor Enhancers
| Ingredient | Amount | Notes |
|---|---|---|
| Fresh ginger | 1 teaspoon, minced | Must be fresh – no powder substitutes |
| Garlic | 2 cloves, minced | Fresh cloves only for clean flavor |
| Cornstarch | 1 teaspoon | Optional thickening agent |
| Water | 1 tablespoon | For cornstarch slurry if needed |
Detailed Step-by-Step Yakitori Sauce Instructions
Phase 1: Ingredient Preparation (3-4 minutes)
Step 1: Gather and measure ingredients Start by measuring all your ingredients into separate small bowls. This technique, called “mise en place,” ensures you won’t scramble for ingredients while cooking. Measure the soy sauce into a liquid measuring cup, and use dry measuring spoons for the sugar. Having everything ready prevents overcooking once you start.
Step 2: Prepare fresh aromatics with care Take your piece of fresh ginger and use the edge of a spoon to scrape off the thin skin – this is easier than peeling with a knife. Using a microplane grater or the finest holes on a box grater, grate the ginger until you have 1 teaspoon of fine pulp. The finer you grate it, the smoother your final yakitori sauce will be. For garlic, crush each clove with the flat side of your knife, then remove the papery skin and mince finely with a rocking motion.
Step 3: Select proper cookware Choose a medium-sized heavy-bottomed saucepan – this distributes heat evenly and prevents hot spots that can burn your yakitori sauce. Light-colored pans work best because you can easily see the sauce color changes as it cooks. Avoid non-stick pans for this recipe as they don’t conduct heat as evenly for sauce reduction.
Phase 2: Building the Yakitori Sauce Base (2-3 minutes)
Step 4: Combine liquid ingredients first Pour the soy sauce and mirin into your saucepan. These liquids should be at room temperature to start. Add the sake if you’re using it – if not, substitute with 2 tablespoons of water. The mixture will look thin and watery at this stage, which is exactly right.
Step 5: Add sugar properly Sprinkle the granulated sugar evenly across the surface of the liquid. Don’t worry if it looks grainy or doesn’t dissolve immediately – it will dissolve completely once heated. Avoid dumping the sugar in one pile, as this can create clumps that take longer to dissolve.
Step 6: Incorporate aromatics Add your minced ginger and garlic to the mixture. Give everything a gentle stir with a wooden spoon or whisk. You’ll notice the liquid becomes slightly cloudy from the minced aromatics – this is normal and adds essential flavor to your yakitori sauce.
Phase 3: Heating and Initial Cooking (5-6 minutes)
Step 7: Start with proper heat level Place your saucepan over medium heat – this is crucial for yakitori sauce success. Medium heat on most stoves means about a 5 or 6 out of 10 setting. Too high heat will burn the sugars and create bitter flavors, while too low heat won’t properly reduce the sauce.
Step 8: Watch for the first signs of heating As the mixture warms, you’ll see small bubbles forming around the edges of the pan – this should happen within 2-3 minutes. The sugar will start dissolving, and the liquid will become less cloudy. Stir gently every 30 seconds to help the sugar dissolve evenly.
Step 9: Achieve proper simmering Once you see consistent small bubbles breaking the surface all across the pan, you’ve reached a simmer. The yakitori sauce should never reach a rolling boil with large, aggressive bubbles – this temperature is too hot and will make your sauce bitter. If it starts boiling hard, immediately reduce the heat.
Step 10: Begin the reduction process Now comes the important part: reduction. Continue simmering while stirring frequently – every 1-2 minutes. You’ll notice the sauce starting to change from a thin, watery consistency to something slightly thicker. The color will also begin to deepen from light brown to a richer, darker shade.
Phase 4: Monitoring Sauce Development (4-6 minutes)
Step 11: Test for proper thickness After about 8-10 minutes of total cooking time, start testing your yakitori sauce thickness. Dip a clean spoon into the sauce and lift it up. The sauce should coat the spoon lightly and drip off in a steady stream rather than running off like water. If it’s still too thin, continue cooking for 2-3 more minutes.
Step 12: Check for proper consistency Another test: draw your spoon across the bottom of the pan. If the sauce briefly holds the line before flowing back together, it’s ready. The yakitori sauce should have reduced by about one-third from its original volume. It will continue to thicken slightly as it cools.
Step 13: Perform the final taste test Remove the pan from heat temporarily and taste your sauce with a clean spoon. It should taste balanced – sweet but not cloying, salty but not overpowering. The ginger should add a subtle warmth, and the overall flavor should be rich and complex. If it tastes too salty, add 1 more teaspoon of sugar. If too sweet, add 1 more tablespoon of soy sauce and simmer for 2 more minutes.
Phase 5: Final Adjustments and Finishing (2-3 minutes)
Step 14: Optional thickening technique If you prefer a thicker glaze consistency for your yakitori sauce, mix the cornstarch with 1 tablespoon of cold water in a small bowl until completely smooth – this is called a slurry. While stirring the sauce constantly, slowly drizzle in the slurry. You’ll see immediate thickening. Simmer for 1 more minute to cook out the raw starch flavor.
Step 15: Strain for smoothness (optional) For restaurant-quality smoothness, pour your yakitori sauce through a fine-mesh strainer into a clean bowl. Press the solids with the back of a spoon to extract all liquid. This removes the ginger and garlic pieces, leaving you with a perfectly smooth sauce. This step is optional – many prefer keeping the aromatics for extra flavor.
Step 16: Cool and final consistency check Let your yakitori sauce cool for 3-4 minutes at room temperature. It will thicken slightly as it cools, reaching its final consistency. The finished sauce should be glossy, coat chicken well without being too thick, and have a beautiful mahogany color. If it becomes too thick upon cooling, simply whisk in 1-2 teaspoons of warm water.
Professional Chef’s Notes for Perfect Yakitori Sauce
• Mirin is non-negotiable: While you can substitute many ingredients, mirin provides irreplaceable sweetness and depth to authentic yakitori sauce. If unavailable, mix 2 tablespoons rice vinegar with 1 tablespoon sugar, but the flavor won’t be quite the same.
• Sugar type matters: Granulated white sugar creates the clearest glaze. Brown sugar works but will darken your yakitori sauce and add molasses notes that aren’t traditional.
• Storage improves flavor: Your homemade yakitori sauce actually tastes better after sitting overnight in the refrigerator. The flavors meld and develop complexity that fresh sauce lacks.
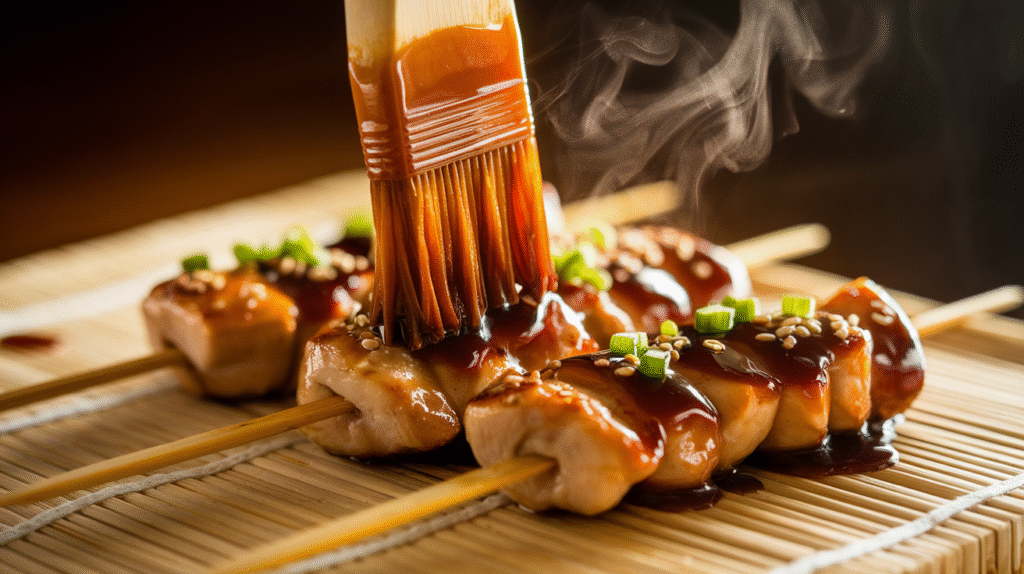
• Application timing is critical: Only brush yakitori sauce onto grilled foods during the final 2-3 minutes of cooking. The high sugar content burns quickly, turning your beautiful glaze into charred bitterness.
Nutrition Information (Per Serving)
- Calories: 45
- Protein: 2g
- Carbohydrates: 9g
- Fat: 0g
- Sodium: 680mg
- Sugar: 8g
Creative Yakitori Sauce Variations
Spicy Yakitori Sauce
Transform your basic yakitori sauce by whisking in 1-2 teaspoons of chili garlic sauce or sriracha after cooking. The sweetness perfectly balances the heat, creating a complex flavor profile that works beautifully on grilled chicken, beef, or vegetables.
Citrus Yakitori Glaze
Brighten your yakitori sauce with 2 tablespoons fresh orange juice and 1 teaspoon orange zest added during the last minute of cooking. This variation pairs wonderfully with our takoyaki sauce when creating a full Japanese meal experience.
Sesame Yakitori Sauce
After your yakitori sauce finishes cooking, whisk in 1 tablespoon toasted sesame oil and 1 teaspoon toasted sesame seeds. This nutty variation adds incredible depth and works excellently on grilled vegetables and tofu.
Honey Yakitori Fusion
Replace half the granulated sugar with an equal amount of honey for a more complex sweetness profile. Add the honey during the last 3 minutes of cooking to preserve its delicate flavors. This version complements dishes seasoned with our mentsuyu sauce for varied Japanese flavors.
Storage & Reheating Your Yakitori Sauce
Refrigerator storage: Store your cooled yakitori sauce in an airtight glass jar or container for up to 2 weeks. The sauce will thicken considerably when cold, resembling a syrup consistency – this is completely normal.
Proper reheating method: Warm refrigerated yakitori sauce gently in a small saucepan over low heat, whisking frequently. If it seems too thick, add 1-2 teaspoons of water or sake to restore the proper consistency for brushing.
Freezer storage option: Pour yakitori sauce into ice cube trays for perfect portions. Once frozen solid, transfer cubes to freezer bags. Frozen sauce keeps for 3 months and individual cubes thaw quickly for weeknight cooking convenience.
Room temperature preparation: For easiest application, remove refrigerated yakitori sauce from the fridge 15-20 minutes before grilling. Room temperature sauce brushes more evenly and penetrates food better than cold sauce.
Troubleshooting Common Yakitori Sauce Problems
Problem: Yakitori sauce too thin and watery Solution: Return the sauce to medium heat and continue simmering until it reduces further. Remember that yakitori sauce thickens significantly as it cools, so don’t over-reduce while hot. If still too thin when cool, reheat and add a cornstarch slurry.
Problem: Sauce tastes overwhelmingly salty Solution: Balance the saltiness by adding 1-2 teaspoons of sugar and 1 tablespoon of water. Simmer for 2-3 more minutes to integrate the flavors. Taste again and repeat if necessary – fixing salty yakitori sauce requires patience.
Problem: Sugar crystallized creating grainy texture Solution: This occurs when the heat was too high or the sauce cooked too long. Add 2-3 tablespoons of water and whisk over low heat until the crystals dissolve completely. Strain if any grittiness remains.
Problem: Burnt or bitter flavor developed Solution: Unfortunately, burnt yakitori sauce cannot be salvaged – the bitter compounds have formed and won’t disappear. Start over with lower heat and more frequent stirring. Prevention is key with sugar-based sauces.
Problem: Sauce separates or slides off chicken Solution: Your grill temperature is too high, causing the yakitori sauce to break down. Move food to a cooler section of the grill and apply sauce only during the final few minutes of cooking when temperatures are more moderate.
Essential Equipment for Making Yakitori Sauce
• Heavy-bottomed medium saucepan – Prevents hot spots and burning • Wooden spoon or whisk – For constant stirring without scratching • Fine-mesh strainer – Optional for ultra-smooth texture
• Glass storage jars – Won’t absorb flavors like plastic containers • Silicone pastry brush – Heat-resistant for grilling applications • Liquid and dry measuring tools – Precision ensures consistent results
Organized Shopping List for Yakitori Sauce
Pantry/Condiment Section
- Low-sodium soy sauce (Japanese preferred)
- Granulated white sugar
- Cornstarch (if using thickening option)
International/Asian Food Aisle
- Mirin (Japanese sweet rice wine)
- Sake (optional but recommended)
Fresh Produce Section
- Fresh ginger root (look for firm, smooth skin)
- Fresh garlic bulbs (avoid pre-minced jarred versions)
Expert Success Secrets for Perfect Yakitori Sauce
1. Master temperature control: Maintain consistent medium heat throughout cooking. High heat burns the sugars and creates bitter flavors, while low heat won’t properly reduce your yakitori sauce. Medium heat allows proper caramelization and concentration.
2. Invest in quality ingredients: Fresh ginger and garlic make an enormous difference in the final flavor profile. Japanese soy sauce and mirin, while more expensive, create authentic yakitori sauce that rivals restaurant versions.
3. Perfect your grilling timing: Apply yakitori sauce only during the last 2-3 minutes of grilling. Earlier application results in burnt, blackened coating instead of the glossy, caramelized finish that makes great yakitori irresistible.
4. Double your batch: Making extra yakitori sauce is always worthwhile since it stores beautifully and improves with age. Having homemade sauce ready transforms weeknight grilling from ordinary to extraordinary.
5. Trust your senses: Every brand of soy sauce and mirin varies in saltiness and sweetness. Taste your yakitori sauce as it develops and adjust seasoning to match your preferences rather than following the recipe blindly.