- Make restaurant-quality Japanese steakhouse sauce at home with simple ingredients
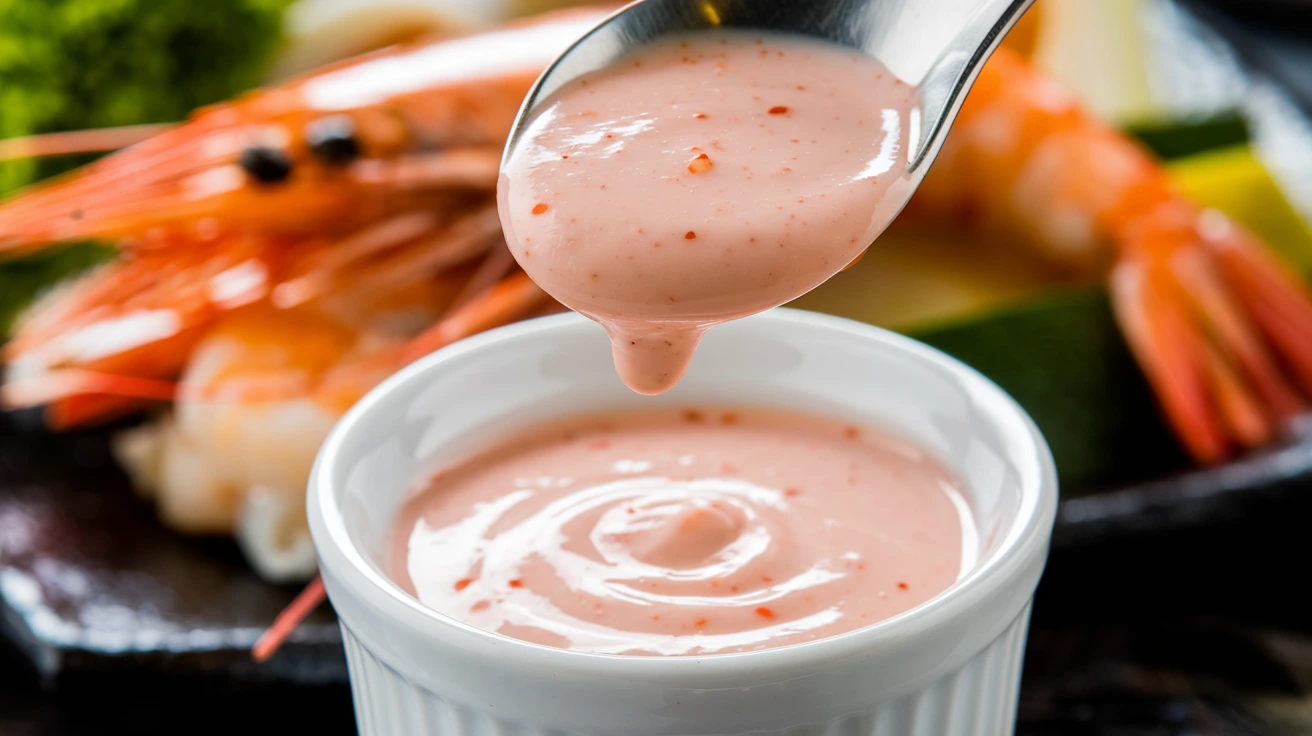
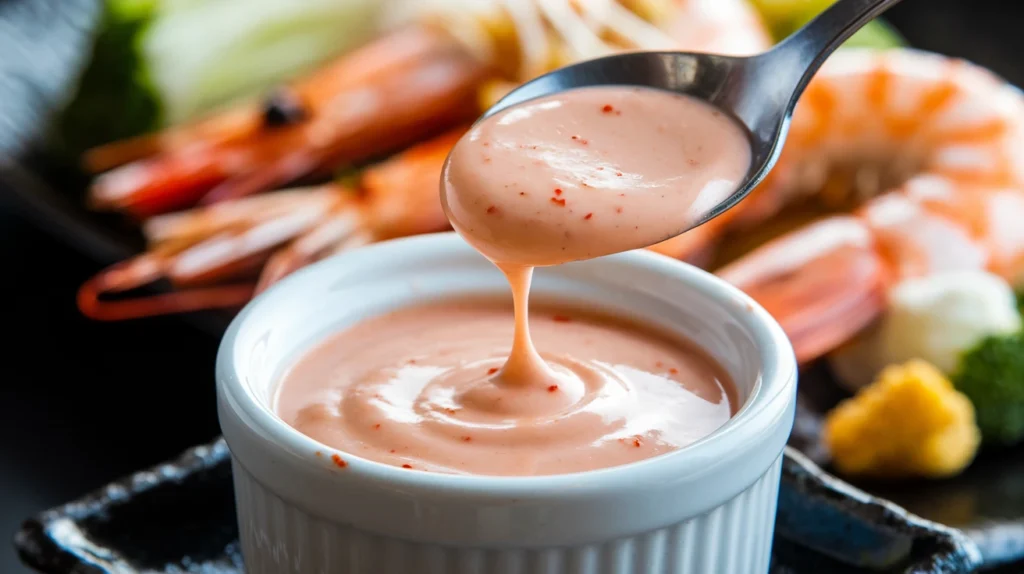
- Perfect for dipping shrimp, vegetables, or drizzling over fried rice
- Stores for up to 2 weeks in the refrigerator
- Customize heat level from mild to spicy based on your preference
Why Your Homemade Hibachi Needs This Sauce
Ever tried recreating that creamy, tangy sauce from Japanese steakhouses at home but ended up disappointed? That pale pink sauce that makes everything taste better has a name – Yum Yum Sauce – and it’s easier to make than you think.
With just a handful of ingredients and 5 minutes of your time, you can create this addictive sauce that transforms ordinary meals into something special. No more buying overpriced bottles with preservatives when you can make fresh Yum Yum Sauce right in your own kitchen! This recipe joins my collection of creamy and dairy-based sauces that are easy to make at home.
Nutrition Facts (Per Serving)
| Nutrient | Amount |
|---|---|
| Calories | 210 |
| Fat | 22g |
| Carbohydrates | 2g |
| Protein | 1g |
| Sodium | 290mg |
| Sugar | 1g |
Serving size: 2 tablespoons (recipe makes 8 servings total)
What You’ll Need
Ingredients
| Ingredient | Amount | Notes |
|---|---|---|
| Mayonnaise | 1 cup | Regular or Japanese mayo (Kewpie) |
| Tomato paste | 1 teaspoon | Gives color and slight tanginess |
| Butter | 1 tablespoon | Melted |
| Garlic powder | 1 teaspoon | |
| Onion powder | 1 teaspoon | |
| Sugar | 1 teaspoon | |
| Paprika | 1/2 teaspoon | For color and mild flavor |
| White vinegar | 1 tablespoon | Adds tanginess |
| Water | 1-3 tablespoons | For thinning consistency |
| Salt | 1/4 teaspoon | |
| Hot sauce (optional) | 1/2 teaspoon | For spicy version |
Kitchen Tools
| Tool | Purpose |
|---|---|
| Medium mixing bowl | For combining ingredients |
| Measuring spoons | For accurate measurements |
| Whisk | For smooth blending |
| Airtight container | For storage |
| Small food processor (optional) | For extra smooth texture |
Possible Substitutions
- Mayo: Use light mayo to reduce calories or Kewpie Japanese mayo for more authentic flavor
- Tomato paste: Substitute ketchup (2 teaspoons) in a pinch
- White vinegar: Rice vinegar or lemon juice work well
- Sugar: Replace with honey or skip for a less sweet version
- Hot sauce: Use sriracha, chili garlic sauce, or cayenne pepper instead
If you enjoy experimenting with different flavor profiles, you might also like my simple poblano ranch sauce for a spicy twist on another creamy classic.
Step-by-Step Instructions
Preparation Phase (2 minutes)
- Set up your workspace
- Clear counter space for easy access to ingredients
- Have a clean, dry surface for measuring ingredients
- Place a damp paper towel under your cutting board to prevent slipping
- Gather all ingredients and place them in your work area
- Take mayonnaise out of refrigerator
- Check that you have all spices listed
- Make sure ingredients are at room temperature for better mixing
- Prepare your measuring tools
- Arrange measuring spoons from smallest to largest
- Have a clean tablespoon ready for taste testing
- Keep a clean spatula or rubber scraper nearby
- Melt the butter properly
- Place 1 tablespoon butter in a microwave-safe dish
- Heat in 10-second intervals until just melted (about 20-30 seconds)
- Allow to cool slightly (1-2 minutes) so it won’t cook the mayonnaise
Mixing the Base (1 minute)
- Select the right bowl
- Choose a medium-sized bowl with enough depth for whisking
- Make sure the bowl is completely dry (water can cause separation)
- A glass or stainless steel bowl works best for even mixing
- Add the mayonnaise correctly
- Use a clean, dry measuring cup
- Scoop 1 cup mayonnaise into your bowl
- Scrape the measuring cup with a spatula to get every bit
- Add tomato paste carefully
- Use exactly 1 teaspoon tomato paste
- If using from a tube, squeeze slowly to control amount
- If using from a can, consider freezing extra paste in 1 tsp portions for future use
- Incorporate the melted butter
- Pour the cooled melted butter slowly into the bowl
- Make sure butter isn’t hot (which could separate the mayo)
- Use a clean spoon to scrape all butter from its container
- Begin mixing
- Use a whisk (not a fork) for the smoothest results
- Stir in a gentle circular motion until color is uniform (light pink)
- Make sure to reach the bottom and sides of the bowl
Adding Dry Ingredients (1 minute)
- Measure spices properly
- Use level, not heaping, measurements
- For most accurate results, use standard measuring spoons
- Add each spice individually rather than all at once
- Add the spices in this order:
- 1 teaspoon garlic powder (measure and add)
- 1 teaspoon onion powder (measure and add)
- 1 teaspoon sugar (measure and add)
- 1/2 teaspoon paprika (measure and add)
- 1/4 teaspoon salt (measure and add)
- Mix after each addition
- Stir briefly after each spice
- This prevents clumping and ensures even distribution
- Look for any dry pockets and break them up with your whisk
Adding Liquid Ingredients (1 minute)
- Add white vinegar properly
- Measure exactly 1 tablespoon white vinegar
- Pour slowly into the mixture (not directly onto dry spices)
- This prevents clumping of dry ingredients
- Begin adding water
- Start with just 1 tablespoon water
- Add it slowly while whisking continuously
- Water thins the sauce – it’s easier to add more than to fix a sauce that’s too thin
- Whisk thoroughly
- Use a rapid whisking motion for 30-45 seconds
- Make sure to reach all parts of the bowl
- Continue until no spice streaks remain
- The color should be uniform throughout
Adjusting Consistency and Flavor (1 minute)
- Check the thickness
- Lift your whisk and observe how the sauce drips
- It should coat the back of a spoon but still be pourable
- If too thick, add more water 1 teaspoon at a time (up to 2 more tablespoons total)
- Whisk well after each addition
- Perform a taste test
- Use a clean spoon to taste a small amount
- Evaluate salt, sweetness, and tanginess
- Remember flavors will develop further after chilling
- Make final adjustments
- For spicy version: add 1/2 teaspoon hot sauce and mix well
- For more sweetness: add up to 1/2 teaspoon more sugar
- For more tanginess: add 1/2 teaspoon more vinegar
- For more savory flavor: add a pinch more garlic powder
Finishing Steps (1 minute)
- Transfer to storage container properly
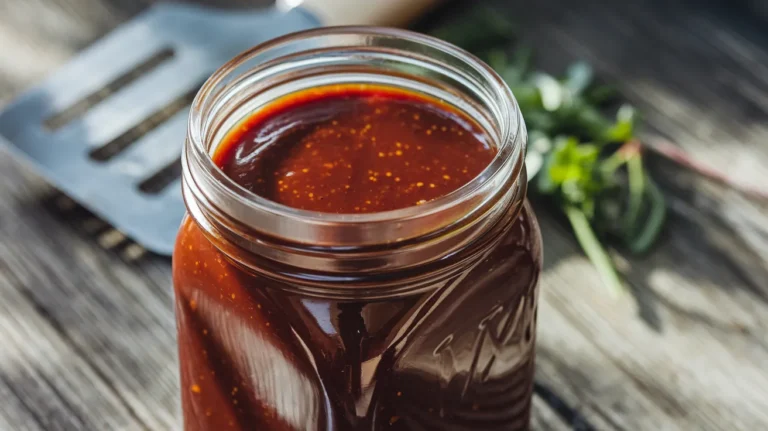
- Select a container with an airtight seal (mason jar works well)
- Make sure container is completely clean and dry
- Use a silicone spatula to scrape all sauce from the bowl
- Leave a small gap at the top (don’t fill completely)
- Label your container
- Write the date on masking tape or use a label
- Add “Yum Yum Sauce” and “Expires: (date 2 weeks from today)”
- This prevents confusion in your refrigerator
- Chill properly before serving
- Seal container tightly
- Place in refrigerator (not freezer)
- Allow to chill for at least 30 minutes
- Overnight is even better for flavor development
- Final pre-serving steps
- Remove from refrigerator 10-15 minutes before serving
- Stir gently to recombine if any separation occurred
- Transfer to a small serving bowl for the table
Troubleshooting
| Problem | Solution |
|---|---|
| Sauce is too thick | Add water 1 teaspoon at a time until desired consistency is reached |
| Sauce is too thin | Add a little more mayonnaise to thicken |
| Sauce has lumps | Use a food processor or blender for a few seconds |
| Not pink enough | Add a tiny bit more tomato paste |
| Not flavorful enough | Let sit in refrigerator longer or add more seasonings |
| Too tangy | Add a pinch more sugar to balance acidity |
Variations & Substitutions
Spicy Yum Yum Sauce
- Add 1 teaspoon sriracha sauce
- Or 1/4 teaspoon cayenne pepper
- Or 1 teaspoon chili garlic sauce
Healthier Version
- Use light mayonnaise
- Reduce butter to 1/2 tablespoon
- Use stevia instead of sugar
Garlic Lover’s Yum Yum
- Double the garlic powder
- Add 1 clove of fresh minced garlic
Smoky Yum Yum
- Replace regular paprika with smoked paprika
- Add 1/4 teaspoon liquid smoke (optional)
Storage & Reheating
- Refrigeration: Store in an airtight container for up to 2 weeks
- Do not freeze: Mayo-based sauces separate when frozen
- Before serving: Remove from refrigerator 15 minutes before use
- Stir before using: Natural separation may occur
- Not for heating: This sauce is meant to be served cold or room temperature
Safety Notes & Tips
- Always refrigerate promptly after making
- Never leave out at room temperature for more than 2 hours
- Check mayo expiration date before making sauce
- Date your container so you know when it was made
- Use clean utensils every time you dip into the container
- Mayo warning: Since this contains raw eggs (in mayo), people with compromised immune systems should be cautious
Serving Suggestions
Yum Yum Sauce goes wonderfully with:
- Hibachi-style shrimp or chicken
- Fried rice
- Vegetable stir-fry
- As a dipping sauce for vegetables
- Drizzled on fish tacos
- As a spread for burgers
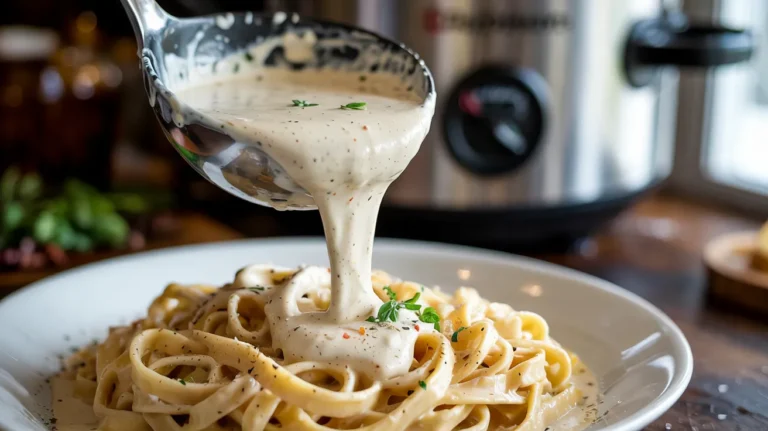
- Paired with pasta (try it alongside my cottage cheese alfredo sauce for a fusion dinner)
Prep Time: 5 minutes Chill Time: 30 minutes (recommended) Total Time: 35 minutes Servings: 4 (about 1 cup total)
Make this wonderful dipping sauce part of your weekly meal prep, and you’ll always have a tasty condiment ready to elevate your meals from ordinary to restaurant-quality!