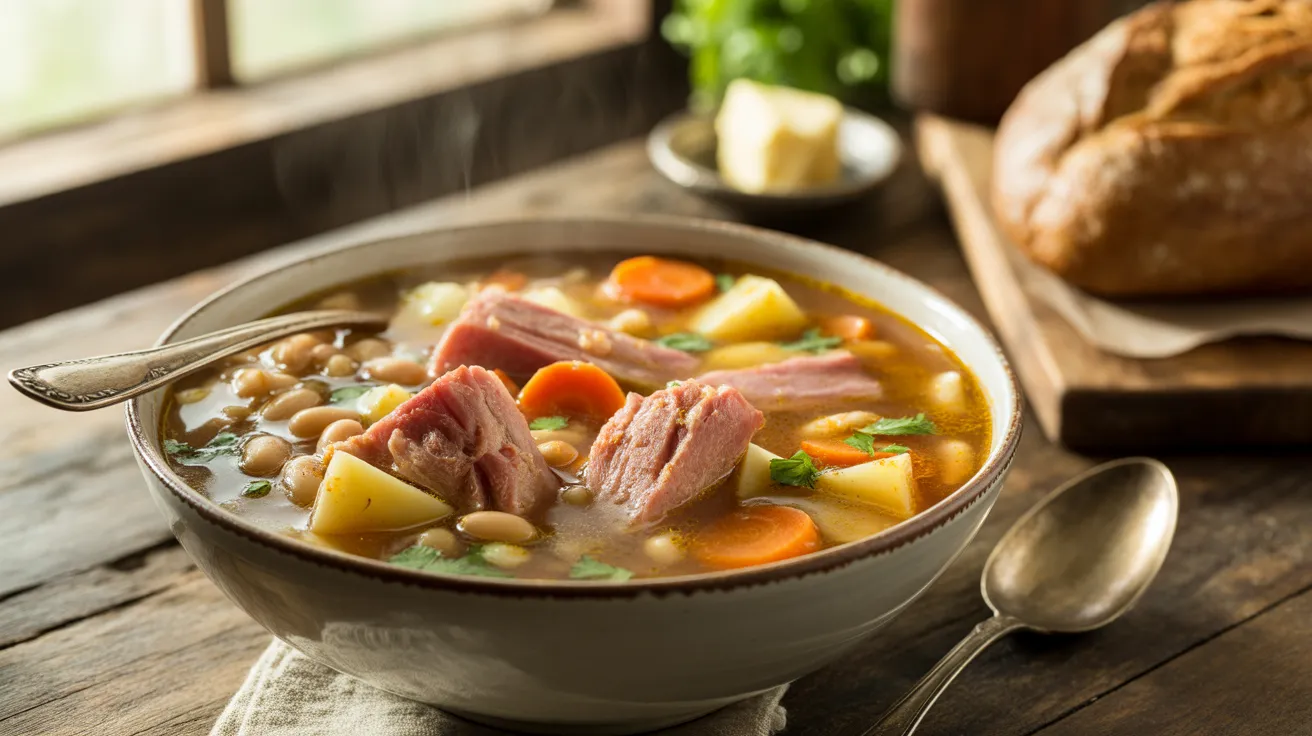
When you’ve got a leftover ham bone sitting in your fridge after the holidays, don’t toss it! This leftover ham bone soup transforms that bone into the most comforting, deeply flavored bowl of goodness. I’ve been making this leftover ham bone soup for years, and it’s become my go-to recipe for stretching holiday ham into a second amazing meal that feeds four people perfectly.
SERVES: 4 | PREP: 20 MIN | COOK: 2 HR 30 MIN | TOTAL: 2 HR 50 MIN
Ingredients
For the Soup Base
| Ingredient | Amount |
|---|---|
| Leftover ham bone (with some meat attached) | 1 large |
| Yellow onion, diced | 1 medium |
| Carrots, peeled and chopped | 3 medium |
| Celery stalks, chopped | 3 stalks |
| Garlic cloves, minced | 4 cloves |
| Bay leaves | 2 leaves |
| Dried thyme | 1 teaspoon |
| Black peppercorns | 1 teaspoon |
| Water or low-sodium chicken broth | 10 cups |
For the Soup
| Ingredient | Amount |
|---|---|
| Yukon gold potatoes, diced | 3 medium |
| White beans (great northern or navy), drained | 1 can (15 oz) |
| Fresh parsley, chopped | ¼ cup |
| Salt | To taste |
| Black pepper, freshly ground | To taste |
| Olive oil | 2 tablespoons |
Optional Garnishes
| Ingredient | Amount |
|---|---|
| Fresh thyme sprigs | For serving |
| Crusty bread | For serving |
| Sour cream | For serving |
Step-by-Step Instructions
Phase 1: Building the Broth Foundation (30 minutes)
Step 1: Take your ham bone out of the refrigerator and rinse it under cold water to remove any surface debris. Pat it completely dry with paper towels because this helps the bone brown better in the next step, which adds incredible depth to your soup.
Step 2: Heat 2 tablespoons of olive oil in your largest stockpot or Dutch oven over medium-high heat until the oil shimmers and slides easily across the bottom. You’ll know it’s ready when you can feel the heat radiating about 3 inches above the pot.
Step 3: Carefully place the ham bone in the hot oil and let it brown for 4-5 minutes on each side without moving it. You’re looking for deep golden-brown spots because this caramelization creates amazing flavor compounds that make your soup taste restaurant-quality instead of just okay.
Step 4: While the bone browns, prep your aromatics by dicing 1 medium yellow onion into ½-inch pieces, chopping 3 carrots and 3 celery stalks into similar-sized chunks, and mincing 4 garlic cloves finely. Keeping everything roughly the same size ensures even cooking throughout your soup base.
Step 5: Once the bone shows good browning on all sides, remove it temporarily to a plate. Add your diced onion, carrots, and celery to the same pot with all those flavorful browned bits still clinging to the bottom.
Step 6: Cook the vegetables over medium heat for 6-8 minutes, stirring every 2 minutes, until the onion turns translucent and starts picking up some golden color around the edges. This sweating process softens the vegetables and releases their natural sugars.
Step 7: Add the minced garlic and stir constantly for 1 minute until fragrant but not browned. Garlic burns quickly and turns bitter, so this quick cooking is crucial for keeping your soup tasting balanced rather than harsh.
Phase 2: Simmering the Stock (2 hours)
Step 8: Return the browned ham bone to the pot, nestling it right down among the vegetables. Pour in 10 cups of water or chicken broth, making sure the liquid covers the bone by at least 2 inches because the bone needs to be completely submerged to release all its collagen and flavor.
Step 9: Add 2 bay leaves, 1 teaspoon dried thyme, and 1 teaspoon whole black peppercorns directly to the liquid. Don’t add salt yet because the ham bone releases quite a bit of saltiness during cooking, and you can always add more later but can’t take it away.
Step 10: Bring everything to a rolling boil over high heat, which should take about 10-12 minutes. You’ll see big bubbles breaking energetically across the entire surface when you’ve reached a proper boil.
Step 11: Immediately reduce the heat to low and adjust it until you achieve a gentle simmer where just small bubbles occasionally break the surface. Cover the pot with the lid slightly ajar (leave about a 1-inch gap) and let it simmer for 2 full hours, stirring every 30 minutes.
Step 12: During this long simmer, you’ll notice foam and impurities rising to the surface. Skim these off with a ladle or large spoon every 20-30 minutes because removing this scum keeps your finished soup clear and clean-tasting rather than cloudy and muddy.
Phase 3: Finishing the Soup (30 minutes)
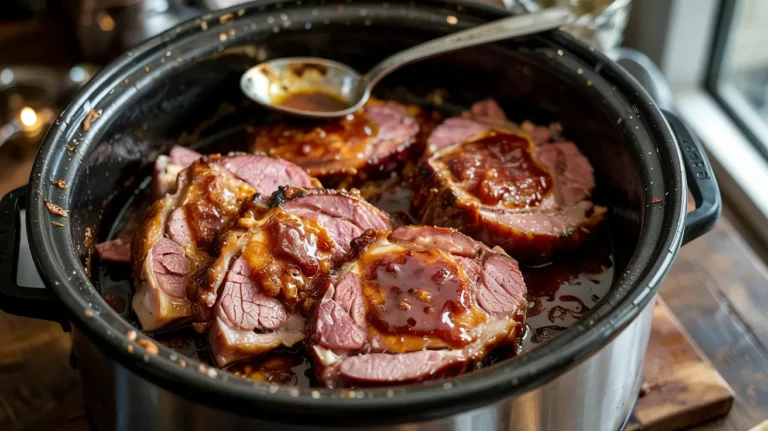
Step 13: After 2 hours, carefully remove the ham bone using tongs and transfer it to a cutting board. Let it cool for 10 minutes until you can handle it comfortably, then pick off all the tender meat that’s fallen away from the bone—you should get about 2 cups of shredded ham.
Step 14: While the bone cools, fish out and discard the bay leaves from your broth using tongs or a slotted spoon. Also remove any large pieces of the original vegetables if they’ve completely broken down because they’ve already given all their flavor to the broth.
Step 15: Add your diced potatoes to the simmering broth and cook uncovered for 15 minutes until they’re tender when pierced with a fork but not falling apart. Yukon golds hold their shape beautifully in soup, which is why I always choose them over russets.
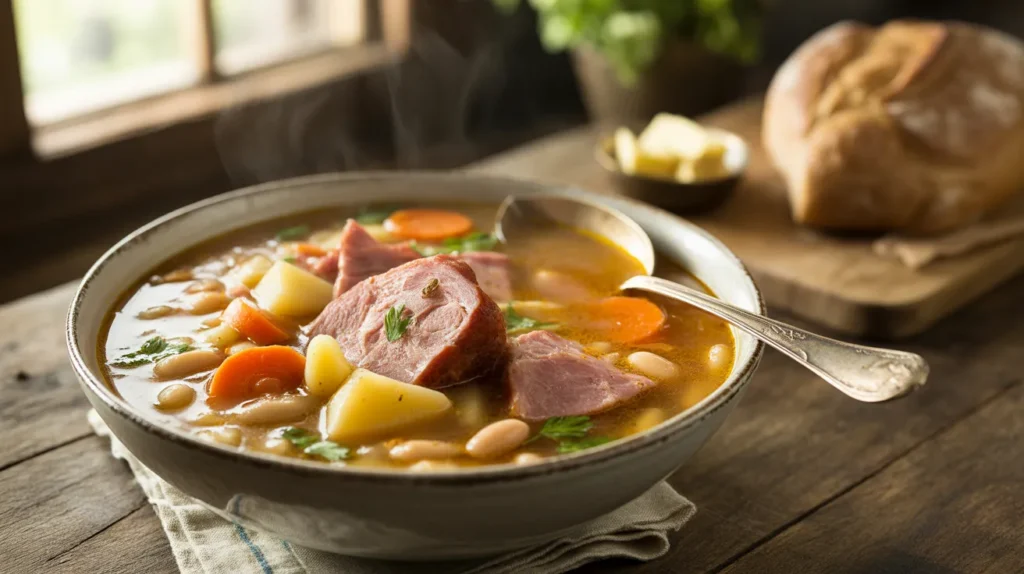
Step 16: Stir in the drained white beans and shredded ham meat, then continue simmering for 5 more minutes just to heat everything through. The beans add wonderful creaminess and protein to make this a complete meal.
Step 17: Taste your soup carefully and season with salt and freshly ground black pepper as needed. Start conservatively with ½ teaspoon of salt, stir well, taste again, and adjust because ham bones vary wildly in their saltiness levels.
Step 18: Stir in the fresh chopped parsley right before serving because adding herbs at the end preserves their bright color and fresh flavor instead of letting them turn dull and bitter from overcooking.
Chef’s Notes
Bone Selection Matters: Choose a ham bone with plenty of meat still clinging to it because bones with more meat produce richer soup. If your bone is fairly picked clean, add an extra 1 cup of diced leftover ham at the end to boost the meatiness.
Broth Depth Secret: For next-level flavor, I always use half water and half low-sodium chicken broth instead of all water. This gives you a more complex base that tastes like you simmered it for 6 hours instead of 2.
Make It Creamy: If you prefer a thicker, creamier leftover ham bone soup, mash about ½ cup of the cooked potatoes and beans against the side of the pot with your spoon during the last 5 minutes. This releases starches that naturally thicken the broth without adding any flour or cream.
Leftover Magic: This soup actually tastes even better the next day because the flavors continue to marry and deepen overnight. I often make a double batch on Sunday and eat it all week for easy lunches.
Nutrition Information (Per Serving)
| Nutrient | Amount |
|---|---|
| Calories | 342 |
| Protein | 28g |
| Carbohydrates | 38g |
| Fat | 8g |
| Fiber | 7g |
| Sodium | 920mg |
Nutrition calculated based on ham bone with moderate meat attachment and no added salt beyond what’s naturally in the ham.
Delicious Variations
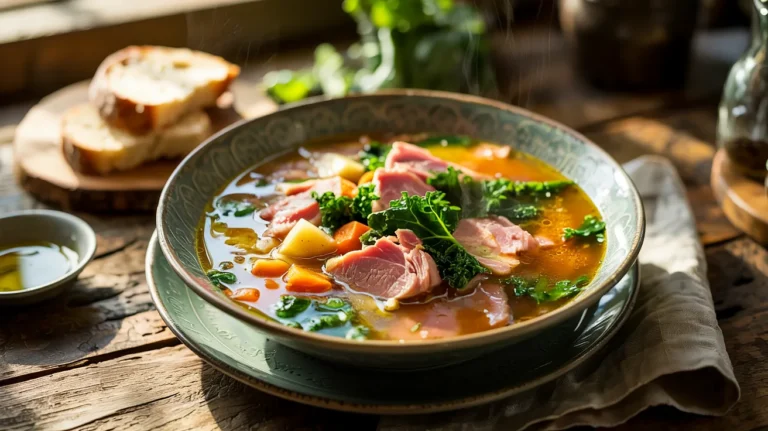
Tuscan White Bean Version: Add 2 cups chopped kale during the last 10 minutes of cooking along with 1 teaspoon Italian seasoning for an Italian-inspired twist. The kale wilts beautifully and adds nutritious greens to your bowl. If you love hearty ham soups, try my leftover ham and potato soup which takes a creamy approach with similar ingredients.
Spicy Cajun Style: Replace the thyme with 1 tablespoon Cajun seasoning and add 1 diced bell pepper with the other vegetables. Finish with a few dashes of hot sauce and serve over white rice for a Louisiana-style feast.
Hearty Vegetable Loaded: Double the carrots and celery, and add 1 cup each of diced turnips, parsnips, and green beans during the last 20 minutes. This makes an incredibly veggie-forward soup that’s perfect for using up whatever’s in your crisper drawer.
Split Pea Transformation: Swap the white beans for 1½ cups dried split peas added at the beginning of the 2-hour simmer. You’ll get that classic ham and split pea soup texture that’s thick enough to stand a spoon in. For more ways to use up holiday ham, check out these leftover ham sliders that turn extra meat into crowd-pleasing sandwiches.
Storage & Reheating
Refrigerator Storage: Let your soup cool to room temperature first (no more than 2 hours), then transfer it to airtight containers and refrigerate for up to 5 days. The soup actually thickens as it sits because the potatoes release more starch, so you might need to add a splash of water or broth when reheating.
Freezer Storage: This soup freezes beautifully for up to 3 months in freezer-safe containers. Leave about 1 inch of headspace at the top because liquids expand when frozen. I like portioning it into individual 2-cup servings so I can grab single lunches easily.
Reheating Instructions: For refrigerated soup, reheat over medium-low heat on the stovetop, stirring occasionally until it reaches 165°F throughout (about 8-10 minutes). For frozen soup, thaw overnight in the fridge first, or reheat directly from frozen over low heat for 20-25 minutes, stirring frequently to prevent scorching on the bottom.
Texture Tip: If your soup gets too thick after storage, thin it with chicken broth instead of water to maintain the rich flavor you worked so hard to build.
Troubleshooting Common Problems
Problem: My soup tastes too salty
Solution: Don’t panic! Add 2 peeled, quartered potatoes and simmer for 15 minutes, then remove them—they’ll absorb excess salt like magic. You can also dilute with 1-2 cups unsalted chicken broth or water and add extra beans or vegetables to balance the saltiness.
Problem: The broth is cloudy instead of clear
Solution: You probably let it boil too hard during the simmering phase, which emulsifies fat into the broth. Next time, keep it at a gentle simmer and skim regularly. To fix current soup, strain it through cheesecloth or let it cool and skim the fat from the surface.
Problem: There’s not enough meat on my bone
Solution: Supplement with 1-2 cups diced leftover ham added during the last 10 minutes of cooking. You can also add ½ pound diced ham steak from the deli if you’re completely out of leftovers.
Problem: My vegetables are mushy
Solution: You added them too early in the cooking process. Always add tender vegetables like potatoes during the last 20-30 minutes only. The carrots and celery in the base are supposed to break down completely since they’re flavoring the broth, not serving as final vegetables.
Problem: The soup is too thin and watery
Solution: Simmer it uncovered over medium heat for 15-20 minutes to reduce and concentrate the flavors. Or create a slurry by mixing 2 tablespoons cornstarch with 3 tablespoons cold water, then stir it into the simmering soup and cook for 5 minutes until thickened.
Equipment Essentials
- Large stockpot or Dutch oven (at least 8-quart capacity)
- Sharp chef’s knife for chopping vegetables
- Cutting board (preferably separate ones for meat and vegetables)
- Wooden spoon for stirring
- Ladle for serving and skimming
- Tongs for handling the hot ham bone
- Measuring cups and spoons
- Vegetable peeler for carrots
- Fine-mesh strainer (optional, for super-clear broth)
Shopping List
Produce Section
- 1 medium yellow onion
- 3 medium carrots
- 3 celery stalks
- 4 garlic cloves
- 3 medium Yukon gold potatoes
- 1 bunch fresh parsley
Meat Department
- 1 large leftover ham bone (with meat attached)
Pantry Aisle
- 1 can (15 oz) white beans
- Dried thyme
- Bay leaves
- Whole black peppercorns
- Olive oil
- Salt and black pepper
Broth/Stock Aisle (Optional)
- 1 box (32 oz) low-sodium chicken broth
Success Secrets
1. Brown Everything First: Taking the time to properly brown your ham bone and caramelize your vegetables adds layers of complex flavor you simply can’t achieve by just throwing everything in water. This single step separates good soup from great soup.
2. Low and Slow Wins: Resist the urge to crank up the heat to speed things along. A gentle 2-hour simmer extracts maximum flavor and collagen from the bone without making the broth cloudy or the vegetables disintegrate into mush.
3. Season at the End: Never salt your soup until the very end because ham bones release different amounts of sodium depending on how the original ham was cured. Taste first, then season conservatively because you can always add more but can’t remove it.
4. Save the Bone: After making this soup, don’t throw away the picked-clean bone! Freeze it in a gallon zipper bag and use it next time you make homemade chicken stock or bean soup for an extra layer of smoky depth.
5. Fresh Herbs Matter: While dried herbs work great during the long simmer, finishing with fresh parsley (or fresh thyme if you have it) brightens the entire pot and makes it taste vibrant and restaurant-fresh rather than flat and one-dimensional.
This leftover ham bone soup is exactly the kind of recipe I reach for when I want maximum flavor with minimal effort. That ham bone does all the heavy lifting, creating rich, smoky broth that tastes like you’ve been cooking all day. Serve it with crusty bread for dipping, and you’ve got a complete meal that’ll warm you from the inside out on even the coldest winter nights.