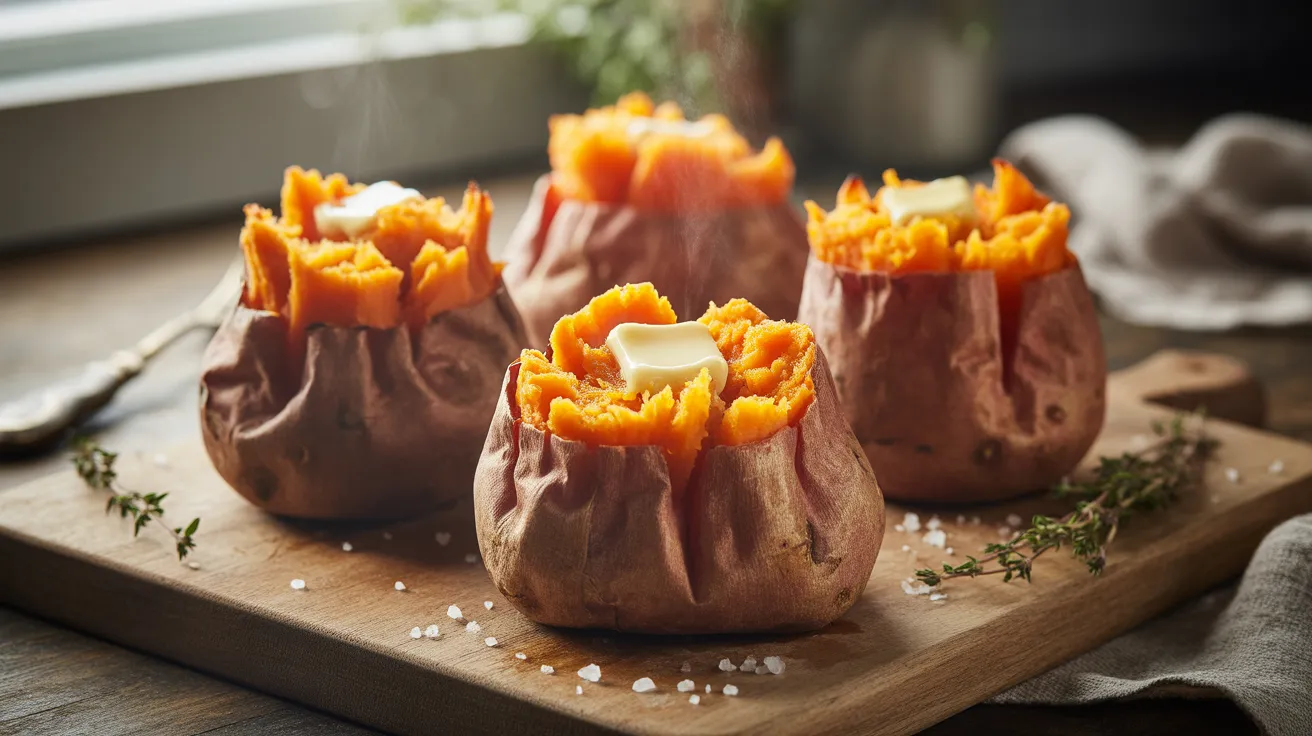
There’s something magical about a perfectly baked sweet potato with crispy, caramelized skin and fluffy, sweet flesh inside. I’ve tested dozens of methods to bring you the ultimate guide to making baked sweet potato that rivals any steakhouse side dish. This simple technique transforms ordinary sweet potatoes into something extraordinary, with minimal effort and maximum flavor for four perfect servings.
SERVES: 4 | PREP: 10 MIN | COOK: 60 MIN | TOTAL: 70 MIN
Ingredients
| Ingredient | Amount | Notes |
|---|---|---|
| Medium sweet potatoes | 4 (about 8 oz each) | Uniform size for even cooking |
| Olive oil | 2 tablespoons | Or melted coconut oil |
| Kosher salt | 2 teaspoons | Sea salt works too |
| Black pepper | ½ teaspoon | Freshly ground preferred |
| Butter (optional) | 4 tablespoons | For serving |
| Brown sugar (optional) | 2 tablespoons | For serving |
| Cinnamon (optional) | 1 teaspoon | For serving |
Step-by-Step Instructions
Preparation Phase (10 minutes)
Step 1: Preheat your oven to 425°F (220°C).
This high temperature is the secret to crispy skin. Lower temperatures make the skin chewy instead of crispy. Place your oven rack in the middle position for even heat circulation.
Step 2: Select 4 medium sweet potatoes of similar size, each weighing about 8 ounces.
Uniform sizing ensures all potatoes finish cooking at the same time. Look for firm potatoes without soft spots or bruises. The skin should be smooth and unblemished.
Step 3: Scrub the sweet potatoes thoroughly under cold running water using a vegetable brush.
Don’t skip this step! You’ll be eating the skin, which is loaded with nutrients and fiber. Remove any dirt from crevices and dry completely with paper towels or a clean kitchen towel.
Step 4: Pierce each sweet potato 8-10 times with a fork, spacing holes evenly around the potato.
This allows steam to escape during baking and prevents explosions. Yes, potatoes can actually explode in the oven if not vented! Pierce deep enough to go about ½ inch into the flesh.
Step 5: Rub each potato with 1½ teaspoons of olive oil, coating the entire surface.
Use your hands to massage the oil into the skin. This creates that gorgeous crispy exterior and helps the salt adhere. Don’t be shy—make sure every bit of skin is glistened with oil.
Step 6: Sprinkle ½ teaspoon of kosher salt over each potato, rubbing it into the oiled skin.
The salt draws out moisture, which intensifies the crispy texture. Add a few grinds of black pepper if desired. The seasoning enhances the natural sweetness of the potato.
Baking Phase (60 minutes)
Step 7: Line a baking sheet with aluminum foil or parchment paper for easy cleanup.
The sweet potatoes will release sugary liquid that caramelizes during cooking. This can be a pain to scrub off your pan, so don’t skip this protective layer.
Step 8: Place sweet potatoes directly on the prepared baking sheet, spacing them 2 inches apart.
Good air circulation prevents steaming and promotes even crisping. Don’t crowd them or they’ll create moisture pockets that make the skin soggy.
Step 9: Bake for 45-60 minutes, depending on size, until a fork slides through with no resistance.
Check at the 45-minute mark by inserting a fork into the thickest part. If you feel resistance, continue baking in 5-minute increments. The potato should feel soft when gently squeezed with an oven mitt.
Step 10: Watch for visual cues—the skin should look wrinkled and slightly puffed, with darker caramelized spots forming.
These dark spots are natural sugars caramelizing. That’s where the flavor magic happens! Some liquid may bubble out through the fork holes—this is perfectly normal.
Step 11: Rotate the baking sheet halfway through cooking (around the 30-minute mark) for even browning.
Ovens have hot spots that can cause uneven cooking. A simple rotation ensures all four potatoes crisp up beautifully on all sides.
Finishing Phase (5 minutes)
Step 12: Remove from oven and let rest for 5 minutes before serving.
This resting time allows the steam inside to redistribute, making the flesh even fluffier. The potato will continue cooking slightly from residual heat.
Step 13: Cut a deep slit lengthwise down the center of each potato, about ¾ of the way through.
Use a sharp knife and be careful—steam will escape when you cut into it. Press the ends toward the center to create a pocket that opens up like a flower.
Step 14: Fluff the flesh with a fork to create a light, airy texture.
Gently mash the insides while keeping them in the skin. This releases steam and creates more surface area for butter and toppings to melt into. The result is incredibly tender and fluffy.
Step 15: Add your chosen toppings immediately while the potato is piping hot.
For classic preparation, add 1 tablespoon of butter per potato and let it melt into the steaming flesh. Season with additional salt and pepper to taste.
Chef’s Notes
The Temperature Truth: Many recipes call for lower oven temperatures, but 425°F is the sweet spot for crispy skin and fluffy interiors. Lower temps make the skin leathery instead of crispy.
Size Matters: Choose sweet potatoes that are roughly the same size for your baked sweet potato batch. A 2-ounce difference can mean a 15-minute difference in cooking time.
Don’t Rush It: Resist the urge to microwave first. While faster, microwaving creates rubbery skin and gummy texture. The slow roast develops complex caramelized flavors you can’t achieve any other way.
Foil-Free Zone: Skip wrapping them in foil. This steams the potato instead of roasting it, resulting in soft skin rather than the crispy exterior we’re after with this baked sweet potato method.
Nutrition Information (Per Serving)
- Calories: 195
- Protein: 3g
- Carbohydrates: 38g
- Fiber: 6g
- Sugar: 8g
- Fat: 7g (including added oil)
- Sodium: 590mg
- Potassium: 542mg
- Vitamin A: 384% DV
- Vitamin C: 37% DV
Creative Variations
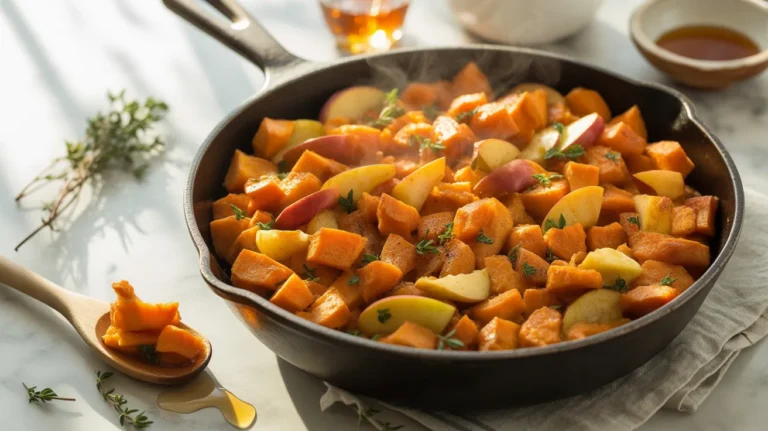
Loaded Southwestern Style: Top your hot potato with black beans, shredded cheese, sour cream, and fresh cilantro. For a complete protein-packed meal, check out this sweet potato black bean hash that uses similar flavor profiles.
Cinnamon Maple Butter: Mix 2 tablespoons softened butter with 2 tablespoons pure maple syrup and ½ teaspoon cinnamon. Divide among the four potatoes for a dessert-style sweet potato that satisfies your sweet tooth.
Savory Herb Butter: Combine butter with minced garlic, fresh thyme, and rosemary. This pairs beautifully with roasted meats or as part of a fall-inspired meal alongside this autumn spiced roasted pumpkin soup.
Mediterranean Twist: Fill your potato with crumbled feta cheese, sun-dried tomatoes, fresh spinach, and a drizzle of tahini. Add a squeeze of lemon for brightness and top with toasted pine nuts.
Storage & Reheating
Refrigerator Storage: Cool completely before storing. Wrap each potato individually in aluminum foil or place in an airtight container. They’ll keep for 4-5 days in the refrigerator.
Freezing Instructions: Baked sweet potatoes freeze beautifully. Wrap cooled potatoes tightly in plastic wrap, then aluminum foil. Freeze for up to 3 months. Thaw overnight in the refrigerator before reheating.
Reheating Method 1 (Oven): Reheat wrapped potatoes at 350°F for 15-20 minutes until heated through. This method preserves the crispy skin best.
Reheating Method 2 (Microwave): For quick reheating, microwave on high for 2-3 minutes, turning halfway through. The skin won’t be as crispy, but it’s convenient for busy weeknights.
Make-Ahead Tip: Bake potatoes up to 2 days ahead for meal prep. Store properly and reheat as needed. The flavor actually improves slightly as it sits.
Troubleshooting Common Problems
Problem 1: Potato is still hard after the recommended time.
Solution: Every oven runs differently, and sweet potato density varies. Continue baking in 10-minute increments, checking with a fork each time. Larger potatoes (over 10 ounces) may need up to 75 minutes total. Don’t rely solely on time—use the fork test and visual cues.
Problem 2: Skin is chewy instead of crispy.
Solution: You likely used too low a temperature or not enough oil. Next time, confirm your oven is truly at 425°F using an oven thermometer. Also ensure you’re rubbing oil over the entire surface—dry spots won’t crisp. Don’t wrap in foil, as this steams rather than roasts.
Problem 3: Sweet potato exploded or split open messily.
Solution: Insufficient venting causes pressure buildup. Pierce each potato at least 8-10 times before baking, making sure you go deep enough (about ½ inch). If splitting still occurs, your potatoes might be cooking too fast—try reducing heat to 400°F and extending cook time slightly.
Problem 4: The flesh is stringy or dry.
Solution: Overcooking draws out too much moisture. Check your potatoes at the 45-minute mark. Once a fork slides through easily, they’re done—don’t keep baking. Some varieties are naturally more stringy (like white sweet potatoes). Stick with orange-fleshed varieties for the best texture.
Problem 5: Potatoes cooked unevenly—some are done while others are still firm.
Solution: Size inconsistency is the culprit. Always select potatoes that are within 1-2 ounces of each other in weight. Place larger potatoes toward the oven’s back where it’s typically hotter. Rotate the pan halfway through cooking to compensate for hot spots.
Equipment Essentials

- Rimmed baking sheet (at least 13×18 inches)
- Aluminum foil or parchment paper (for easy cleanup)
- Vegetable brush (for thorough cleaning)
- Fork (for piercing and fluffing)
- Oven mitt (for safe handling)
- Sharp knife (for cutting slit)
- Oven thermometer (optional but helpful for accuracy)
- Kitchen timer (to track cooking time)
Shopping List
Produce Section
- 4 medium sweet potatoes (about 8 oz each)
Pantry/Baking Aisle
- Olive oil
- Kosher salt
- Black pepper
Dairy Section (Optional)
- Butter
- Brown sugar (usually in baking aisle)
Spice Aisle (Optional)
- Ground cinnamon
Success Secrets
1. Start with room temperature potatoes. Take them out of the refrigerator 30 minutes before baking. Cold potatoes take longer to cook and may result in uneven doneness.
2. Use parchment paper instead of foil for extra crispiness. Parchment allows better air circulation underneath, promoting even crisping on the bottom surface too.
3. Place potatoes directly on the oven rack for maximum crisp. Put a baking sheet on the rack below to catch drips. This method exposes all sides to direct heat for the crispiest skin possible.
4. Squeeze test for doneness. When you gently squeeze the potato with an oven mitt, it should feel completely soft with no firm spots. The skin will look wrinkled and puffed.
5. Don’t refrigerate before baking. Store sweet potatoes in a cool, dark place at room temperature. Refrigeration converts starches to sugars too quickly and affects texture negatively.
Your perfectly baked sweet potatoes are now ready to serve as a simple side dish or loaded up with your favorite toppings. The crispy, salty skin provides the perfect contrast to the naturally sweet, fluffy interior. These keep wonderfully for meal prep and reheat beautifully throughout the week!