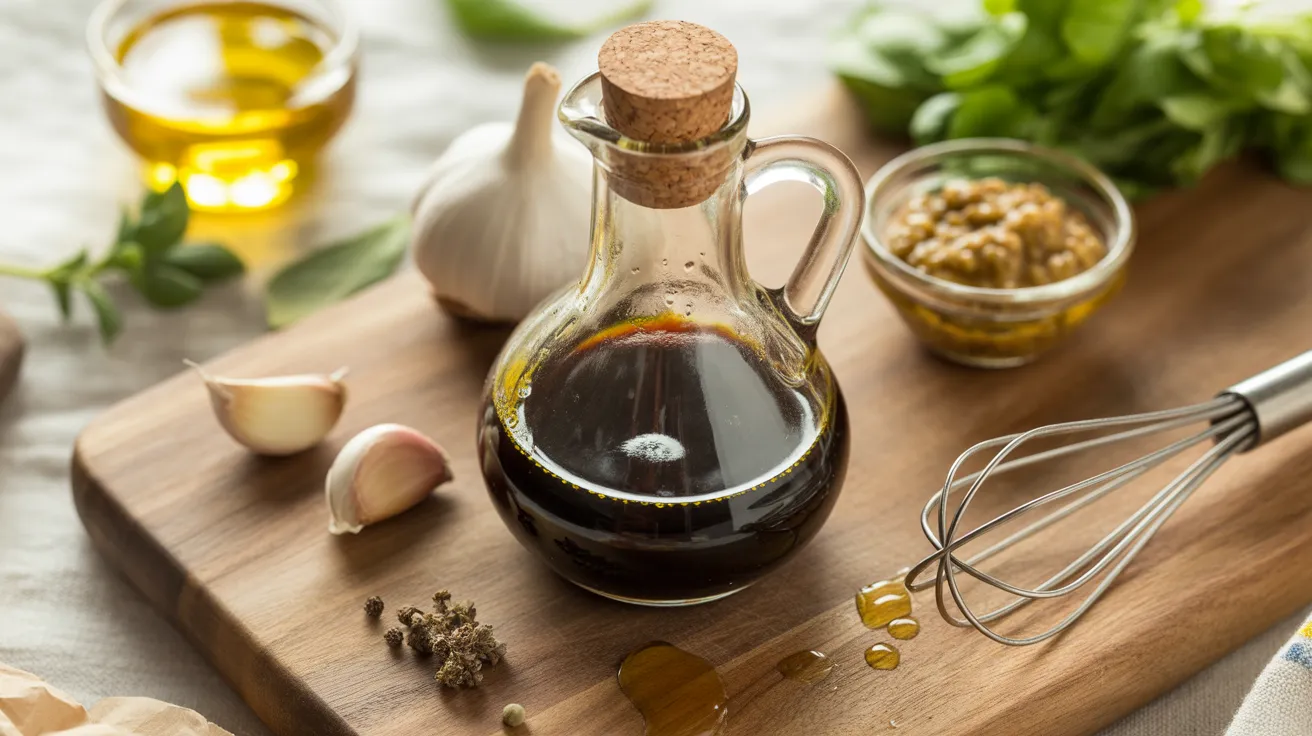
This balsamic vinaigrette transforms simple salads into restaurant-worthy dishes with its perfect balance of tangy and sweet flavors. Making your own balsamic vinaigrette at home takes just five minutes and costs a fraction of store-bought versions, plus you control exactly what goes into every drop.
SERVES: 4 | PREP: 5 MIN | COOK: 0 MIN | TOTAL: 5 MIN
Ingredients
Base Components
| Ingredient | Amount |
|---|---|
| Balsamic vinegar (aged preferred) | 1/4 cup |
| Extra virgin olive oil | 3/4 cup |
| Dijon mustard | 1 tablespoon |
| Honey | 1 tablespoon |
Flavor Enhancers
| Ingredient | Amount |
|---|---|
| Garlic (minced) | 2 cloves |
| Kosher salt | 1/2 teaspoon |
| Black pepper (freshly ground) | 1/4 teaspoon |
| Dried oregano (optional) | 1/4 teaspoon |
How to Make Balsamic Vinaigrette
Phase 1: Building the Foundation (2 minutes)
Step 1: Grab a medium mixing bowl and add 1/4 cup balsamic vinegar to start your emulsion base. The quality of your vinegar matters here—look for bottles labeled “aged” or “tradizionale” for richer, more complex flavor. Cheaper balsamic works too, but you’ll get thinner, sharper results.
Step 2: Add 1 tablespoon Dijon mustard directly into the vinegar. The mustard isn’t just for flavor—it acts as an emulsifier that helps the oil and vinegar stay blended instead of separating into layers. Whisk these together for 15-20 seconds until the mustard completely dissolves into the vinegar.
Step 3: Stir in 1 tablespoon honey and continue whisking for another 15 seconds. You’ll see the mixture turn slightly glossy as the honey dissolves. If your honey is super thick and won’t mix easily, microwave it for 5-8 seconds first to loosen it up.
Step 4: Mince 2 cloves of garlic as finely as possible—you want tiny pieces, not chunks. Press the minced garlic with the flat side of your knife to release the oils, then add it to your bowl. This step releases maximum flavor and prevents anyone from biting into a big piece of raw garlic.
Step 5: Season with 1/2 teaspoon kosher salt and 1/4 teaspoon freshly ground black pepper. If you’re using table salt instead of kosher, cut the amount to 1/4 teaspoon since it’s more concentrated. Whisk everything together until the salt crystals dissolve completely.
Phase 2: The Emulsion Process (2 minutes)
Step 6: This is where the magic happens. Start adding 3/4 cup extra virgin olive oil in a very slow, steady stream—we’re talking thinner than a pencil. Pour with one hand while whisking constantly with the other. This slow incorporation is what creates a creamy, emulsified dressing instead of a separated mess.
Step 7: Keep that whisk moving in rapid circles as you pour. You’ll notice the mixture getting thicker and creamier as more oil incorporates. If you see the oil pooling on top instead of mixing in, stop pouring and whisk vigorously for 10-15 seconds before continuing.
Step 8: Once all the oil is added, whisk for an additional 30 seconds with fast, energetic strokes. The dressing should look thick, glossy, and completely combined—no oil slicks floating on top. Hold the bowl up to the light to check for separation.
Step 9: Taste your balsamic vinaigrette with a clean spoon. The flavor should hit tangy first, then sweet, with a smooth finish. If it’s too sharp, add another 1/2 tablespoon honey. Too sweet? Add 1 teaspoon more vinegar. Too bland? A pinch more salt will wake everything up.
Phase 3: Final Adjustments (1 minute)
Step 10: If you like herby dressings, add 1/4 teaspoon dried oregano or 1/2 teaspoon fresh thyme leaves now. Dried Italian seasoning works great too. Whisk it in and let the dressing sit for 2-3 minutes so the dried herbs can bloom in the liquid.
Step 11: Give your dressing one final aggressive whisking for 10-15 seconds right before serving. Even properly emulsified vinaigrettes can separate slightly as they sit, and this quick whisk brings everything back together beautifully.
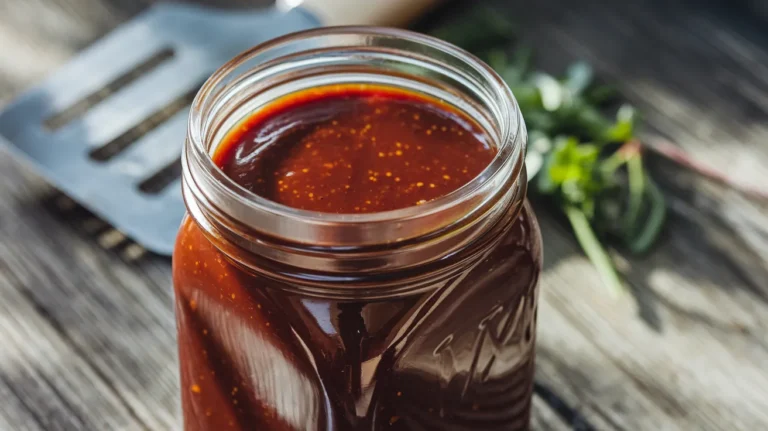
Step 12: Transfer to a serving container or mason jar if you’re not using it immediately. A jar with a tight-fitting lid makes storage easier and lets you shake the dressing to re-emulsify it later without dirtying another bowl.
Chef’s Notes
Temperature Matters: All your ingredients should be at room temperature before you start. Cold olive oil won’t emulsify properly with room-temperature vinegar, leading to a broken, separated dressing. Take everything out of the fridge 20-30 minutes before making your balsamic vinaigrette.
Oil Quality Is Everything: Since oil makes up most of this dressing, its flavor dominates. Use a fruity, peppery extra virgin olive oil you’d enjoy on its own. Cheap, flavorless oils create bland dressings no amount of vinegar can fix. Smell your oil first—if it smells musty or like crayons, toss it.
The 3:1 Ratio Rule: This recipe uses a 3:1 oil-to-vinegar ratio, which creates a balanced, not-too-acidic dressing. Some people prefer 2:1 for tangier results or 4:1 for mellower flavor. Adjust based on your salad ingredients—bitter greens handle more acid, while delicate lettuces need gentler dressings.
Make It Creamy: For an extra-luxurious texture, add 1-2 tablespoons heavy cream or Greek yogurt after the oil is incorporated. This creates a dressing similar to creamy garlic aioli but with balsamic’s distinctive sweet-tart punch.
Nutrition Information (Per 2 Tablespoon Serving)
Calories: 185
Protein: 0g
Carbohydrates: 4g
Fat: 19g
Fiber: 0g
Sugar: 4g
Sodium: 150mg
Creative Variations
Berry Balsamic Vinaigrette: Muddle 2 tablespoons fresh raspberries or blackberries in your bowl before adding the vinegar. The crushed berries add natural sweetness and beautiful color. Strain before serving if you don’t want berry seeds in your dressing.
Maple Balsamic: Replace the honey with pure maple syrup for deeper, more complex sweetness. This variation pairs beautifully with fall salads featuring roasted butternut squash, pecans, and goat cheese. The maple notes complement earthy vegetables perfectly.
Citrus-Balsamic Blend: Add 1 tablespoon fresh lemon juice and 1/2 teaspoon lemon zest for a brighter, more acidic profile. This creates a hybrid between traditional balsamic and lemon vinaigrette dressing, giving you the best of both flavor worlds.
Herb Garden Vinaigrette: Stir in 2 tablespoons mixed fresh herbs—basil, parsley, and chives work wonderfully. Chop them super fine so they distribute evenly. Fresh herbs add vibrant green color and make your dressing taste like summer in a bottle.
Storage and Reheating
Store your balsamic vinaigrette in an airtight container or mason jar in the refrigerator for up to 2 weeks. The cold temperature will cause the olive oil to solidify and look cloudy—this is completely normal.
Remove the dressing from the fridge 30 minutes before serving to let it return to room temperature. Once warmed, shake the jar vigorously for 15-20 seconds to re-emulsify the ingredients.
If you’re in a hurry, place the sealed jar in a bowl of warm (not hot) water for 5-7 minutes. This speeds up the warming process without cooking the garlic or breaking down the emulsion.
Give the dressing a quick taste before serving, especially if it’s been stored for more than a week. You might need to add a small pinch of salt or a drizzle of honey to refresh the flavors.
Never freeze balsamic vinaigrette. The emulsion breaks completely when frozen, and thawed dressing separates into unappetizing layers that won’t recombine properly no matter how much you whisk.
Troubleshooting Common Problems
Problem 1: My Dressing Won’t Emulsify
You added the oil too fast. The key is patience—pour in a pencil-thin stream while whisking constantly. If it breaks, start over with 1 tablespoon fresh Dijon in a clean bowl. Slowly whisk in the broken dressing as if it were the oil. The new mustard base will re-emulsify everything.
Problem 2: The Flavor Is Too Sharp and Acidic
Your ratio is off. Add 1-2 tablespoons more olive oil to mellow the acid punch. Or stir in an extra 1/2 tablespoon honey to add sweetness that balances the tang. Taste after each addition until it hits the right spot.
Problem 3: The Dressing Tastes Flat and Boring
You need more salt. It sounds simple, but salt is what makes all the other flavors pop. Add 1/8 teaspoon at a time, whisking and tasting between additions. Fresh garlic also helps—old garlic loses its punch and contributes bitter notes instead of sharp brightness.
Problem 4: It Separated in the Fridge
Completely normal! Emulsions break down when cold. Bring to room temperature and shake vigorously in a sealed jar for 20-30 seconds. If it still won’t combine, pour it into a bowl, add 1/2 teaspoon Dijon, and whisk hard for 1 minute.
Problem 5: The Texture Is Too Thin and Runny
You used too much vinegar or not enough oil. Slowly whisk in 2-3 tablespoons additional olive oil to thicken it up. The emulsion should coat the back of a spoon without immediately running off. If you want a thicker, creamier consistency, blend in 1 tablespoon Greek yogurt.
Equipment Essentials
- Medium mixing bowl (glass or stainless steel—plastic can hold onto flavors)
- Wire whisk (balloon whisk works best for incorporating air)
- Liquid measuring cups (for accurate oil-to-vinegar ratio)
- Garlic press or microplane (for ultra-fine mincing)
- Mason jar with tight lid (for storage and easy shaking)
- Small measuring spoons (for precise seasoning)
Shopping List
Pantry/Baking Aisle
- Balsamic vinegar (aged if possible)
- Extra virgin olive oil
- Honey
- Dried oregano (optional)
Condiment Section
- Dijon mustard
Produce Section
- Fresh garlic
Spice Aisle
- Kosher salt
- Black peppercorns (for fresh grinding)
Success Secrets
1. Quality ingredients make or break this recipe since there are so few components. Invest in good balsamic vinegar and olive oil—they’re the stars of your dressing.
2. Whisk faster than you think you need to. Vigorous whisking creates tiny oil droplets that suspend in the vinegar, creating that creamy emulsified texture you’re after.
3. Make this dressing fresh for the absolute best flavor, but batch-making for the week is perfectly fine. The flavors actually meld and improve after 24 hours in the fridge.
4. Always dress your salad right before serving. Pre-dressed greens wilt and get soggy within 10-15 minutes. Toss at the table for the crispiest, freshest results.
5. Use your balsamic vinaigrette within 2 weeks for peak flavor. After that, the garlic can develop off-flavors and the oil may start tasting stale, especially if you didn’t use fresh, high-quality ingredients to start.