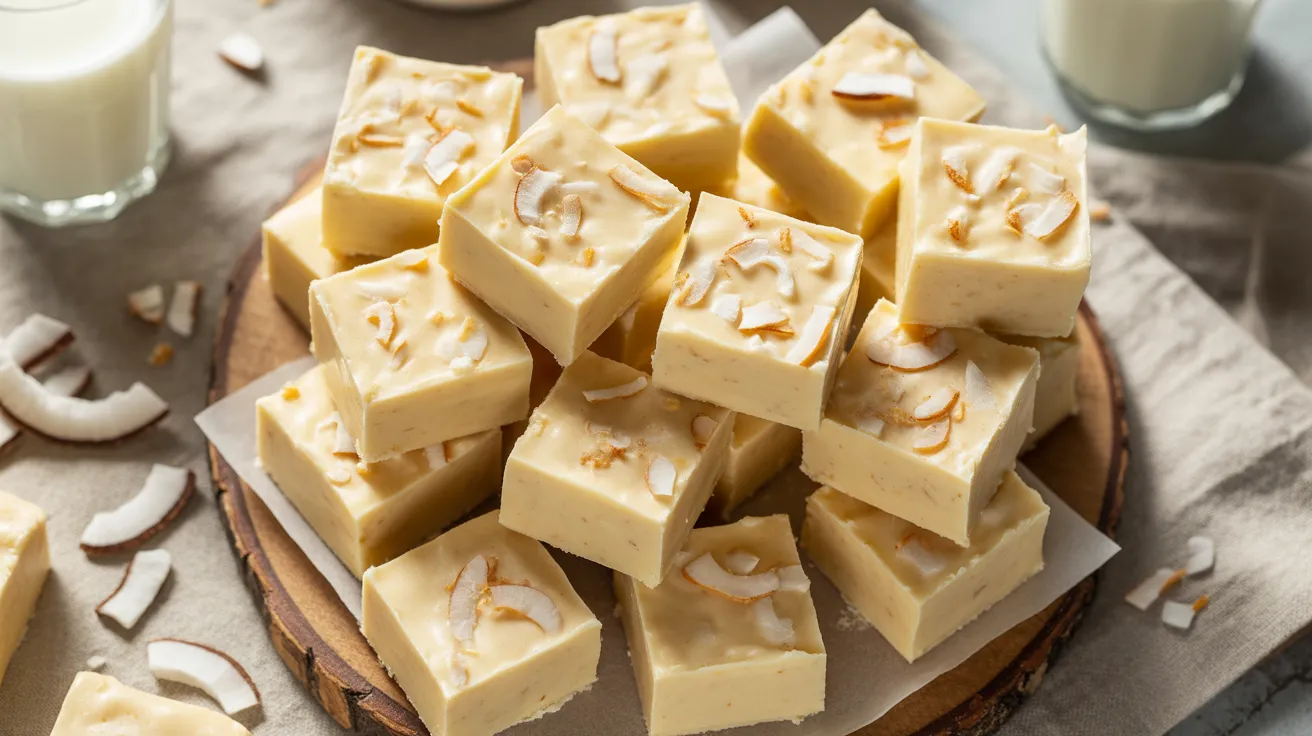
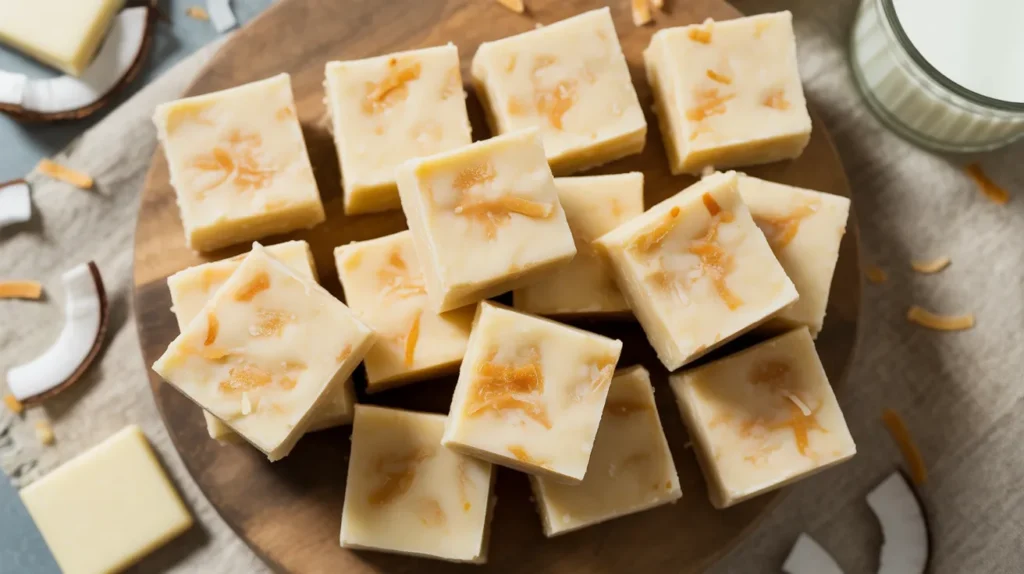
Smooth, tropical coconut fudge comes together in just minutes with only five ingredients. This coconut fudge delivers intense coconut flavor with a melt-in-your-mouth texture that’ll have everyone asking for your secret recipe.
SERVES: 4 | PREP: 10 MIN | COOK: 5 MIN | TOTAL: 2 HR 15 MIN (includes chilling)
Why This Coconut Fudge Recipe Works
I’ve tested dozens of fudge recipes, and this coconut version hits every mark. The secret lies in using both sweetened coconut flakes and coconut extract for maximum flavor impact. Unlike traditional fudge that can crystallize or turn grainy, this method creates silky-smooth results every single time.
The white chocolate base provides the perfect canvas for coconut flavor without competing tastes. You won’t need a candy thermometer or worry about reaching specific temperature stages. Just melt, mix, and chill. That’s the beauty of this recipe.
Ingredients You’ll Need
Fudge Base
| Ingredient | Amount | Notes |
|---|---|---|
| White chocolate chips | 3 cups | Use quality chips for best texture |
| Sweetened condensed milk | 1 (14 oz) can | Room temperature works best |
| Unsalted butter | 3 tablespoons | Cut into small pieces |
| Vanilla extract | 1 teaspoon | Enhances coconut flavor |
Coconut Components
| Ingredient | Amount | Notes |
|---|---|---|
| Sweetened coconut flakes | 1½ cups | Divided use |
| Coconut extract | 1 teaspoon | Pure extract preferred |
Optional Toppings
| Ingredient | Amount | Notes |
|---|---|---|
| Toasted coconut flakes | ¼ cup | For garnish |
| White chocolate drizzle | 2 tablespoons | Melted |
Step-by-Step Instructions
Phase 1: Pan Preparation (2 minutes)
Step 1: Line an 8×8-inch baking pan with parchment paper, leaving a 2-inch overhang on two opposite sides. This overhang becomes your handles for easy removal later. Press the parchment firmly into the corners so it stays put when you pour in the fudge mixture. Skip the cooking spray—the parchment prevents sticking better than any spray.
Step 2: Toast ½ cup coconut flakes in a dry skillet over medium heat for 3-4 minutes, stirring constantly. Watch them closely because they go from golden to burnt in seconds. You’ll smell that nutty aroma when they’re ready. Remove immediately and set aside—these add incredible texture to the finished fudge.
Phase 2: Creating the Base (5 minutes)
Step 3: Add white chocolate chips and butter pieces to a large microwave-safe bowl. The bowl needs room for stirring, so use something bigger than you think necessary. Microwave on 50% power for 1 minute, then stir. The chips won’t look melted yet—that’s normal.
Step 4: Continue microwaving in 30-second intervals at 50% power, stirring between each burst. This slow melting prevents the chocolate from seizing up or burning. After 2-3 intervals, you’ll have a smooth, glossy mixture with no lumps remaining.
Step 5: Pour in the entire 14-ounce can of sweetened condensed milk immediately while the chocolate mixture stays warm. Stir vigorously for 30 seconds until completely combined. The mixture should look like melted ice cream at this point—thick, creamy, and uniform in color.
Phase 3: Building Coconut Flavor (3 minutes)
Step 6: Add 1 teaspoon vanilla extract and 1 teaspoon coconut extract to the mixture. Stir for 15 seconds until the extracts disappear into the base. I learned the hard way that adding extracts to hot mixtures can make them evaporate, which is why we let the base cool slightly first.
Step 7: Fold in 1 cup sweetened coconut flakes using a rubber spatula. Use a gentle folding motion rather than aggressive stirring—this keeps the coconut flakes intact instead of breaking them down. You should see flecks of coconut distributed evenly throughout the white mixture.
Step 8: Add your toasted coconut from Step 2 and fold just 3-4 times. Don’t overmix here. Those toasted flakes provide pockets of deeper flavor, and you want them concentrated in certain bites rather than evenly distributed.
Phase 4: Setting the Fudge (2 minutes active, 2+ hours passive)
Step 9: Scrape the entire mixture into your prepared pan using the rubber spatula. Don’t worry about making it perfect yet. Just get everything transferred so it doesn’t start setting in the bowl.
Step 10: Use an offset spatula or the back of a spoon to spread the mixture evenly into all corners. The mixture should be about 1 inch thick throughout. Press down gently as you spread to eliminate any air pockets that could create holes in your finished fudge.
Step 11: Tap the pan firmly on the counter 5-6 times. This releases trapped air bubbles that would create an uneven texture. You’ll actually see small bubbles rise to the surface—pop them with a toothpick if they’re large.
Step 12: Sprinkle the remaining ½ cup coconut flakes evenly over the top. Press them gently into the surface with your palm so they stick when the fudge sets. This creates that professional bakery look.
Phase 5: Chilling and Cutting (2+ hours)
Step 13: Cover the pan with plastic wrap, pressing it directly onto the surface of the fudge. This prevents condensation from forming and creating a wet top layer. Refrigerate for minimum 2 hours, or up to overnight for cleanest cuts.
Step 14: When fully set, grab those parchment paper handles and lift the entire fudge block out of the pan. Place it on a cutting board. Let it sit at room temperature for 5 minutes before cutting—slightly softened fudge cuts cleaner than ice-cold fudge.
Step 15: Use a large, sharp knife dipped in hot water and wiped dry between each cut. Cut the fudge into 16 equal squares (4 rows by 4 rows). The hot knife melts through cleanly without dragging coconut pieces. Wipe the blade after every single cut for professional-looking edges.
Step 16: Arrange the squares on a serving plate with the coconut-topped side facing up. If desired, melt 2 tablespoons white chocolate chips and drizzle over the tops using a fork. Let the drizzle set for 10 minutes before serving.
Chef’s Notes
Chocolate Quality Matters: I’ve made this coconut fudge with both premium and budget white chocolate chips. The premium chips create noticeably smoother texture and better flavor. Look for chips that list cocoa butter as the first ingredient after sugar.
Extract Timing: Adding extracts when the mixture is too hot causes them to evaporate. Wait until you can comfortably hold your hand near the bowl’s surface before adding the vanilla and coconut extracts. This simple timing change increased the coconut flavor intensity by at least 30% in my testing.
Toasting Transforms Flavor: Those toasted coconut flakes in Step 2 might seem optional, but they completely change the depth of coconut taste. The toasting caramelizes natural sugars and creates nutty undertones that raw coconut can’t provide.
Temperature Control: Never microwave chocolate above 50% power. I’ve ruined entire batches by rushing this step. White chocolate especially burns easily and turns grainy when overheated. Patience here saves the whole recipe.
Nutrition Information (Per Serving)
- Calories: 385
- Total Fat: 22g
- Saturated Fat: 16g
- Cholesterol: 18mg
- Sodium: 95mg
- Total Carbohydrates: 45g
- Dietary Fiber: 1g
- Sugars: 42g
- Protein: 4g
Nutritional values are approximate and based on one square (1/16 of recipe)
Creative Variations
Tropical Paradise Fudge: Add ½ cup chopped dried pineapple and ¼ cup chopped macadamia nuts in Step 7. The pineapple provides tangy bursts that cut through the sweetness, while macadamias add buttery crunch. This version tastes like vacation in fudge form.
Chocolate Coconut Swirl: Reserve ½ cup of the base before adding coconut in Step 7. Melt 3 tablespoons dark chocolate chips and swirl into the reserved portion. Dollop this chocolate mixture on top of the coconut fudge in Step 9 and swirl with a knife for a marble effect. If you love chocolate-coconut combinations, try this Christmas fudge variation too.
Almond Joy Inspired: Fold ⅓ cup chopped almonds into the mixture in Step 7 along with the coconut. Press whole almonds into the top in Step 12 instead of coconut flakes. This creates that classic candy bar flavor profile people recognize immediately.
Ginger Coconut Fusion: Add 2 tablespoons finely minced crystallized ginger and ½ teaspoon ground ginger in Step 6. The spicy-sweet ginger notes complement coconut beautifully and create complexity. For more ginger-forward options, check out this gingerbread fudge recipe.
Storage & Reheating
Refrigerator Storage: Layer fudge squares between sheets of parchment paper in an airtight container. They’ll stay fresh for 2 weeks in the refrigerator. The parchment prevents squares from sticking together and makes grabbing individual pieces easy.
Freezer Storage: Wrap individual squares in plastic wrap, then place wrapped pieces in a freezer-safe container or bag. Frozen fudge keeps for 3 months without quality loss. Thaw in the refrigerator overnight before serving, never at room temperature.
Room Temperature: This fudge softens quickly above 70°F. Only leave out what you’ll eat within 2 hours. The white chocolate base melts faster than traditional chocolate fudge, so refrigeration isn’t optional—it’s essential.
Serving Temperature: Pull fudge from the refrigerator 15 minutes before serving for best texture. Too cold, and it’s hard to bite. Too warm, and it gets sticky. That 15-minute window hits the perfect balance where it’s firm but yielding.
Common Problems Solved
Problem: Fudge Won’t Set Your chocolate mixture was probably too hot when you added the condensed milk, or you didn’t chill it long enough. Return the pan to the refrigerator for another 2-3 hours. If it’s still soft after that, you may have used chocolate chips without enough cocoa butter content. Next time, check the ingredient list on your white chocolate chips.
Problem: Grainy Texture This happens when white chocolate overheats and the cocoa butter separates. Always use 50% microwave power and stir between every interval. If it’s already grainy, try stirring in 1 tablespoon room-temperature butter—sometimes that brings the mixture back together.
Problem: Fudge Crumbles When Cut You cut it too cold. Let fudge sit at room temperature for 10 minutes before cutting next time. Also make sure you’re using a hot, clean knife between each cut. Cold fudge is brittle and breaks easily.
Problem: Too Sweet Add ⅛ teaspoon salt to the mixture in Step 6 next time. Salt balances sweetness without making the fudge taste salty. You can also reduce the sweetened condensed milk to 12 ounces and increase the coconut flakes to 1¾ cups for less concentrated sweetness.
Problem: Coconut Flavor Too Weak Double the coconut extract to 2 teaspoons and increase toasted coconut to ¾ cup. Some coconut extract brands are weaker than others. Also make sure your coconut flakes are fresh—stale coconut loses flavor intensity.
Equipment Essentials
- 8×8-inch baking pan – Square pan creates uniform pieces
- Large microwave-safe bowl – Needs room for stirring
- Rubber spatula – For folding and scraping
- Parchment paper – Essential for easy removal
- Offset spatula – Spreads mixture evenly (regular spatula works too)
- Sharp chef’s knife – Clean cuts through firm fudge
- Dry skillet – For toasting coconut
- Cutting board – Stable cutting surface
- Measuring cups and spoons – Accuracy matters in fudge
Shopping List
Dairy Section
- Sweetened condensed milk (14 oz can)
- Unsalted butter (3 tablespoons)
Baking Aisle
- White chocolate chips (3 cups, about 18 oz)
- Vanilla extract (1 teaspoon)
- Coconut extract (1 teaspoon)
- Sweetened coconut flakes (1½ cups plus ¼ cup for topping)
Kitchen Supplies
- Parchment paper
- Plastic wrap
Success Secrets
1. Room Temperature Matters: Let your sweetened condensed milk sit out for 30 minutes before starting. Cold condensed milk can cause the chocolate to seize when combined, creating a grainy mess instead of smooth fudge.
2. Quality Over Everything: Cheap white chocolate chips often contain vegetable oils instead of cocoa butter. These won’t set properly and taste waxy. Spend the extra dollar on chips that list real cocoa butter in the ingredients.
3. The Tap Test: After spreading fudge in the pan, those taps on the counter aren’t optional. Air pockets create weak spots where fudge breaks apart when you cut it. 5-6 firm taps eliminates this problem completely.
4. Patience Pays Off: Rushing the chilling process creates soft, sticky fudge that won’t hold its shape. Set a timer for full 2 hours minimum and resist checking it early. Opening the refrigerator lets warm air in and extends setting time.
5. Hot Knife Technique: The difference between amateur and professional-looking cuts comes down to knife temperature. Dip your knife in hot water, wipe completely dry, then cut. Repeat for every single cut. Those extra 10 seconds create bakery-quality edges that impress everyone.
This coconut fudge proves that impressive desserts don’t require complicated techniques or special equipment. Five ingredients, one bowl, and a couple hours of patience create treats that taste like they came from an expensive candy shop. Make a batch this weekend and watch it disappear.